Starting a beverage company is an exciting experience that combines creativity in recipe development and branding with sharp business savvy. The market is a massive, multi-billion dollar industry with steady demand for new drinks at cafes, restaurants, and local markets.
This guide will take you through the practical steps of validating your business concept, securing funding, obtaining necessary licenses, and building supplier relationships to help you launch a successful beverage company in the U.S.
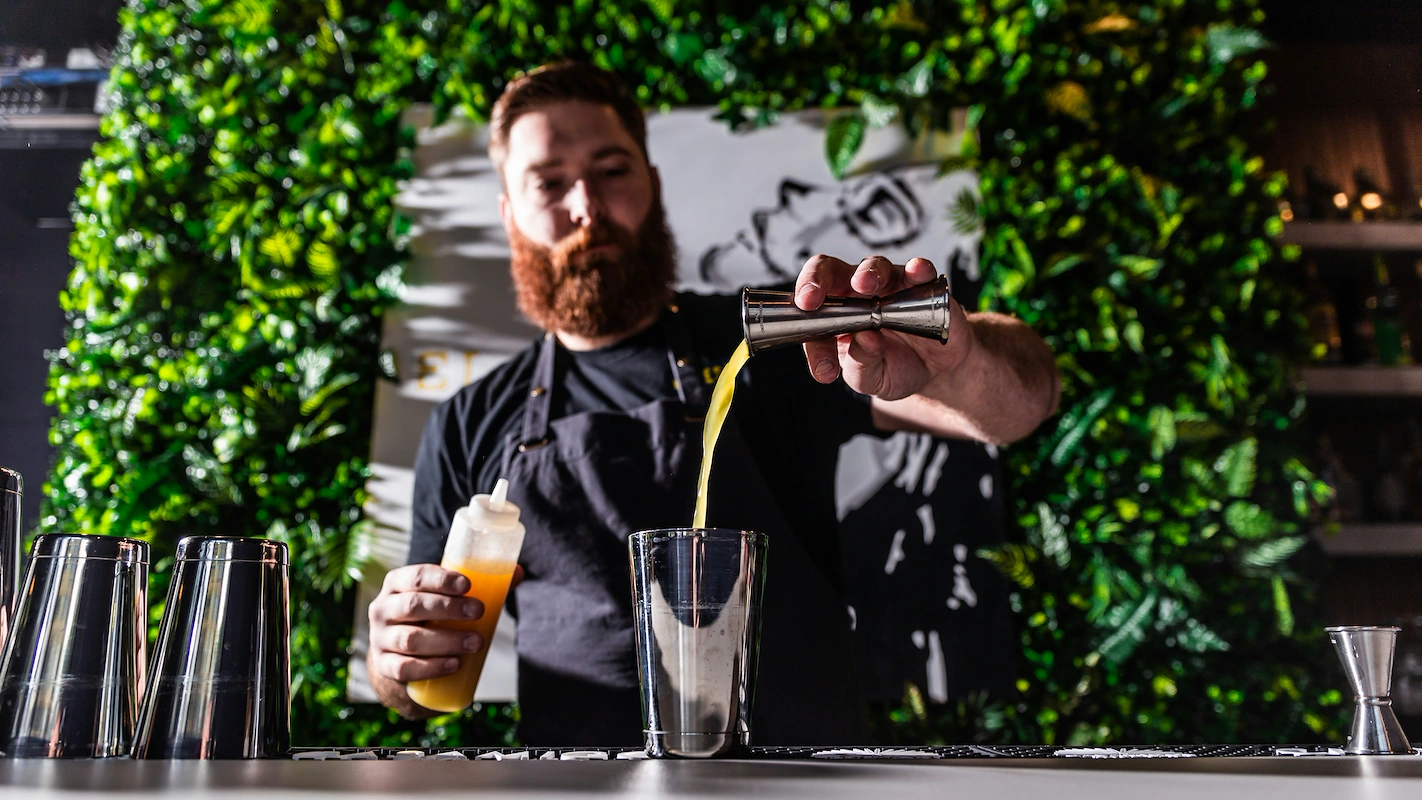
Step 1: Plan your business and validate your concept
Market and competitor research
Start by visiting local cafes, farmers' markets, and specialty food stores. See what people buy and what collects dust. You can also use Google Trends to check public interest in your beverage idea, comparing search volume for concepts like "cold brew" versus "kombucha".
A frequent oversight is to focus on national brands while a small, local producer is your actual competition. While data from Nielsen or IRI provides broad insights, you should analyze the pricing, packaging, and sales channels of businesses in your immediate area.
Estimate your startup costs
With your research complete, you can map out your finances. Initial costs vary based on production scale, and a clear budget helps build a more resilient business. You might want to plan for the following expenses:
- Commercial Kitchen Rental: $25-$75 per hour
- Licensing & Permits: $500-$1,500 for LLC formation and food handler’s permits
- Initial Ingredients & Packaging: $2,000-$5,000
- Basic Equipment: $3,000-$10,000
This brings your initial investment into a likely range of $5,500 to $16,500. This figure gives you a realistic financial target for your business plan and any funding requests.
Here are 3 immediate steps to take:
- Visit five local retailers to analyze their current beverage offerings and shelf placement.
- Compare search interest for three of your top drink concepts using Google Trends.
- Draft a startup budget that lists expected costs for equipment, ingredients, and permits.
Step 2: Set up your legal structure and get licensed
You might want to form a Limited Liability Company (LLC). This structure protects your personal assets from business debts and allows profits to pass directly to you without double taxation. A C Corporation is more complex but can be better if you plan to seek venture capital later.
State and local permits
Your business will be regulated by federal, state, and local agencies. The FDA governs labeling and safety if you sell across state lines, but your main focus at first will be local. Your city or county health department is the key agency to work with.
You will need a business license, a food handler’s permit, and potentially a food enterprise license. A frequent misstep is to assume you can use your home kitchen. Most health departments require you to produce in a certified commercial kitchen to meet safety standards.
Expect LLC formation to cost between $100 and $800, with processing times of 2-4 weeks. Local permits can add another $100 to $500. Give yourself at least a month to get all the paperwork approved before you plan to start production.
Here are 3 immediate steps to take:
- File your LLC formation documents with your state’s Secretary of State office.
- Contact your local health department for a list of certified commercial kitchens.
- Apply for a city or county business license and a food handler’s permit.
Step 3: Secure your insurance and manage risk
Key insurance policies to consider
You will want to secure General Liability insurance, which typically costs $400-$700 annually for $1 million in coverage. This policy protects you against claims like slip-and-fall accidents at a farmers' market booth or property damage caused by your business operations.
For a beverage business, Product Liability insurance is non-negotiable. It covers you if a customer gets sick from your product due to contamination or spoilage. A common mistake is assuming General Liability covers this, but it often does not. Expect to pay $500 to $2,500+ annually.
Once you have employees, you will also need Workers' Compensation. If you own expensive equipment, Commercial Property insurance protects it from theft or damage. Some providers bundle these policies, which can simplify management and lower your total premium.
You might want to work with an agent who understands the food industry. Consider getting quotes from providers like the Food Liability Insurance Program (FLIP), The Hartford, or Hiscox. They are familiar with the specific risks of beverage production and can offer more relevant coverage.
Here are 3 immediate steps to take:
- Request quotes for both General Liability and Product Liability insurance.
- Contact a specialist provider like the Food Liability Insurance Program (FLIP) to compare coverage.
- Ask your commercial kitchen for their minimum insurance requirements before signing a lease.
Step 4: Find a location and buy equipment
You will produce your beverages in a licensed commercial kitchen. A small operation can start in a shared space of 200-500 square feet. When you review lease options, ask for a six-month term instead of a full year to keep your initial commitment low.
Production equipment
Your equipment needs depend on your beverage type. A good starting point includes a few key pieces. Many new owners make the mistake of buying brand-new equipment when high-quality used items from restaurant supply stores work just as well and save significant capital.
- Commercial Blenders or Mixers: $500 - $2,000
- Bottle Filling and Capping Machine: $1,000 - $5,000
- Commercial Refrigeration: $2,000 - $7,000
- Stainless Steel Prep Tables: $200 - $600 each
Sourcing suppliers
With your kitchen secured, you can find suppliers for bottles, caps, and labels. Companies like Berlin Packaging or TricorBraun offer a wide selection. Be mindful of Minimum Order Quantities (MOQs). Some suppliers require you to buy 1,000+ units, which can tie up your cash.
Here are 3 immediate steps to take:
- Tour two local commercial kitchens and compare their monthly rates and available hours.
- Get quotes for a used commercial refrigerator and a bottle filling machine.
- Contact a packaging supplier to confirm their MOQ for glass bottles and caps.
Step 5: Set up your payment processing
You will need a way to accept credit, debit, and digital wallet payments, especially for in-person sales. For wholesale, you might offer Net 30 terms later, but start with payment on delivery. Many new owners get locked into expensive processor contracts they do not need.
For a beverage company that needs to accept payments on-the-go, JIM offers a streamlined solution. With JIM, you can accept all major cards and digital wallets directly on your smartphone—just tap and done. There is no extra hardware needed.
At just 1.99% per transaction with no hidden costs, its rate is well below the typical 2.5% to 3% plus fees other providers charge. This makes it particularly useful for maximizing profit at farmers' markets or during local delivery runs.
The process is simple and designed for quick sales:
- Get Started: Download JIM app for iOS.
- Make a Sale: Type the sales amount, hit sell, and ask your customer to tap their card or device on your phone.
- Access Funds: Your money is available right on your JIM card as soon as the sale is done - no waiting for bank transfers.
Here are 3 immediate steps to take:
- Compare the transaction fees of two mobile payment processors.
- Download the JIM app to see how it works on your phone.
- Decide on your payment terms for direct sales versus future wholesale accounts.
Step 6: Secure funding and manage your finances
Funding sources for beverage startups
With your startup budget ready, you can pursue funding. SBA loans are a popular route. The 7(a) loan program is flexible, with new businesses often securing $25,000 to $50,000. Interest rates typically range from the Prime rate plus 2.75% to 4.75%.
You might also look for industry-specific grants. Organizations like the Food and Beverage Investment Fund or local economic development agencies sometimes offer grants for new producers. These are competitive but do not require repayment.
Plan your working capital
Many new owners focus on startup costs but forget working capital. This is the cash you need for day-to-day operations. For the first six months, plan for $10,000 to $20,000 to cover ingredients, rent, and marketing before your revenue stabilizes.
A frequent misstep is to mix personal and business finances. Open a separate business bank account from day one. This simplifies bookkeeping, makes tax time easier, and presents a more professional image to lenders and partners.
Here are 3 immediate steps to take:
- Research the SBA 7(a) loan requirements on the official SBA website.
- Calculate your working capital needs for the first six months of operation.
- Search for food and beverage grants offered by your state's economic development agency.
Step 7: Hire your team and set up operations
Your first hires
You will likely start by doing everything yourself. Once you need help, your first hire should be a part-time Production Assistant. This person handles brewing, bottling, and cleaning. Expect to pay between $15 and $20 per hour. They will need a food handler’s permit.
Many new owners hire a full-time team too soon, which strains cash flow. It is often best to wait until your annual revenue approaches the $50,000-$75,000 range before you bring on staff. Start with one person for just a few hours a week.
Managing your daily workflow
With a small team, you can manage schedules with simple software. Apps like Homebase or When I Work are great for assigning shifts for kitchen production or farmers' market sales. They also simplify communication and time tracking for hourly employees.
As you grow, keep an eye on your labor costs. A healthy benchmark for a beverage business is to keep total labor expenses under 30% of your revenue. This metric will guide your decisions on when to hire more help or increase hours for existing staff.
Here are 3 immediate steps to take:
- Draft a job description for a part-time Production Assistant.
- Check your county health department’s website for food handler’s permit requirements.
- Review the features of a scheduling app like Homebase to see how it fits your needs.
Step 8: Market your products and acquire customers
In-person sales and sampling
Your first customers will likely meet you in person. Focus on farmers' markets and local food festivals where you can offer samples. This direct interaction is powerful. Expect about 10-15% of people who try your beverage to buy a bottle on the spot.
A frequent mistake is to offer samples without a story. When someone tastes your drink, tell them about a key ingredient or what makes your recipe unique. This personal connection helps turn a taster into a repeat customer.
Digital marketing and local partnerships
Once you have a few retail partners, you can use digital marketing to drive foot traffic. Instagram is perfect for a visual product like a beverage. Post high-quality photos and clearly state where customers can find your drinks. Keep your ad spend focused.
You might want to run ads targeted to a 5-mile radius around the stores that carry your product. This keeps your Customer Acquisition Cost (CAC) low, ideally under $10 per new customer. You can also partner with local cafes for a "guest drink" feature to reach their audience.
Here are 3 immediate steps to take:
- Schedule a tasting event at a local farmers' market for the upcoming month.
- Identify three local food bloggers or cafes to approach for a collaboration.
- Draft a geographically targeted Instagram ad campaign for one of your retail locations.
Step 9: Develop your pricing strategy
Pricing models and margins
You can start with a cost-plus model. First, calculate your Cost of Goods Sold (COGS) per bottle, which includes ingredients, packaging, and direct labor. A common wholesale markup is 100% over COGS. If your COGS is $1.25, your wholesale price would be $2.50.
A frequent mistake is setting prices based only on production costs. This leaves no room for marketing, distribution fees, or spoilage. Your pricing must cover all business expenses to be sustainable. Aim for a gross profit margin of 50-65% on your wholesale price.
Also, consider value-based pricing by analyzing your competitors. Visit a few local stores and note the prices of similar beverages. If a competing drink sells for $4.99, and your product has superior ingredients or branding, you may be able to justify a higher price point.
Here are 3 immediate steps to take:
- Calculate the complete COGS for a single unit of your beverage.
- Research the retail prices of five competing drinks at a local grocery store.
- Set a wholesale and suggested retail price (SRP) that achieves a 60% gross margin.
Step 10: Maintain quality and scale production
Establish your quality standards
To ensure every bottle tastes the same, you need a quality control process. You can use a Hazard Analysis Critical Control Point (HACCP) plan to identify and manage safety risks. This is a system the FDA recognizes and respects.
For each batch, you should measure key metrics. Use a pH meter to check acidity and a refractometer to measure sugar content, or Brix. Keep a detailed log of these measurements, along with tasting notes, for every production run.
A frequent oversight is to guess at consistency, which leads to flavor drift over time. Documenting your recipe and process precisely helps you avoid this. It also makes it easier to train new staff later on.
Know when to grow
With quality under control, you can plan for growth. You might want to expand when you consistently sell out or when a wholesale account requests more product than you can supply. A good financial trigger is when you approach $75,000 in annual revenue.
At that point, you can consider moving from a shared kitchen to your own small facility. You can also look into software like Ekos or Orchestrated to manage inventory, production schedules, and sales orders as your operation becomes more complex.
Here are 3 immediate steps to take:
- Create a quality control log to track pH and Brix for each batch.
- Set a monthly sales volume that will trigger your search for a dedicated kitchen.
- Review a demo of a beverage production software like Ekos to see how it can help manage inventory.
Building a beverage brand is a journey from a single recipe to a shelf full of products. The key is consistency in both your flavor and your business operations. You have a solid plan, and now it is time to execute it.
When you make those first sales, getting paid should be simple. JIM turns your smartphone into a card reader to accept payments without extra hardware, all for a flat 1.99% fee. This helps you manage your money from the start. Download JIM and you are ready to go.