
Starting a bee farm is a rewarding venture that blends a passion for beekeeping with smart business sense. The industry contributes billions to the economy, with steady demand for honey, beeswax, and pollination services from local food markets to large-scale agriculture.
This guide will take you through the practical steps of validating your business concept, obtaining necessary licenses, selecting the right location, and acquiring your first hives to help you launch a successful bee farm business in the U.S.
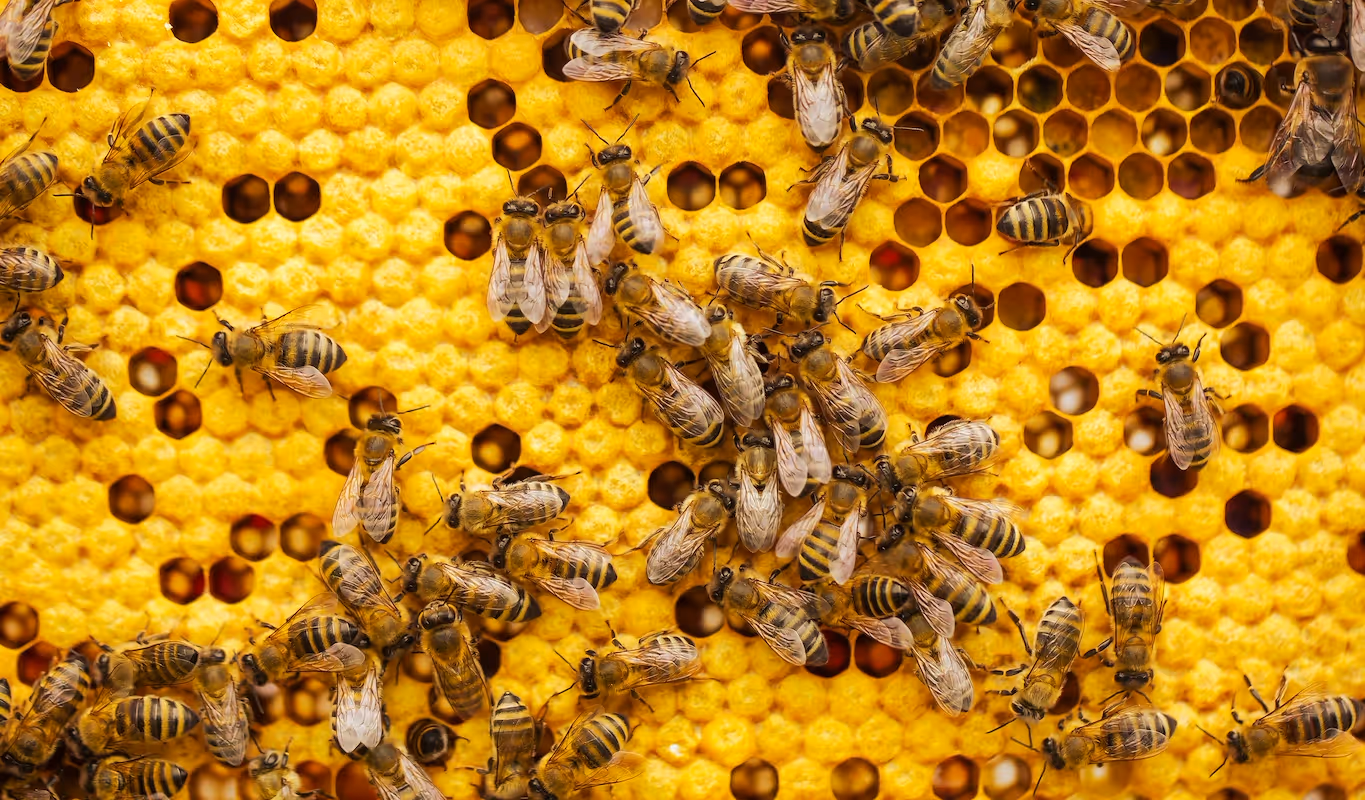
Step 1: Plan your business and validate your idea
Research your local market
Start by visiting local farmers' markets. Note the prices for different honey sizes and types. Are they selling 8oz jars for $10 or 1lb jars for $18? This direct observation gives you real-world pricing data for your business plan.
You can also look at online platforms like Etsy or local food co-op websites to see what other small-scale producers charge. For a wider view, the USDA's National Honey Report provides wholesale and retail price averages across the country.
Estimate your startup costs
Your initial investment will cover hives, bees, and gear. A beginner setup with two hives typically runs from $1,200 to $2,000. This includes the hives, bees (nucs are a great start), protective clothing, and basic tools like a smoker and hive tool.
A detail many new beekeepers miss is the budget for honey extraction and bottling supplies. These costs can add up, so a detailed spreadsheet from day one helps you track every dollar and avoid surprises down the road.
Here are 3 immediate steps to take:
- Visit two local farmers' markets to record honey prices and varieties.
- Create a spreadsheet to budget for initial equipment, listing costs for two hives, bees, and protective gear.
- Use Google Maps to identify three other bee farms within a 50-mile radius and review their product offerings online.
Step 2: Establish your legal structure and get licensed
Choose your business structure
Most new bee farmers choose a Limited Liability Company (LLC). It protects your personal assets if the business faces debt or lawsuits. This structure also offers pass-through taxation, meaning profits are taxed on your personal return, which avoids the double taxation of a C-Corp.
Filing for an LLC with your Secretary of State typically costs between $50 and $500. The process can take a few days to several weeks, so it is a good idea to start this early.
Navigate beekeeping regulations
Once your business entity is set up, your next stop is the state level. Nearly every state requires you to register your apiary with its Department of Agriculture. This registration helps track hive health and usually costs around $10-$25 annually. A frequent misstep is skipping this, which can lead to fines.
You will also want to look into your state's cottage food laws. These regulations allow you to sell honey from home without a commercial license, but they often cap annual sales, for example, at $50,000. Exceeding this limit without the proper license is a common mistake.
Finally, check with your local city or county clerk. Some municipalities have specific zoning ordinances or permits for keeping bees, especially in residential areas. Confirming these rules upfront prevents having to relocate your hives later.
Here are 4 immediate steps to take:
- File for an LLC with your state's Secretary of State office.
- Locate the apiary registration form on your State Department of Agriculture website.
- Research your state's specific cottage food law sales limits for honey.
- Contact your city or county clerk's office to ask about local beekeeping ordinances.
Step 3: Secure your insurance and manage risks
Your first move should be to get General Liability insurance. This protects you if someone is stung or has an allergic reaction. A $1 million policy is standard, with annual premiums for a small bee farm typically running between $600 and $1,500.
Many new beekeepers assume their homeowner's policy offers protection, but most policies explicitly exclude business activities. You will also want to ensure your plan includes Product Liability coverage, which is vital for when you start selling honey and other hive products.
As your operation expands, you might consider other policies. These include:
- Property insurance: Covers theft or damage to your hives, equipment, and inventory.
- Commercial auto insurance: Necessary if you use a vehicle specifically for business deliveries or travel.
- Workers' compensation: Required in most states if you hire any employees, even part-time help.
Look for providers that specialize in agribusiness, as they understand the unique risks of farming. You can start by getting quotes from companies like Farm Bureau Financial Services, Nationwide Agribusiness, or The Hartford. An agent with farm experience will find you a better-fitting policy.
Here are 4 immediate steps to take:
- Request a quote for a $1 million General Liability policy that includes Product Liability.
- Review your current homeowner's policy to confirm its exclusions for business operations.
- Contact an insurance agent who specializes in agribusiness from a provider like Farm Bureau.
- Create an inventory of your physical assets to determine the amount of property coverage you need.
Step 4: Select your location and purchase equipment
Find your apiary location
Your bees need space. A good rule of thumb is to place hives at least 20 feet from property lines and public paths. This gives them a clear flight path and keeps them away from high-traffic areas. Most agricultural or rural residential zones permit beekeeping.
A detail many overlook is the hive entrance direction. Face it toward a fence or hedge to force bees to fly up and over, away from people. If you do not own suitable land, you might approach local farmers. Many welcome bees for pollination and may offer a spot for free.
Purchase your startup equipment
With a spot secured, you can buy your gear. For two hives, plan for $500 to $800 for the woodenware. This covers two complete Langstroth hive kits, which you can get from suppliers like Mann Lake Ltd. or Dadant & Sons. Some kits come unassembled for a lower price.
You also need personal gear. A full bee suit with a veil, gloves, a smoker, and a hive tool will cost another $150 to $250. A nucleus colony, or "nuc," is your best bet for bees. It costs $180-$250 and includes a laying queen, giving your hive a strong start.
Here are 4 immediate steps to take:
- Pace out a potential apiary spot to confirm it is at least 20 feet from property lines.
- Look up your property on your county's online zoning map to verify its classification.
- Price a two-hive beginner's kit from a major supplier like Mann Lake Ltd.
- Contact your local beekeeping association to find reputable sellers of nucleus colonies.
Step 5: Set up your finances and payment processing
Handle your payments
Most of your sales, especially at farmers' markets, will be immediate. You need a way to accept cash, but also debit and credit cards. If you do not offer card payments, you can lose a sale.
When you look at payment solutions, focus on transaction fees. Many new owners get locked into systems with monthly charges or expensive card readers. These costs can quickly eat into your profits from honey sales.
For bee farms that need to accept payments on-site or on-the-go, JIM offers a streamlined solution. With JIM, you can accept debit, credit and digital wallets directly through your smartphone - just tap and done.
At just 1.99% per transaction with no hidden costs or extra hardware needed, it is a strong option. Other providers often charge between 2.5% and 3.5% and may require you to buy a separate card reader.
- Get Started: Download JIM app for iOS
- Make a Sale: Type the sales amount, hit sell, and ask your customer to tap their card or device on your phone
- Access Funds: Your money is available right on your JIM card as soon as the sale is done - no waiting for bank transfers
Here are 3 immediate steps to take:
- Decide on your primary sales channels to clarify your payment needs.
- Compare the total cost, including transaction fees and hardware, for two mobile payment solutions.
- Download the JIM app to see how it works on your phone.
Step 6: Fund your business and manage finances
Secure your startup funding
Your first stop for funding should be the USDA Farm Service Agency (FSA). Their microloan program offers up to $50,000 and is designed for small farms. Interest rates are often favorable, sometimes below 4%, with options available for new farmers.
You can also pursue grants. The Sustainable Agriculture Research and Education (SARE) program funds innovative farm projects. Also check your state's Department of Agriculture website, as they sometimes have grants specifically for beekeepers.
Manage your day-to-day finances
Once you have funding, open a separate business bank account. Many new owners make the mistake of mixing personal and business funds, which creates tax headaches. A dedicated account keeps your bookkeeping clean from day one.
Next, plan for about six months of working capital. You will need funds for hive maintenance and bottling supplies before your first honey sale. A buffer of $2,000 to $5,000 is a safe starting point for a small apiary.
Here are 4 immediate steps to take:
- Contact your local USDA FSA office to discuss microloan eligibility.
- Visit the SARE website to review their grant application deadlines.
- Open a dedicated business checking account at a local bank or credit union.
- Calculate your estimated working capital needs for the first six months.
Step 7: Hire your team and manage operations
Build your apiary team
When you expand beyond 10-15 hives, you might want to hire part-time help. Look for an Apiary Assistant for hive inspections and harvesting. Expect to pay $15-$20 per hour for someone with at least one year of hands-on experience.
A frequent misstep is to hire someone without proven hive skills. You can find experienced candidates through your local beekeeping association. Many members of these clubs look for seasonal work and bring valuable knowledge with them.
Streamline your daily tasks
To keep your hive work organized, you can use a dedicated app. A platform like HiveTracks helps you log inspections, track queen health, and monitor honey production on your phone. This digital record is far more reliable than a paper notebook left in the truck.
For market days, a simple shared Google Calendar works well to coordinate schedules if you have a sales helper. This ensures everyone knows their shifts and responsibilities for setup, sales, and breakdown without confusion.
Here are 4 immediate steps to take:
- Draft a job description for a part-time Apiary Assistant with specific responsibilities.
- Contact your local beekeeping association to ask about posting job openings.
- Explore the features of a hive management app like HiveTracks.
- Create a shared Google Calendar for scheduling market sales and hive work.
Step 8: Market your products and find customers
Create your brand and packaging
Your product label is your first marketing tool. It needs your farm name, honey type, and net weight. A simple, clean design on quality paper often stands out more than a busy one. A frequent mistake is to use a generic label that gets lost on a crowded shelf.
You might also consider unique jars. A different jar shape can catch a customer's eye. For an 8oz jar, expect to pay between $0.50 and $1.00 per unit when you buy in bulk. This cost is part of your product's appeal and should be in your budget.
Sell directly to customers
Farmers' markets are your best starting point. A stall fee is typically $30-$75 per day. If you make 20 sales, your customer acquisition cost is low. Always offer samples. A small taste can convert a browser into a buyer more than half the time.
With that channel established, you can set up a simple online store using a platform like Shopify or Square Online. This lets you reach customers who cannot visit the market and builds a more stable revenue stream outside of market days.
Use social media to tell your story
Instagram is perfect for showing off your work. Post photos of your hives, the landscape, and your bottling process. This visual story builds a connection with your audience. Aim for an engagement rate of 3-5% on your posts to know your content resonates.
Here are 4 immediate steps to take:
- Design a label for your primary honey jar size.
- Calculate the cost per jar for your packaging, including the jar, lid, and label.
- Research the stall fees and application dates for two local farmers' markets.
- Create an Instagram profile for your bee farm and post one introductory photo.
Step 9: Price your products for profit
Calculate your cost of goods sold
Your price must cover all production costs. This includes the jar, lid, label, and your time. A simple cost-plus model is a good place to start. If your total cost per 1lb jar is $5, you have a clear baseline for your pricing.
With that cost in mind, you can apply a markup. For direct sales at a farmers' market, a 100-150% markup is standard. This would price your $5 jar between $10 and $12.50. For wholesale, the markup is lower, typically 30-50%.
Analyze the market and your value
Now look at what others charge. Check prices at local markets, not just big grocery stores. A mistake many new sellers make is trying to compete with mass-produced honey prices, which devalues their artisanal product from the start.
You can also use value-based pricing for specialty products. While a 1lb jar of wildflower honey might sell for $15, a monofloral honey like sourwood or tupelo can command $25 or more. Customers will pay a premium for unique flavors and quality.
Here are 4 immediate steps to take:
- Calculate the total cost to produce one 1lb jar of your honey.
- Apply a 125% markup to determine your initial retail price.
- Visit a local grocery store and a farmers' market to compare prices for similar honey products.
- Research the retail price of two different monofloral honeys online.
Step 10: Maintain quality and scale your operations
Ensure product quality
Your honey's quality is your reputation. You should test the moisture content of every batch. Use a honey refractometer to get a reading, and aim for a moisture level below 18.6% to prevent fermentation and ensure a long shelf life.
Many new beekeepers skip this test, which can lead to spoiled honey and unhappy customers. A refractometer costs about $30-$50 and is a small price for quality assurance.
As you grow, you might look into certifications. The True Source Certified program verifies honey authenticity, which can be a strong selling point for wholesale accounts.
Know when to scale
Growth should be deliberate. A clear sign to expand is when you consistently sell out of honey more than two months before your next harvest. This indicates strong, unmet demand.
When you manage more than 50 hives, it is time to consider a full-time employee. At this scale, hive management and honey processing become more than a one-person job.
Upgrading equipment is also part of scaling. Once you pass 20 hives, a motorized honey extractor becomes a smart investment. It can cut your extraction time by more than half compared to a manual one.
Here are 4 immediate steps to take:
- Purchase a honey refractometer to test your first batch's moisture content.
- Review the standards for the True Source Certified program online.
- Set a sales benchmark that will trigger your expansion plan.
- Compare prices for motorized honey extractors from two different suppliers.
Starting a bee farm is about patience with your hives and your business. Your bees will have good and bad seasons, and so will your sales. This guide gives you a clear path, so you can begin your journey with confidence.
As you prepare for your first market day, you'll need a simple way to handle sales. JIM turns your phone into a card reader, letting you accept payments without extra hardware for a flat 1.99% fee. Download JIM and you are ready for business.
.avif)


