
Starting a Cricut business is a rewarding venture that combines creative skills with business savvy. The custom crafts market is a multi-billion dollar industry, with steady demand for personalized items for everything from weddings and parties to home decor and custom apparel.
This guide will take you through the practical steps of validating your business concept, acquiring the right equipment, pricing your products, and obtaining necessary licenses to help you launch a successful Cricut business in the U.S.
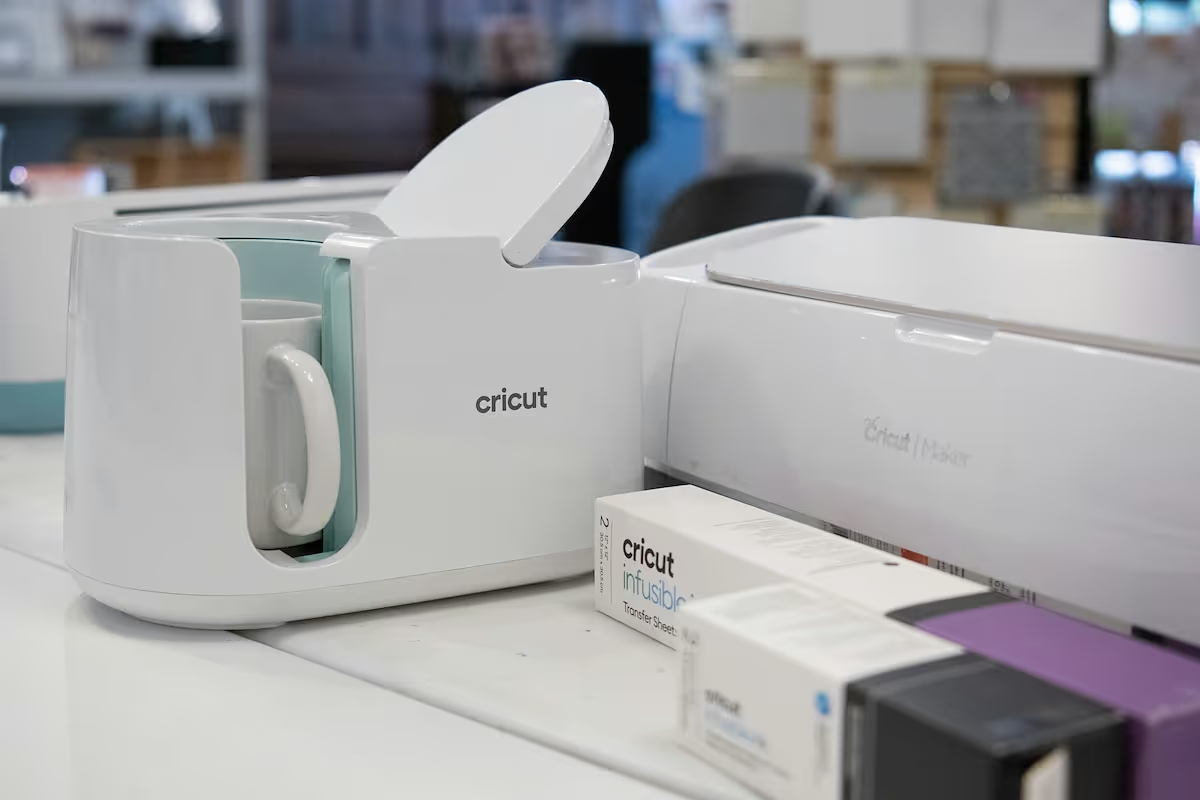
Step 1: Validate your idea and plan your budget
Find your market niche
Before you buy anything, research what sells. Spend time on Etsy and Pinterest Trends to spot popular items. Look for consistent demand in areas like custom wedding decor, seasonal apparel, or personalized gifts for holidays. This helps you focus your efforts.
Analyze the competition
Use a resource like eRank to study top-performing Cricut shops. Pay attention to their product photos, pricing strategies, and customer reviews. The goal is not to copy, but to identify market standards and find a unique angle for your own products.
Map out your startup costs
Your initial investment will likely fall between $500 and $900. A common error is to purchase too much inventory upfront. You might want to start with a few core vinyl colors and expand your material collection only after you receive orders.
- Cricut Machine (Explore or Maker): $300 - $430
- Essential Tools & Mats: $50 - $100
- Starter Material Bundle: $100 - $200
- Shipping Supplies: $50+
Here are 4 immediate steps to take:
- Identify three potential product niches from your Etsy and Pinterest research.
- Analyze two top competitors for each niche using a platform like eRank.
- Create a detailed startup budget spreadsheet with the costs listed above.
- Select a Cricut machine model that fits your budget and product ideas.
Step 2: Set up your legal structure and get licensed
You can start as a sole proprietorship, which is the simplest structure with no formal action needed. For liability protection, you might consider forming a Limited Liability Company (LLC). An LLC separates your personal assets from business debts, which can be a smart move as you grow.
A mistake some new sellers make is rushing to form an LLC. It costs between $50 and $500 to file and requires annual reports. You can begin as a sole proprietor and convert to an LLC later once your business generates consistent income.
Permits and licenses you will need
First, get a free Employer Identification Number (EIN) from the IRS website. You will need this to open a business bank account and to file taxes, even if you do not plan to hire employees right away. The process is online and takes minutes.
Next, apply for a seller's permit from your state's department of revenue. This permit allows you to collect sales tax from customers. Most states do not charge for this permit, and you can often apply online. Processing can take a few days to two weeks.
Finally, check with your city or county clerk's office for a local business operating license. Fees and requirements vary by location, so visit your local government's website to find the specific forms and costs, which are typically under $100 per year.
Here are 4 immediate steps to take:
- Decide if you will start as a sole proprietorship or an LLC.
- Apply for a free EIN on the official IRS website.
- Find your state's department of revenue website to research its seller's permit process.
- Search for your city or county's business license requirements online.
Step 3: Protect your business with insurance
Once your business is legally set up, the next step is to manage risk. For a Cricut business, product liability is a primary concern. This covers you if a customer claims your product caused harm or damage, like a wall decal peeling paint.
A Business Owner's Policy (BOP) is a good starting point. It bundles general liability and business property insurance. Annual premiums for a home-based business typically range from $400 to $900, depending on your coverage limits and location.
Key coverage areas
- General & Product Liability: Covers third-party injury and property damage. You might want to aim for at least $1 million in coverage, which is a standard limit.
- Business Property: Protects your Cricut machine, computer, and inventory from theft or damage. Calculate the replacement cost of your assets to set this amount.
Many new sellers believe their homeowner's policy will cover their business assets. This is a frequent misunderstanding, as most personal policies exclude business activities. You should confirm this exclusion in your own policy to avoid being underinsured.
When you look for quotes, consider providers that specialize in small e-commerce businesses. Companies like Hiscox, The Hartford, and Next Insurance understand the specific risks and offer tailored policies online.
Here are 4 immediate steps to take:
- Calculate the total replacement value of your Cricut machine, tools, and materials.
- Review your current homeowner's or renter's policy for business-related exclusions.
- Get online quotes for a Business Owner's Policy from two different providers.
- Confirm that any policy you consider includes product liability coverage.
Step 4: Set up your workspace and source materials
Designate your production area
You can start with a dedicated corner of a room, about 50-100 square feet. Check your local city's website for "Home-Based Business" ordinances. Most allow craft businesses without issue, as long as you do not have customer foot traffic or excessive deliveries.
A frequent oversight is not planning for storage. You will need space for your machine, materials, and shipping supplies. Simple shelving units for around $50-$150 can keep your vinyl flat and your blanks organized, which prevents waste from damaged inventory.
Expand your equipment
While the Cricut is your main machine, you may need more hardware depending on your products. If you plan to sell custom apparel, a heat press is a valuable addition. A reliable 15x15 inch clamshell press costs between $200 and $400 and gives professional, lasting results.
Find your material suppliers
You can avoid the mistake of over-ordering inventory by using online suppliers with no minimums. Websites like 143Vinyl and Expressions Vinyl are popular for adhesive and heat-transfer vinyl. For blank apparel like t-shirts and hoodies, JiffyShirts offers bulk pricing without large quantity requirements.
Here are 4 immediate steps to take:
- Measure and clear a dedicated 50-100 square foot workspace.
- Check your city's website for home-based business regulations.
- Research heat press models and prices if you plan to make apparel.
- Create an account with an online vinyl supplier like 143Vinyl or Expressions Vinyl.
Step 5: Set up your payment processing
Choose your payment systems
For online sales, platforms like Etsy have built-in payment processing. For custom orders, you might want to require a 50% non-refundable deposit. This protects you from costs if a client cancels. Many new sellers forget to account for transaction fees, which can be 2.5% to 3.5%.
When you sell at craft fairs or local markets, you need a way to accept payments on the go. For this, JIM offers a streamlined solution. With JIM, you can accept debit, credit, and digital wallets directly through your smartphone. Just tap and done.
At just 1.99% per transaction with no hidden costs or extra hardware needed, it is particularly useful for market stalls where speed and low overhead are important. Your funds are also available instantly.
Here is how it works:
- Get Started: Download the JIM app for iOS.
- Make a Sale: Type the sales amount, hit sell, and ask your customer to tap their card or device on your phone.
- Access Funds: Your money is available right on your JIM card as soon as the sale is done, no waiting for bank transfers.
Here are 4 immediate steps to take:
- Decide on your payment policy: full payment upfront or a 50% deposit for custom work.
- Compare the transaction fees for your primary online sales platform.
- Download the JIM app to prepare for in-person sales.
- Set up your bank account connection within your chosen payment systems.
Step 6: Secure funding and manage your finances
For your first six months, you should plan for $1,000 to $2,500 in working capital. This buffer covers new materials, shipping supplies, and marketing costs before your sales become consistent. Most Cricut businesses are self-funded with personal savings.
If you need external funds, you might look at microloans. The SBA Microloan program offers loans up to $50,000 through local non-profits, with interest rates often between 8% and 13%. For a 0% interest option, Kiva provides crowdfunded loans up to $15,000.
Set up your financial system
A frequent misstep is to mix business and personal finances. Open a dedicated business checking account as soon as you have your EIN. This simplifies bookkeeping and gives a clear picture of your business's health from the start.
From day one, track every dollar. You can use a system like the free Wave app or QuickBooks Self-Employed, which costs around $15 per month. This practice helps you accurately price products and makes filing taxes much less of a headache.
Here are 4 immediate steps to take:
- Calculate your six-month working capital needs, aiming for $1,000-$2,500.
- Research the SBA Microloan program and Kiva to see if you qualify.
- Open a separate business checking account using your EIN.
- Create an account on Wave or QuickBooks to start tracking your finances.
Step 7: Hire help and streamline your operations
Most Cricut businesses start as a solo venture. Once you consistently handle more than 15-20 orders per week, it might be time to get help. This frees you to focus on marketing and designing new products instead of just production.
Hiring your first assistant
Your first hire will likely be a part-time Production Assistant. Their tasks would include weeding vinyl, applying designs, and packaging orders. You can expect to pay an hourly rate between $15 and $20, depending on your location. No special certifications are needed for this role.
A good guideline is to keep labor costs under 30% of your revenue to protect your profit margins. A frequent mistake is to hire too soon, which can drain your cash flow. Wait until your sales volume is predictable and steady before you bring someone on board.
Streamline your workflow
You do not need expensive software to manage operations. A free Trello or Asana board works well to track orders from creation to shipment. For scheduling a helper, a shared Google Calendar is often sufficient to coordinate hours and deadlines.
Be sure you understand the difference between an independent contractor (1099) and an employee (W-2). Misclassifying your help can result in tax penalties. Check your state's department of labor website for the correct definitions and requirements.
Here are 4 immediate steps to take:
- Define the order volume that will trigger your first hire.
- Draft a simple job description for a part-time Production Assistant.
- Research the legal definitions of a 1099 contractor versus a W-2 employee for your state.
- Set up a free Trello board to map your current production workflow.
Step 8: Market your products and find customers
Master social media marketing
Visual platforms are your best friend. Focus your efforts on Pinterest and Instagram. You should post high-quality photos and short videos of your products 3-5 times per week. A frequent oversight is inconsistent posting, which can limit your reach as you build an audience.
For example, a successful campaign could involve creating Instagram Reels that show your process, from weeding vinyl to the final product. This behind-the-scenes content builds trust and engagement. Aim for a mix of product shots, process videos, and customer photos.
Use paid ads and email wisely
Once you have some content, you might want to test Etsy Ads with a small budget, like $5-$10 per day. A typical conversion rate is 1-3%, so if 100 people click your ad, you can expect 1-3 sales. This helps you calculate your customer acquisition cost.
You can also build an email list by offering a 10% discount for new subscribers. Promote this offer in your Etsy shop banner and social media bio. Email marketing is effective for announcing new products and running special promotions for repeat customers.
Here are 4 immediate steps to take:
- Set up a business account on Pinterest or Instagram.
- Plan your first week of social media content, including at least one video.
- Allocate a small daily budget to test Etsy Ads for your most popular item.
- Create a 10% discount code to encourage email sign-ups.
Step 9: Price your products for profit
A reliable pricing formula is: (Material Costs + Time Value + Overhead) x Markup. Your markup should be between 3x and 4x your total cost. This ensures a gross profit margin of 65-75%, which covers marketing, taxes, and your take-home pay.
Calculate your total cost
Many sellers forget to include small expenses. Your material costs should account for the vinyl, the blank item, transfer tape, and even a percentage for mistakes or wasted material. For your time, assign yourself an hourly wage, like $20 per hour, and track your minutes.
For example, a custom onesie might have these costs:
- Blank Onesie: $3.00
- Heat-Transfer Vinyl: $1.50
- Time (15 minutes @ $20/hr): $5.00
- Overhead (packaging, fees): $1.00
With a total cost of $10.50, a 3x markup would lead to a retail price of $31.50. This might seem high, but undervaluing your work is a quick path to burnout. Check competitor prices on Etsy to see if your price is aligned with the market.
Here are 4 immediate steps to take:
- Calculate the full cost for one of your main products, including all materials and time.
- Set an hourly wage for yourself to use in your pricing calculations.
- Research the prices of five similar items on Etsy to understand the market range.
- Apply a 3x or 4x markup to your product cost to determine your final price.
Step 10: Control quality and scale your operations
Establish your quality standards
Create a simple quality control checklist for every item. For apparel, this could mean the design is centered, has no bubbles, and withstands a wash test. For decals, check that the vinyl is cut cleanly and weeds easily. A good metric is to keep your remake rate under 5%.
A frequent mistake is to ship products with small flaws to save time. This often leads to poor reviews and returns. It is better to absorb the cost of a remake than to risk your shop's reputation over a single order.
Know when to scale
Once you consistently hit 15-20 orders per week for a month, you can consider your first hire. When you reach 30-40 orders per week, it might be time to invest in a second Cricut machine to run two jobs at once. This prevents production bottlenecks.
You might want to wait until you have three straight months of high sales volume before you upgrade your workspace or buy expensive equipment. This ensures your growth is stable and not just a seasonal spike. Use a Trello board to manage the increased order flow.
Here are 4 immediate steps to take:
- Create a physical quality control checklist for your main product.
- Track your order error or remake rate for one month to set a baseline.
- Define the monthly sales volume that will trigger investment in a second machine.
- Map out a scaled workflow for 30+ orders per week on a Trello board.
Your Cricut business is a chance to turn creativity into profit. Remember, consistent quality and smart pricing build a lasting brand more than chasing trends. You have the steps, now go make something wonderful.
As you grow, keep your payments simple. For in-person sales, JIM turns your phone into a card reader for a flat 1.99% fee, no extra hardware needed. This lets you focus on your craft. Download JIM and be ready for your first customer.
.avif)


