
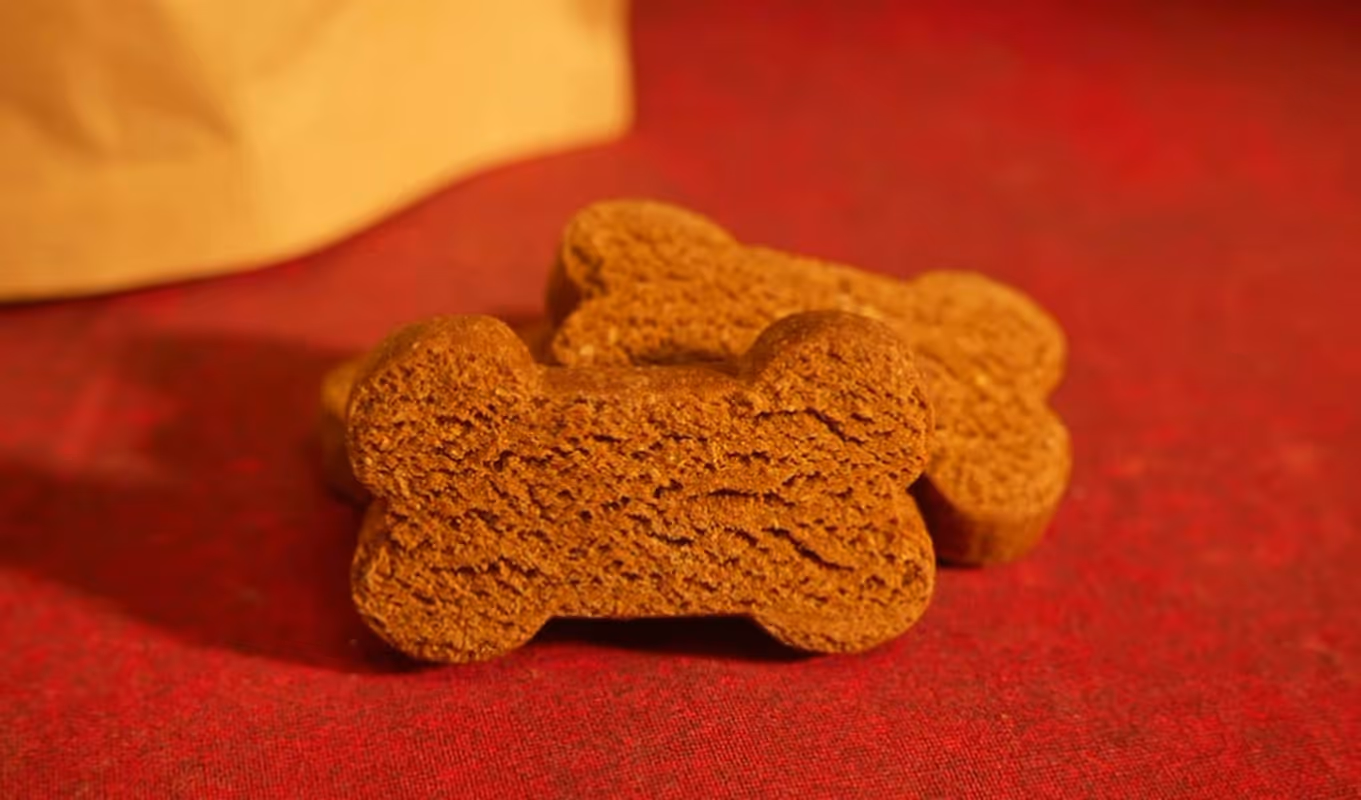
Starting a dog treat business can be a rewarding venture, blending a passion for baking and canine nutrition with smart business sense. The market is worth billions of dollars, with a steady demand for quality treats for everything from puppy training to special dietary needs.
This guide will take you through the practical steps of validating your business concept, obtaining the right licenses, acquiring equipment, and building supplier relationships to help you launch a successful dog treat business in the U.S.
Step 1: Plan your business and validate your idea
Before you bake a single treat, you need to understand the market. Visit local pet stores and farmers' markets to see what sells. Note the prices, ingredients, and packaging. You can also browse online forums like Reddit's r/dogs to learn what problems owners want to solve.
Once you know what customers want, see who already provides it. For online competitors, you might use a platform like Semrush to analyze their keywords. For local rivals, a simple Google Maps search reveals who is nearby. This helps you find a unique angle for your brand.
Many new owners overlook pet food regulations. Your treats are considered animal feed, not human food. Check your state's Department of Agriculture website for its "commercial feed license" application and specific labeling rules, which often follow AAFCO guidelines.
Estimate your startup costs
Initial costs typically range from $1,000 to $3,500. This covers business licensing ($100-$500), basic equipment like a commercial dehydrator and mixer ($500-$2,000), and initial inventory for ingredients and packaging ($350-$900). These figures give you a realistic financial target.
To manage these costs, avoid buying ingredients in bulk until you finalize your recipes. This prevents waste if a recipe needs changes or does not sell well. A smarter financial move is to start with small test batches to confirm your product's appeal first.
Here are 3 immediate steps to take:
- Research your state's specific commercial feed license application process.
- Visit two local pet stores and one farmers' market to analyze competitor products.
- Create a detailed startup budget based on the cost ranges provided.
Step 2: Set up your legal structure and get licensed
You should consider an LLC (Limited Liability Company) for your business structure. It protects your personal assets if the business faces debt or lawsuits. For tax purposes, an LLC is simpler than a corporation because profits pass through to your personal tax return.
To form an LLC, you file "Articles of Organization" with your Secretary of State. The filing fee typically runs from $50 to $500. The approval process can take a few days or a few weeks, so it is a good idea to start early.
Navigate the licensing maze
Your most important permit is the "Commercial Feed License" from your state's Department of Agriculture. Dog treats are legally considered animal feed. A mistake many new owners make is to follow rules for human food, which can lead to compliance issues and fines.
This license usually costs between $25 and $100 annually. In addition, the FDA oversees pet food safety at the federal level. Most states align their own rules with guidelines from the Association of American Feed Control Officials (AAFCO), so familiarize yourself with them.
Finally, check with your city or county for a general business license and a sales tax permit. These local requirements vary widely, so a quick visit to your local government's website will give you the exact forms and fees you need.
Here are 4 immediate steps to take:
- File for an LLC with your Secretary of State.
- Apply for a Commercial Feed License through your state's Department of Agriculture.
- Check your city or county website for local business license requirements.
- Register for a sales tax permit if your state requires it.
Step 3: Secure your insurance and manage risk
Find the right coverage
Start with General Liability Insurance to protect against claims if a dog gets sick from your treats. A $1 million policy is standard, with annual premiums typically between $400 and $700. This is your foundational safety net.
If you own your baking space, you need Commercial Property Insurance. For deliveries, a Commercial Auto policy is necessary. Should you hire help, even part-time, you must have Workers' Compensation insurance to cover on-the-job injuries.
A frequent mistake is to assume a homeowner's policy covers a home-based business. This is rarely true. You need a separate commercial policy or a specific endorsement to avoid personal liability for business-related claims.
Work with specialized providers
Your biggest risk is product liability from a contaminated batch or an allergic reaction. You might want to consider providers like Pet Care Insurance, The Hartford, or Hiscox. They understand the pet industry and can bundle policies for better rates.
Here are 4 immediate steps to take:
- Request a quote for a $1 million General Liability policy.
- Ask your homeowner's insurance agent about a commercial business rider.
- Contact a specialized provider like Pet Care Insurance for a package quote.
- If you plan to hire, research Workers' Compensation requirements in your state.
Step 4: Set up your baking space and buy equipment
Many people assume they can use their home kitchen, but pet food often falls outside standard "cottage food laws". You should check with your state's Department of Agriculture to see if a separate or inspected kitchen is required for your operation.
If you rent, look for a small commercial kitchen space around 200-500 square feet. Confirm the zoning allows for food production. When you negotiate a lease, you might ask for a shorter 1-2 year term to limit your initial commitment.
Get the right equipment
Your home oven might work for test batches, but you will need commercial-grade gear to scale up. Residential equipment wears out quickly under constant use and may not meet health department standards. A mistake is to invest in home appliances that you will soon outgrow.
A 20-quart commercial mixer can cost $1,500-$3,000. A good 10-tray dehydrator, like one from Excalibur, runs $300-$800. Also, budget about $200-$500 for scales, baking sheets, and cooling racks.
Find your suppliers
For ingredients, start with local restaurant supply stores. Once you have proven recipes, you can move to bulk suppliers like Azure Standard or Central Milling. Their minimum orders are often a single 50 lb bag, which helps manage costs and prevent waste.
Here are 4 immediate steps to take:
- Contact your Department of Agriculture about kitchen inspection requirements.
- Price a 20-quart commercial mixer and a 10-tray dehydrator.
- Research local restaurant supply stores for ingredient costs.
- If renting, ask landlords if their space is zoned for food production.
Step 5: Set up your payment processing
Most customers expect to pay with cards or digital wallets. A mistake new owners often make is overlooking high transaction fees, which can be 2.5% to 3.5% plus monthly charges. You should look for a payment solution with transparent, low rates to protect your profit margins.
For selling at farmers' markets or events, you need a mobile option. For businesses that need to accept payments on-site or on-the-go, JIM offers a streamlined solution. With JIM, you can accept debit, credit and digital wallets directly through your smartphone - just tap and done.
At just 1.99% per transaction with no hidden costs or extra hardware needed, it's particularly useful for managing cash flow at markets or pop-up events. This rate is competitive, as many other providers charge more.
- Get Started: Download JIM app for iOS
- Make a Sale: Type the sales amount, hit sell, and ask your customer to tap their card or device on your phone
- Access Funds: Your money is available right on your JIM card as soon as the sale is done - no waiting for bank transfers
Here are 3 immediate steps to take:
- Compare the transaction fees of at least two payment processors.
- Download the JIM app to explore its interface.
- Decide if you will offer subscriptions, as this may require different payment features.
Step 6: Fund your business and manage finances
Secure your funding
For the first six months, you should plan for $3,000 to $7,000 in working capital. This covers ingredients, packaging, and marketing. Many new owners focus on production but forget to budget for promotion, so set aside at least $1,000 to find your first customers.
The SBA Microloan program is a good place to start. It offers loans from $500 to $50,000, with interest rates typically between 8% and 13%. You will need a solid business plan and a good personal credit score to qualify for these loans.
You might also consider Kiva, which facilitates 0% interest loans up to $15,000 through crowdfunding. This option works well if you have a strong community and a compelling story. It can build social proof before you even make your first sale.
Manage your money
With funding in place, your first move should be to open a dedicated business bank account. Mixing personal and business finances creates accounting headaches and can remove the liability protection your LLC provides. Keep every business-related receipt from day one.
Here are 4 immediate steps to take:
- Draft a 6-month budget that includes at least $1,000 for marketing.
- Open a separate business bank account.
- Review the application requirements for the SBA Microloan program.
- Explore the Kiva platform to see if its crowdfunding model fits your business.
Step 7: Hire your team and streamline operations
You will likely handle everything yourself at first. The time to hire is when production tasks consume more than 50% of your workweek, leaving little time for sales or marketing. This shift signals that you need support to grow.
Hire your first employee
Your first hire is often a part-time Kitchen Assistant. Their duties include mixing ingredients, operating equipment, and packaging finished treats. A competitive hourly wage is typically between $15 and $20. Many owners make the mistake of hiring without a formal job description, which causes confusion later.
Although not always required for pet food, you might ask your employee to get a Food Handler's Certificate. The online course costs about $10-$15 and shows a commitment to safety. It adds a layer of professionalism to your operation.
Standardize your workflow
To maintain quality, create a Standard Operating Procedure (SOP) for each recipe. This is a simple document that lists exact measurements, mixing times, and dehydrator settings. An SOP ensures consistency, no matter who bakes the treats.
With an employee on board, you can use scheduling software like Homebase or When I Work to manage shifts. Both offer free plans for small teams. As a financial benchmark, aim to keep total labor costs below 30% of your revenue.
Here are 4 immediate steps to take:
- Draft a job description for a part-time Kitchen Assistant.
- Check local guidance on Food Handler's Certificates.
- Create a simple SOP for your most popular treat recipe.
- Explore the free plans on scheduling apps like Homebase or When I Work.
Step 8: Market your treats and win customers
Start with local channels
Your first customers are often nearby. Set up a booth at local farmers' markets or pet-friendly events. A good goal is to sell 20-30 bags per market day. You can also offer free samples to local dog groomers and vets to build word-of-mouth referrals.
Many new owners focus only online and miss these local opportunities. You can build a loyal customer base in your community first. This provides immediate feedback and cash flow before you scale your digital efforts.
Build your online brand
Create an Instagram profile dedicated to your brand. Post high-quality photos of your treats, packaging, and happy dog customers. You can use a free design app like Canva to create professional-looking posts. Aim to post 3-5 times per week to stay visible.
Once you have a social presence, consider an online store on a platform like Etsy. This gives customers a direct way to buy. A frequent mistake is to use dark, blurry photos. Your product shots should be bright and clear to look trustworthy and appealing.
Run targeted digital ads
With your online shop ready, you can run targeted ads on Facebook or Instagram. Start with a small budget, like $5-$10 per day. Target users in your city who have shown interest in dogs or specific breeds. Aim for a Customer Acquisition Cost (CAC) under $25.
Here are 4 immediate steps to take:
- Set up a business Instagram account and post your first three photos.
- Identify two local farmers' markets or pet events to attend in the next month.
- Approach one local dog groomer with free samples.
- Outline a test ad campaign on Facebook with a $5 daily budget.
Step 9: Price your products for profit
Start with cost-plus pricing to find your baseline. First, calculate your Cost of Goods Sold (COGS) for one bag of treats. This includes ingredients, packaging, and your labor. A mistake many owners make is they forget to pay themselves for their time in the kitchen.
For example, if ingredients and packaging cost $1.50 and you value your labor at $0.50 per bag, your COGS is $2.00. A standard markup in this industry is 300-400%. This calculation puts your retail price between $6 and $8 per bag.
With this baseline, research your competitors. Look at similar products on Etsy and at local farmers' markets. If their prices are much higher, you might have room to increase yours. If they are lower, you need to justify your premium price through quality or branding.
Your goal should be a gross profit margin of 60-75%. This gives you enough room to cover overhead costs like marketing, insurance, and software subscriptions, while still securing a healthy profit for the business.
Here are 4 immediate steps to take:
- Calculate the COGS for one batch of your most popular treat.
- Research the prices of three direct competitors on Etsy or at a local market.
- Set a test price for one product using a 300% markup.
- Calculate your potential gross profit margin with that test price.
Step 10: Maintain quality and scale your operations
Establish your quality standards
To ensure consistency, create a quality control checklist. Each batch should have a unique number logged with its production date. A simple mistake is to skip this step, which makes a recall nearly impossible if an issue arises.
Measure quality with clear metrics. For example, aim for less than a 5% variance in the weight of each treat bag. You can also track customer feedback, with a goal of fewer than 1% of orders resulting in a complaint about quality.
Know when to scale
Growth should be deliberate. A good signal to expand is when you consistently sell out at markets or your online orders surpass 50 per week for a month straight. This shows you have sustained demand, not just a temporary spike.
At this point, you might invest in larger equipment, like a 40-quart mixer or a second dehydrator. As your ingredient orders grow, you can use inventory software like Katana or inFlow Inventory to manage stock levels and reorder points automatically.
Here are 4 immediate steps to take:
- Create a batch tracking log with columns for date, recipe, and quantity.
- Set a quality metric for product weight, aiming for under 5% variance.
- Define the sales volume that triggers your expansion plan, such as 50 orders per week.
- Review inventory management software like Katana to see if it fits your needs.
Your dog treat business is more than a recipe. Success comes from the quality in each bag and your bond with the dog community. You have the roadmap, so go turn that passion for pups into a business you can be proud of.
Once you make your first sales, you need a simple way to accept payments. JIM turns your phone into a card reader for a flat 1.99% fee, with no extra hardware. It keeps transactions simple at the farmers' market. Download JIM and you are ready.
.avif)


