
Starting a drywall business is a rewarding venture that blends skilled craftsmanship with sharp business savvy. The industry is valued in the tens of billions of dollars, with steady demand for drywall installation and repair across new residential builds, commercial projects, and home renovations.
This guide will take you through the practical steps of securing funding, obtaining the right permits, acquiring equipment, and building supplier relationships to help you launch a successful drywall business in the U.S.
Step 1: Create your business plan and research the market
First, get a feel for your local market. You can do this by talking to general contractors and home builders. Ask them who they currently use for drywall work and what their typical rates are. Also, check your county clerk's office for recent building permits to see where new projects are happening.
Next, look at your direct competition. Search for drywall contractors on Google Maps, Yelp, or Angi in your service area. A common misstep is to assume you must offer the lowest price. Instead, focus on what makes you different, like your reliability or specialization in certain finishes.
Estimate your startup costs
With a clearer picture of the market, you can map out your finances. Initial investment can vary, but it helps to break down the major expenses. Many new owners forget to budget for working capital, which covers costs before your first invoices get paid.
- Tools and Equipment: Expect to spend $2,000 - $5,000 for professional-grade taping tools, sanders, and basic scaffolding.
- Work Vehicle: A reliable used van or truck can range from $10,000 to $30,000.
- Insurance and Licensing: Set aside $700 - $2,000 for your first year of general liability insurance and business licensing.
- Working Capital: It is wise to have $5,000 - $10,000 in cash reserves to cover expenses for the first 2-3 months.
Here are 3 immediate steps to take:
- Identify three new housing developments in your area and find out which drywall crews work there.
- List five local competitors from online searches and note the services they highlight.
- Create a detailed startup budget based on the cost estimates above.
Step 2: Set up your legal structure and get licensed
Most new drywall businesses choose a Limited Liability Company (LLC). This structure protects your personal assets, like your house and car, if the business faces a lawsuit. It also offers pass-through taxation, so you report business profits on your personal tax return.
A mistake some make is not thinking about taxes early. Once you are consistently profitable, you might consider electing S Corp status for your LLC. This can potentially save you money on self-employment taxes, but it is best to talk to an accountant first.
Secure your licenses and permits
First, get a free Employer Identification Number (EIN) from the IRS website; you will need this for taxes and banking. Next, check your state's contractor licensing board. Most states require a specific license for drywall or specialty contracting, which is a key compliance step.
The application fee for a state license often runs between $300 and $500, and processing can take 4 to 8 weeks. You may need to show proof of experience and pass an exam. Operating without the proper license can result in steep fines and work stoppages.
You will also need a general business license from your city or county clerk's office. For individual projects, you or the general contractor will pull a building permit. This ensures the work meets local building codes enforced by municipal inspectors.
Here are 3 immediate steps to take:
- Register your business as an LLC with your state's Secretary of State.
- Apply for a free Employer Identification Number (EIN) on the IRS website.
- Find your state's contractor licensing board online and review its requirements for drywall contractors.
Step 3: Secure your insurance and manage risk
Protecting your new business starts with the right insurance. General liability is your first line of defense, covering property damage or injuries to third parties. Aim for a policy with at least $1 million in coverage, which typically costs between $600 and $1,800 per year.
You will also need commercial auto insurance for your work van or truck. In addition, if you plan to hire help, workers’ compensation is legally required in most states. This policy covers medical bills and lost wages for employees injured on the job.
Choosing the right coverage and provider
Many new owners underestimate the specific risks of drywall work. A basic policy might not cover damage from drywall dust to a client’s HVAC system or flooring. Before you buy a policy, always confirm it covers these types of incidents.
With those risks in mind, you might want to consider insurers who specialize in the trades. Companies like Hiscox, The Hartford, and Next Insurance understand the unique challenges contractors face and can help you build a policy that fits your business.
Here are 3 immediate steps to take:
- Request a quote for a $1 million general liability policy from a construction-focused insurer.
- Contact an agent to discuss commercial auto insurance for your work vehicle.
- Ask potential insurance providers how their policies specifically address dust-related property damage claims.
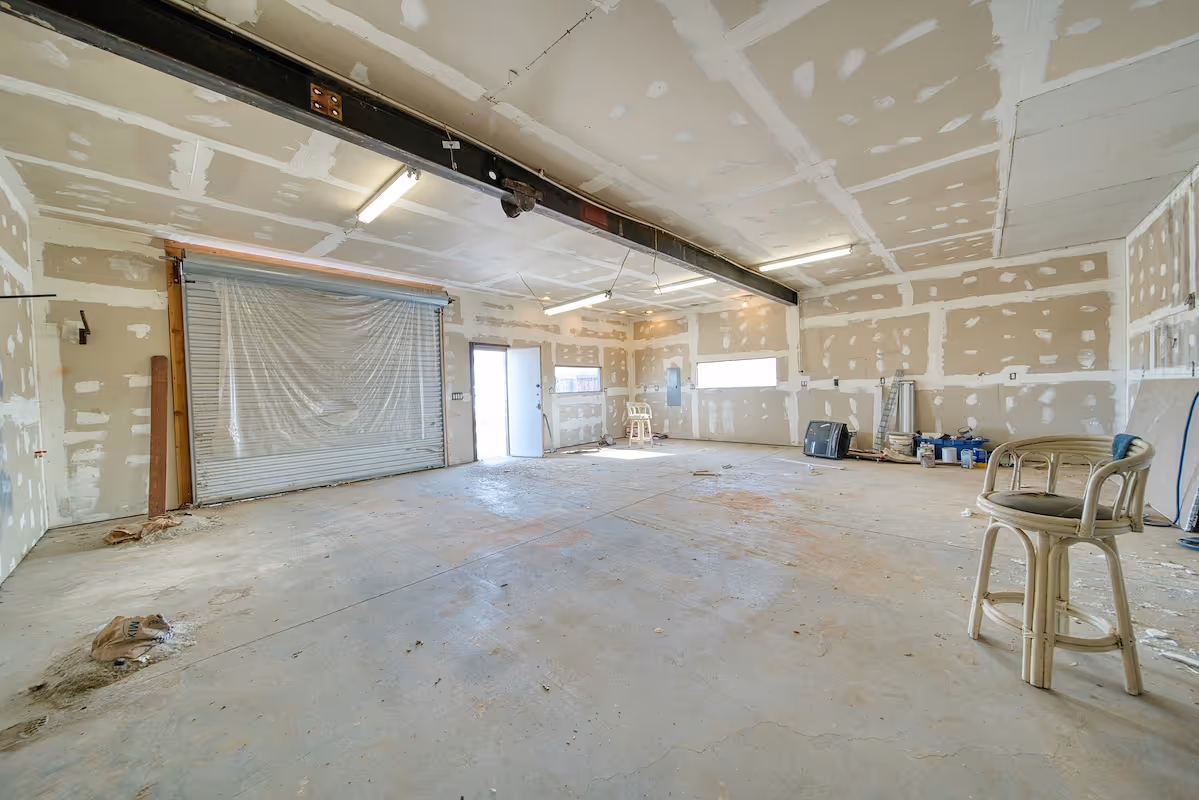
Step 4: Set up your workspace and buy equipment
You can often start from a home garage, but check your local zoning laws for restrictions on commercial vehicle parking or material storage. A 10x20 foot storage unit in a light industrial zone is a solid alternative for about $150-$300 per month.
Acquire your gear and materials
Quality equipment pays for itself in speed and finish. Some new owners try to save money with cheap tools, only to replace them within a year. Focus on professional-grade gear from the start. You will need a few key items to work efficiently.
- Automatic Taper: A TapeTech or Columbia taper will run you $1,500 - $2,500.
- Drywall Sander: A dustless model like the Festool Planex costs $1,200 - $2,000.
- Drywall Lift: This makes hanging ceiling sheets a one-person job for $200 - $400.
For materials, build a relationship with a local building supply yard. They offer better pricing on bulk items like sheetrock and joint compound than big-box retail stores. Ask for their contractor pricing list to compare costs directly.
Here are 3 immediate steps to take:
- Check your city’s zoning rules for operating a business from your home garage.
- Price out an automatic taper and a drywall lift from two different brands.
- Get a contractor price list from a local building supply yard.
Step 5: Set up your payment processing
In the drywall trade, it is standard to ask for a 50% deposit upfront to cover materials. The remaining balance is typically due upon completion and client sign-off. This structure helps manage your cash flow and reduces financial risk on each project.
Some new owners only accept checks, but this can slow you down while you wait for funds to clear. Many clients also prefer the convenience of paying with a credit card, which makes your business appear more professional and established.
For payments on-site, JIM offers a streamlined solution. You can accept debit, credit, and digital wallets directly on your smartphone. At just 1.99% per transaction with no hidden costs, it is particularly useful for collecting final payments after a client walkthrough.
This rate is competitive, as other providers often charge between 2.5% and 3.5%. With JIM, you can get paid instantly without extra hardware. Here is how it works:
- Get Started: Download the JIM app for iOS.
- Make a Sale: Type the sales amount, hit sell, and ask your customer to tap their card or device on your phone.
- Access Funds: Your money is available right on your JIM card as soon as the sale is done - no waiting for bank transfers.
Here are 3 immediate steps to take:
- Draft a standard contract that requires a 50% deposit before work begins.
- Download the JIM app to explore its features for on-site payments.
- Calculate the fee difference between 1.99% and 2.9% on a sample $3,000 job to see the potential savings.
Step 6: Secure funding for your business
A business line of credit is a flexible option for material purchases. You can often secure one from your local bank with a solid business plan. This lets you draw funds as needed and only pay interest on what you use, which helps manage cash flow between jobs.
Explore government-backed loans
You might want to look into an SBA 7(a) loan for equipment or working capital. For a new business, loans often range from $25,000 to $100,000. Lenders typically look for a credit score above 680, and interest rates are usually around 3-5% over the prime rate.
Some new owners rely too much on personal credit cards. The high interest rates can quickly eat into your profits. A formal loan or line of credit almost always offers better terms and helps build your business's credit history separately from your personal finances.
Plan your working capital
With funding in mind, you need to calculate your working capital. Plan to have at least $10,000 to $20,000 in cash reserves. This amount should cover your first six months of expenses like insurance, fuel, and materials before your first invoices get paid.
Here are 3 immediate steps to take:
- Contact your local bank to ask about a business line of credit for contractors.
- Check the requirements for an SBA 7(a) loan on the official SBA website.
- List your monthly expenses to calculate your six-month working capital needs.
Step 7: Hire your crew and manage operations
Build your team
Your first hires will likely be a drywall hanger and a finisher. A hanger measures and installs sheets, while a finisher handles the skilled work of taping and mudding. Expect to pay a hanger $20-$30 per hour. A good finisher can command $25-$40 per hour.
A mistake some new owners make is to hire based on the lowest wage. A slow finisher can kill your profit on a job. It is better to pay more for someone who is fast and clean, as it reduces callbacks and keeps your schedule on track.
While there are no formal state certifications for these roles, you might want to require an OSHA 10-hour construction safety card. This shows a basic grasp of job site safety and can help with your insurance rates.
Streamline your operations
To manage your schedule, you can start with a shared Google Calendar. As you grow, software like Jobber or Housecall Pro helps you dispatch crews and track job progress. These systems prevent double-bookings and inefficient travel routes between projects.
When you think about scaling, a good rule of thumb is that one skilled finisher can typically support between $100,000 and $150,000 in annual revenue. This metric helps you decide when it is time to hire more help.
Here are 3 immediate steps to take:
- Write job descriptions for a drywall hanger and a finisher with target pay rates.
- Look up the OSHA 10-hour construction training to understand its requirements.
- Compare the features of Jobber and Housecall Pro to see how they fit your business.
Step 8: Market your business and find customers
Your most reliable source of work will be general contractors (GCs). You can build a list by visiting new construction sites or checking public permit records. Introduce yourself with a simple capabilities sheet that shows your insurance, license number, and photos of your work.
Establish your online footprint
Set up a free Google Business Profile. This is how local homeowners and builders will find you through search. Upload high-quality photos of your finished projects, especially smooth walls and crisp corners. A simple one-page website also adds a layer of professionalism.
Many new owners get tempted by paid lead services. The cost per lead can be high, and you are often competing on price alone. Instead, focus on getting reviews on your Google profile. This builds trust and costs you nothing but a quick follow-up with a happy client.
Your goal should be to win at least one out of every four bids you submit. For paid ads, a customer acquisition cost under $200 is a reasonable target for a profitable job. This helps you measure if your marketing spend is effective.
Here are 3 immediate steps to take:
- Identify and contact five local general contractors to introduce your services.
- Create a free Google Business Profile and upload at least three photos of your best work.
- Draft a follow-up email template to request reviews from satisfied clients.
Step 9: Set your pricing and bidding strategy
Choose your pricing model
Most drywall work is priced per square foot of board. For a standard Level 4 finish, rates often fall between $1.50 and $3.50 per square foot. A high-end Level 5 smooth finish can command a premium, sometimes pushing the price over $4.00 per square foot.
For smaller jobs or repairs, you might want to price by time and materials. Another option is to charge per sheet of drywall installed and finished. This can range from $50 to $70 per sheet, depending on job complexity and location.
Calculate your profit and markup
Your bid should cover direct costs plus your profit. Start with your labor and material estimates, then add a markup of 15-25% on materials like drywall and mud. This helps cover your time spent sourcing and handling them.
A mistake many new owners make is forgetting to account for overhead in their bids. Your price must cover insurance, fuel, and tool maintenance. Aim for a gross profit margin of 25-40% on each job to stay healthy and grow your business.
To see where you stand, you can call a few local competitors for a ballpark quote on a simple project. This gives you a feel for the market without starting a price war. Your goal is not to be the cheapest, but to price your reliability and quality fairly.
Here are 3 immediate steps to take:
- Calculate your price per square foot for a standard Level 4 finish, including labor, materials, and a 30% profit margin.
- Call two local competitors to get a rough quote for hanging and finishing a 500-square-foot room.
- Create a bid template that itemizes labor, materials with a 20% markup, and overhead costs.
Step 10: Implement quality control and scale your operations
As your business grows, maintaining quality is what will protect your reputation. You can standardize your work using the industry’s five levels of drywall finish, defined by ASTM C840. Most residential jobs require a Level 4 finish, while high-end projects may specify a Level 5 smooth wall.
To measure your quality, track your callback rate. A good target to aim for is under 5%. Passing city inspections on the first attempt is another strong indicator of consistent, high-quality work. This data shows you where your team excels and where you might need more training.
Know when to grow
A mistake some owners make is expanding too quickly, which lets quality slip. A good signal that it is time to hire another finisher is when your crew is consistently booked more than 4-6 weeks in advance. This prevents burnout and keeps your project pipeline from overflowing.
Once your gross profit margin stays above 30% for a few consecutive quarters, you might reinvest in growth. This could mean buying a second work van or upgrading to software like Buildertrend to manage multiple crews and complex project schedules more effectively.
Here are 3 immediate steps to take:
- Create a simple checklist for your crew that defines your standard for a Level 4 finish.
- Start tracking your callback rate for each job over the next month.
- Review your schedule to see how far out you are currently booked.
You now have the steps to launch your drywall business. Remember, your success hinges on reliability just as much as the quality of your finish. Be the contractor who shows up on time and leaves a clean site. You are ready to get started.
And when it is time to get paid, a simple solution like JIM lets you accept cards right on your smartphone. With no extra hardware and a flat 1.99% fee, it keeps your cash flow steady. Download JIM and you are set.
.avif)


