
Starting a food import business is a rewarding venture that combines a passion for global cuisine with sharp business savvy. The global food trade is a multi-billion dollar industry, with steady demand for unique international products from restaurants, specialty grocers, and online shoppers.
This guide will take you through the practical steps of validating your business concept, building supplier relationships, obtaining the right licenses, and securing funding to help you launch a successful food import business in the U.S.
Step 1: Validate your idea and plan the budget
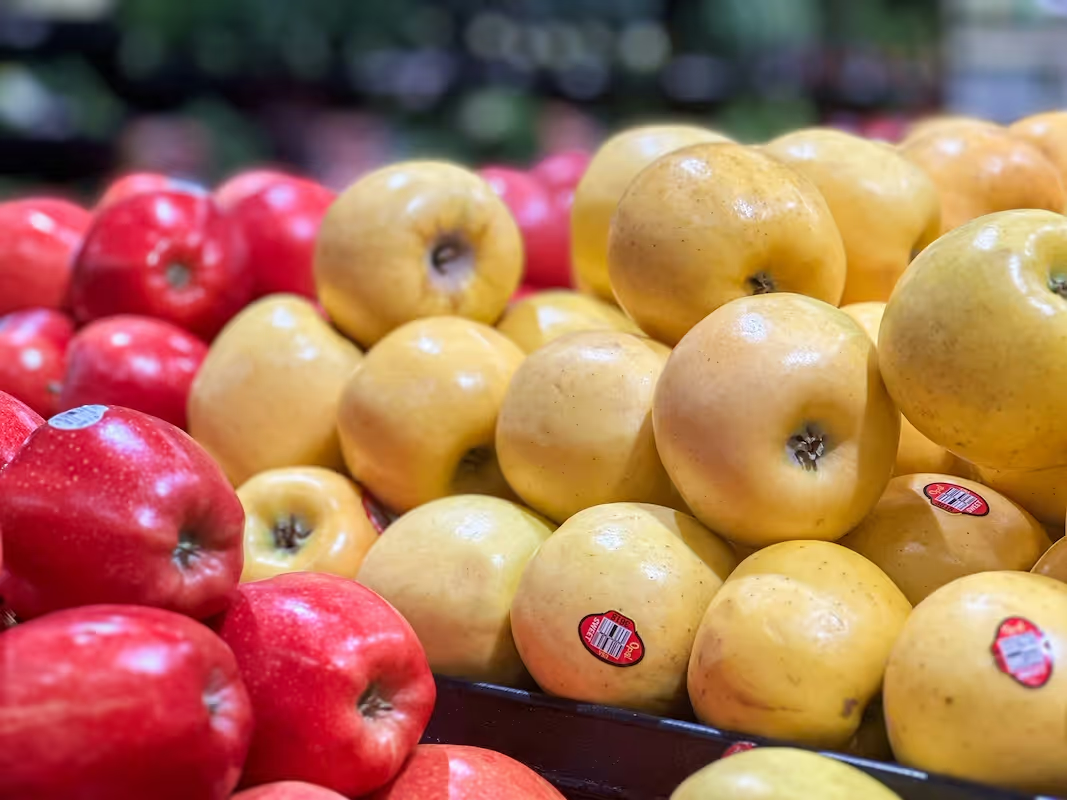
Start your research on the ground. Visit local ethnic grocers and high-end food markets to see what is on the shelves, what is missing, and what the retail prices are. This direct observation is invaluable for spotting real opportunities.
For broader data, consult the USDA's Global Agricultural Information Network (GAIN) reports. They offer free, detailed insights into food trends and market conditions for specific countries and products. This helps you match your ideas with documented demand.
Analyze competitors and costs
Once you have a product category in mind, look at the competition. Databases like ImportGenius can show you actual shipment records, revealing who is importing what and from where. This gives you a true picture of the competitive landscape.
A frequent misstep is to only watch local shops. Your real competition might be a national online retailer. Widen your search to include e-commerce players who sell similar imported goods across the country.
Speaking of costs, your initial investment requires careful planning. A solid starting budget helps prevent surprises. Expect to allocate funds across several key areas before you make your first sale. A typical breakdown includes:
- Business formation and FDA registration: $500 - $1,500.
- First inventory purchase: $5,000 - $25,000.
- Shipping, customs, and tariffs: Often 15-25% of your inventory's value.
- Basic warehousing and marketing: $2,500 - $10,000.
Here are 4 immediate steps to take:
- Visit three specialty food stores to analyze their imported product selection and pricing.
- Search the USDA GAIN database for a report on one product you are considering.
- Draft a preliminary budget with estimated costs for licensing, inventory, and shipping.
- Identify two online competitors and study their product offerings and website.
Step 2: Set up your legal structure and get licensed
You should consider forming a Limited Liability Company (LLC). It protects your personal assets if the business faces legal issues. State filing fees typically range from $50 to $500. An LLC provides a solid mix of liability protection and operational simplicity for a new venture.
Understand key federal rules
Your main regulatory bodies are the Food and Drug Administration (FDA) and U.S. Customs and Border Protection (CBP). You must register your company as a Food Facility with the FDA, which is free and can be completed online before your first shipment arrives.
You also need a Foreign Supplier Verification Program (FSVP) for each food and supplier. This is a formal plan that shows you have verified your suppliers meet U.S. safety standards. A frequent misstep is to treat this as simple paperwork; it requires detailed documentation.
To handle customs, you will need a licensed customs broker. They manage the complex import declarations and communicate with CBP on your behalf. Broker fees often run from $150 to $500 per shipment, a worthy investment to avoid delays and fines.
In addition, you will need a state business license and possibly a seller's permit. If you plan to store food, check with your local health department for their specific permit requirements and inspection schedules. These rules vary significantly by location.
Here are 4 immediate steps to take:
- Decide on an LLC for your business and check your state's filing fees.
- Complete the free FDA Food Facility Registration online.
- Contact two customs brokers to understand their services and fees.
- Search your state's official website for its business license application.
Step 3: Secure the right insurance coverage
With your legal structure in place, the next move is to manage risk. Product liability insurance is your top priority. It protects you if a consumer gets sick from your product. A single contamination claim can be financially devastating without this coverage.
You will also need cargo insurance to protect your goods during transit. A frequent oversight is assuming your supplier's policy covers the full journey. It often does not, leaving your goods unprotected once they leave the foreign port.
Here are the main types of coverage to consider:
- General & Product Liability: Covers injury or property damage claims. Look for at least $1 million in coverage, with annual premiums often from $1,500 to $5,000 for a new business.
- Product Recall Insurance: Covers the high cost of removing a faulty product from shelves. This is often an add-on.
- Cargo Insurance: Protects inventory against loss or damage during shipping, which is vital for perishable goods.
- Workers' Compensation: Required in most states as soon as you hire your first employee.
You might want to work with an insurance broker who understands the food import business. Providers like The Hartford, Chubb, and the Food Liability Insurance Program (FLIP) have experience in this sector. A specialist can find policies that cover specific risks like spoilage.
Here are 4 immediate steps to take:
- Request quotes for a $1 million product liability policy.
- Contact an insurance broker who specializes in the food industry.
- Ask about adding product recall coverage to your liability policy.
- Review a sample cargo insurance policy to understand its spoilage clauses.
Step 4: Find a location and get the right equipment
Select your commercial space
Start by looking for a 500-1,500 square foot space. This size accommodates initial inventory and a small packing area. Check that the property is zoned for commercial or light industrial use, which permits storage and distribution activities. Your city's planning department website has this information.
When you negotiate a lease, ask about a Tenant Improvement (TI) allowance. This is money from the landlord to help you build out the space. It can cover costs for installing a walk-in cooler or upgrading electrical systems, which helps manage upfront expenses.
Purchase your warehouse equipment
You can begin with a few key items to improve efficiency and safety. Your initial setup will likely include:
- Pallet Jack: A used one costs around $300-$700.
- Commercial Shelving: Expect to pay $150-$400 per unit. Uline is a common supplier for this.
- Cold Storage: A commercial refrigerator starts at $2,000, while a walk-in cooler can exceed $8,000.
A frequent oversight is underestimating cold storage needs. Map out your product flow to determine if a simple refrigerator will suffice. Before you sign a lease, confirm the building's electrical panel can handle the load of a larger cooling unit to avoid costly surprises.
Here are 4 immediate steps to take:
- Search online commercial real estate sites for spaces zoned for light industrial use.
- Contact your city's planning department to verify zoning for a potential address.
- Get quotes for a used pallet jack and new commercial shelving.
- Ask a commercial landlord about their standard Tenant Improvement allowance.
Step 5: Set up payment processing
Establish your payment terms
For wholesale clients like restaurants, Net 30 terms are standard, which means they have 30 days to pay. For direct sales at markets or online, you will require payment upfront. A clear policy prevents cash flow problems from the start.
A frequent mistake is to offer generous credit terms too early. You might want to stick to stricter terms like payment on delivery for new clients. Once you establish a trusted relationship, you can offer more flexibility.
Choose a payment solution
With your terms decided, you need a way to accept money. When you select a payment processor, look closely at transaction fees. These can add up quickly when your sales volume is low.
For a food import business that needs to accept payments on-site or on-the-go, JIM offers a streamlined solution. With JIM, you can accept debit, credit and digital wallets directly through your smartphone. Just tap and done.
At just 1.99% per transaction with no hidden costs or extra hardware needed, it is particularly useful for selling at food festivals or directly to local chefs. For comparison, many providers charge between 2.5% and 3.5% per tap, plus monthly fees.
- Get Started: Download JIM app for iOS
- Make a Sale: Type the sales amount, hit sell, and ask your customer to tap their card or device on your phone
- Access Funds: Your money is available right on your JIM card as soon as the sale is done - no waiting for bank transfers
Here are 4 immediate steps to take:
- Draft a payment policy outlining your Net 30 and upfront payment terms.
- Research two payment processors and compare their transaction fees and monthly costs.
- Download the JIM app to explore its features for in-person sales.
- Decide on your payment terms for new wholesale clients versus established ones.
Step 6: Secure funding and manage your finances
Find the right funding
The SBA 7(a) loan is a popular choice, offering up to $5 million. For smaller needs, an SBA Microloan provides up to $50,000. You can expect interest rates to be between 8% and 13%, depending on your credit and the loan amount.
In addition, look into the USDA's Business & Industry Loan Guarantees. This program supports businesses in rural areas and can be a great fit if your warehouse is located outside a major city. It helps secure loans for working capital and equipment.
Calculate your working capital
With funding in mind, calculate your working capital for the first six months. You will likely need $15,000 to $50,000 to cover inventory, customs, and marketing before your revenue stream is steady. A detailed budget is your best asset when you approach lenders.
Many new importers run into trouble by mixing personal and business funds. You should open a separate business bank account immediately. It simplifies bookkeeping and shows lenders you are serious about your venture.
Here are 4 immediate steps to take:
- Review the SBA 7(a) loan checklist on the SBA website.
- Check your eligibility for a USDA Business & Industry Loan.
- Create a six-month budget to pinpoint your working capital needs.
- Contact your bank to open a dedicated business checking account.
Step 7: Hire your team and set up operations
Build your starting team
You can likely start with one or two key people. A Warehouse Associate is a good first hire to manage receiving, inventory, and packing. Pay for this role typically ranges from $18 to $25 per hour. A forklift certification is a valuable bonus.
Once you have consistent sales, you might add a part-time Sales Representative to find new wholesale clients. This role often has a base salary of $35,000-$45,000 plus commission. A frequent mistake is hiring a sales rep before your supply chain is reliable.
Manage your daily operations
Clear procedures are your friend. Document simple steps for receiving shipments, checking for damage, and fulfilling orders. This ensures consistency. As you grow, a good target is $150,000 to $250,000 in annual revenue per employee. This is a solid benchmark for efficiency.
For inventory management, you can start with a spreadsheet. When you are ready to upgrade, look at software like Sortly or inFlow Inventory. These systems help track stock levels and prevent overselling, with plans often starting around $50 per month.
Here are 4 immediate steps to take:
- Draft a job description for a Warehouse Associate, including the pay range.
- Outline a basic process for receiving and inspecting new inventory.
- Research two inventory management software options suitable for a small business.
- Set an initial revenue-per-employee goal for your first year.
Step 8: Market your products and find customers
Target wholesale clients first
Your initial marketing should focus on direct outreach. Create a professional one-page sell sheet with product photos, origin story, and wholesale pricing. Use this to approach local restaurant chefs and specialty grocery buyers. A good initial goal is to convert one of every ten contacts into a sample request.
Build your digital footprint
Once you have some local traction, build an online presence. Instagram is perfect for food products. Post high-quality photos that show your items in a finished dish. This helps potential customers visualize the product's value. A frequent error is to spend on paid ads too early.
Instead, focus on organic growth to get feedback. For online sales, a Customer Acquisition Cost (CAC) between $25 and $75 is a reasonable target for specialty foods. This helps you budget for future ad campaigns when you are ready to scale.
Here are 4 immediate steps to take:
- Create a one-page sell sheet with your product details and pricing.
- List 10 local restaurants or grocers to contact for a tasting.
- Start an Instagram account and post three high-quality photos of your product.
- Calculate a target Customer Acquisition Cost for your first online sales campaign.
Step 9: Price your products for profit
Calculate your landed cost and set a markup
First, determine your landed cost per unit. This is the total expense to get one item into your warehouse. It includes the product cost, shipping, customs duties, and insurance. A frequent oversight is to forget tariffs, which can significantly alter your final cost.
With that number, you can use a cost-plus model. A 50-100% markup on your landed cost is a common starting point for your wholesale price. For example, if your landed cost for a jar of olives is $4, a 75% markup results in a $7 wholesale price.
Analyze the market and set your retail price
Your pricing does not exist in a vacuum. Research what similar products sell for in stores and online. If competing products have a wholesale price of $6.50, your $7 price is in the right ballpark. This analysis confirms if your margins are realistic for the market.
From your wholesale price, you can establish a Suggested Retail Price (SRP). Retailers typically double the wholesale price. So, a $7 wholesale price would lead to a $14 SRP. This gives both you and the retailer a healthy margin, which is key to building partnerships.
Here are 4 immediate steps to take:
- Calculate the full landed cost for one of your main products.
- Apply a 75% markup to set a preliminary wholesale price.
- Find the retail prices for three direct competitors online.
- Define both the wholesale price and Suggested Retail Price (SRP) for your lead product.
Step 10: Maintain quality and scale your operations
Establish your quality standards
Consistent quality builds trust. You can track metrics like your order accuracy rate, aiming for 99% or higher. Also, monitor your product spoilage rate. A figure below 2% is a good target for most ambient goods.
As you grow, you might want to pursue a formal certification. The Safe Quality Food (SQF) Program is a globally recognized standard that can open doors to larger retailers who require it from their suppliers.
Know when to grow
Scaling should be data-driven. A solid benchmark for hiring another warehouse associate is when you consistently process over 50 orders per week. This prevents burnout and maintains order accuracy during busy periods.
Many importers wait too long to upgrade their systems. Once you pass $500,000 in annual revenue, a spreadsheet is no longer enough. It is time to explore an Enterprise Resource Planning (ERP) system like Odoo or NetSuite to manage operations.
Here are 4 immediate steps to take:
- Create a simple spreadsheet to track your order accuracy and spoilage rates.
- Research the costs and process for SQF certification.
- Set a revenue or order volume target for your next hire.
- Watch a demo video for an ERP system like Odoo to understand its functions.
Starting a food import business is a journey of details. Remember that your product's story is just as important as its quality. Share its origin with passion. You have the roadmap, now it is time to take the first step and bring those global flavors home.
As you start making sales, getting paid should be simple. JIM turns your smartphone into a card reader for a flat 1.99% fee, with no extra hardware needed. Download JIM to handle payments easily from day one.
.avif)


