
Starting a makeup artist business is a rewarding venture that combines your creative artistry with smart business sense. The beauty industry is a multi-billion dollar market, with steady demand for professional makeup services for weddings, photoshoots, and special events.
This guide will take you through the practical steps of validating your business concept, obtaining necessary licenses, acquiring equipment, and securing funding to help you launch a successful makeup artist business in the U.S.
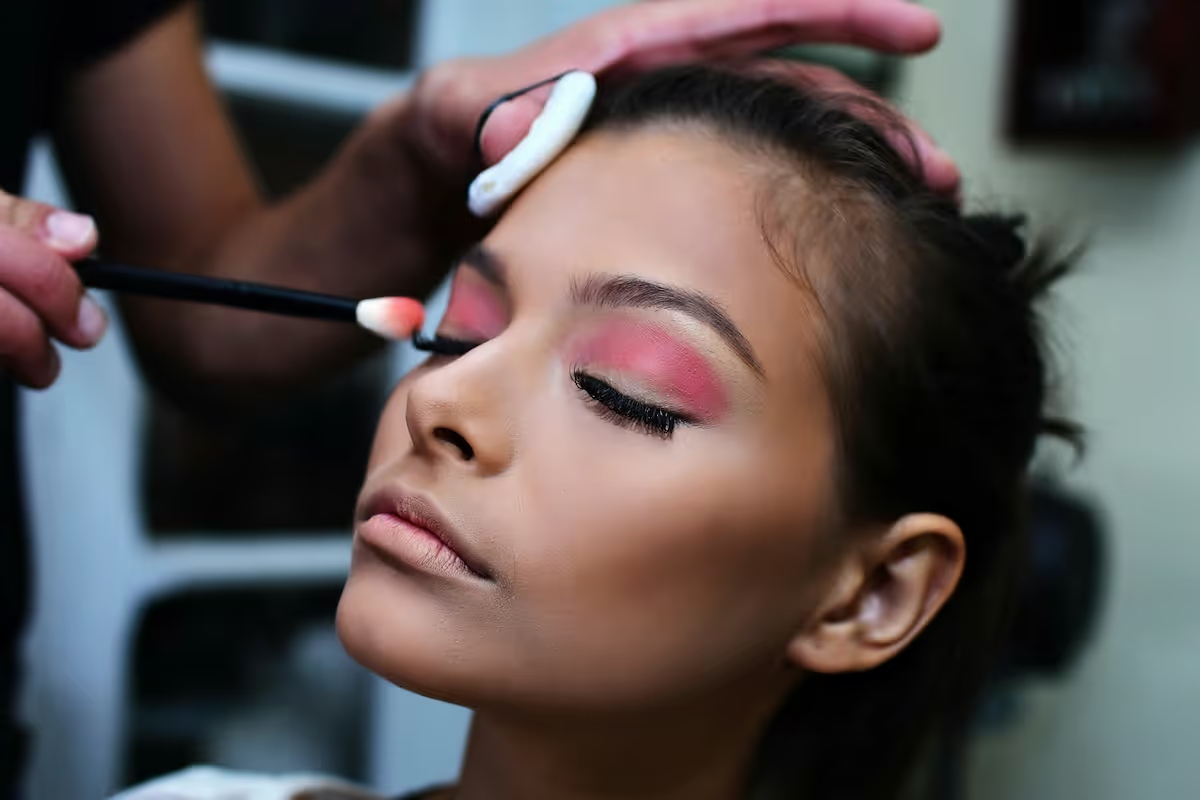
Step 1: Plan your business and validate your idea
First, gauge local demand. You can explore wedding planning sites like The Knot to see how many artists operate in your area. Also, search local hashtags on Instagram, like #chicagomua, to understand the market saturation and popular styles.
Next, analyze your direct competitors. Use Google Maps and social media to find at least five other makeup artists near you. Create a simple spreadsheet to document their services, price lists, and what makes their brand unique. This helps you find a gap in the market.
Estimate your startup costs
With your research done, it is time to budget. Your initial investment will likely fall between $3,000 and $6,500. A significant portion of this budget is for your professional kit, so it helps to plan for this expense from the start.
- Professional Kit: $2,500 - $5,000. It might be tempting to save money here, but high-quality products are non-negotiable for client safety and professional results.
- Business Formation & Licensing: $50 - $400. This cost varies by state and the business structure you choose.
- Liability Insurance: $300 - $600 annually. This protects you and your business.
- Website & Initial Marketing: $200 - $500. This covers a portfolio website and business cards.
Here are 3 immediate steps to take:
- Research five local makeup artists and document their pricing and services.
- Create a detailed budget spreadsheet for your kit, licensing, and marketing.
- Search your state's Secretary of State website for business registration forms.
Step 2: Set up your legal structure and get licensed
First, choose a business structure. A Limited Liability Company (LLC) is a popular choice because it separates your personal assets from business debts. Profits pass through to your personal tax return, which simplifies your filings compared to a corporation.
Once you form your LLC, get a free Employer Identification Number (EIN) from the IRS website. You will need this number to open a business bank account, which is a good practice to keep your finances separate from the start.
Secure your licenses and permits
Most states require a cosmetology or esthetician license to apply makeup professionally. Check with your state's Board of Cosmetology for the exact rules. Operating without the proper certification is a frequent misstep that can result in significant fines, so confirm this requirement first.
You will also likely need a general business license from your city or county to operate legally. This permit can cost between $50 and $150 annually. Contact your local city hall or county clerk’s office to get the specific forms and fee schedule.
Here are 4 immediate steps to take:
- Decide on a business structure, like an LLC, and register it with your state.
- Apply for a free Employer Identification Number (EIN) on the IRS website.
- Visit your state's Board of Cosmetology website to confirm licensing rules.
- Contact your city or county clerk's office about a general business license.
Step 3: Insure your business and manage risk
Start with general and professional liability insurance. General liability covers accidents, like if you spill foundation on a client’s expensive rug. Professional liability, or errors and omissions insurance, protects you if a client has an allergic reaction and claims your service caused harm.
A typical policy with $1 million in coverage will cost between $300 and $600 per year. Many artists make the mistake of assuming their homeowner's or renter's insurance covers their professional kit. This is rarely the case, so you may need separate equipment coverage.
Find the right provider
You can get quotes from insurers that specialize in beauty and wellness professionals. Consider providers like Hiscox, Thimble, or Next Insurance. They understand the specific risks of your work, from allergic reactions to accidental property damage, and can offer tailored policies.
If you plan to hire assistants, you will also need workers' compensation insurance. This is a state requirement that covers employee injuries on the job. Also, if you use a vehicle exclusively for business, you will need a commercial auto policy.
Here are 4 immediate steps to take:
- Get quotes for a $1 million general and professional liability policy.
- Ask your current home or renters insurance agent about equipment coverage.
- Research your state’s workers' compensation laws if you plan to hire.
- Compare policies from at least three insurers that specialize in the beauty industry.
Step 4: Secure your location and buy equipment
Many makeup artists start as a mobile business to keep costs low. If you plan to work from home, check your city’s zoning laws for a home occupation permit. Also, review your lease or HOA rules, as some prohibit running a business from your residence.
For a dedicated studio, a salon suite is a great starting point. These spaces are small, often 100-250 square feet, and come with utilities included. When you negotiate a lease for a standalone space, you might want to ask for a shorter 1- or 2-year term to maintain flexibility.
Build your professional setup
Beyond your makeup kit, you need equipment that supports your work and creates a professional client experience. Investing in quality gear from the start prevents frequent replacements and shows clients you are serious about your craft.
- Professional Makeup Chair: $150 - $400. A comfortable, height-adjustable chair is a worthwhile purchase for both your posture and your client's comfort.
- Lighting Kit: $100 - $300. A ring light or a portable softbox kit ensures your work looks flawless in person and in photos.
- Rolling Makeup Case: $100 - $250. A durable, organized case protects your expensive kit during travel and makes a professional impression.
You can find pro discounts on products and equipment at suppliers like Frends Beauty or Nigel Beauty Emporium. They typically require you to submit your cosmetology license or other proof of profession to get access to special pricing.
Here are 4 immediate steps to take:
- Check your city’s zoning laws for home-based business rules.
- Research salon suites in your area as a studio alternative.
- Create a budget for a makeup chair, lighting, and a rolling case.
- Look up pro suppliers like Frends Beauty to see their application requirements.
Step 5: Set up your payment system
Most artists require a 50% non-refundable deposit to secure a booking. You should outline this in a simple client contract that details the services, date, and final payment due. This protects your time and prevents last-minute cancellations from hurting your income.
When you choose a payment solution, look for low fees and portability. Many providers charge between 2.5% and 3.5% per transaction and may require you to buy extra card readers. A frequent mistake is overlooking these fees, which can eat into your profits over time.
For artists who need to accept payments on-site or on-the-go, JIM offers a streamlined solution. With JIM, you can accept debit, credit, and digital wallets directly through your smartphone. Just tap and you are done. At just 1.99% per transaction with no hidden costs or extra hardware needed, it is particularly useful for securing deposits during trial sessions.
Getting started is straightforward:
- Get Started: Download the JIM app for iOS.
- Make a Sale: Type the sales amount, hit sell, and ask your customer to tap their card or device on your phone.
- Access Funds: Your money is available right on your JIM card as soon as the sale is done, with no waiting for bank transfers.
Here are 3 immediate steps to take:
- Draft a standard client contract that includes your 50% deposit requirement.
- Compare the transaction fees of two other payment solutions with the 1.99% rate from JIM.
- Download the JIM app to explore how the payment process works on your phone.
Step 6: Fund your business and manage finances
Plan to have at least $1,500 to $3,000 in working capital. This amount should cover your first six months of expenses like insurance, marketing, and replenishing your kit. With that budget in mind, you can explore funding options.
Secure your startup funds
Most artists self-fund with personal savings. If you need a loan, you might want to consider an SBA microloan. These loans range from $500 to $50,000 and often have interest rates between 8% and 13%. Qualification usually requires a solid business plan.
You could also explore grants, which you do not have to repay. The Amber Grant for Women is a popular option for female entrepreneurs. While competitive, it is worth the application if you meet the criteria. A common mistake is to overlook these opportunities.
Once you have funds, open a dedicated business bank account. Many new artists use their personal account for business transactions, which complicates tax filing and makes it hard to track profitability. Keeping finances separate from day one is a good habit.
Here are 4 immediate steps to take:
- Calculate your working capital needs for the first six months.
- Research the qualification requirements for an SBA microloan.
- Look up the application details for the Amber Grant.
- Open a separate business bank account if you have not already.
Step 7: Hire your team and set up operations
You will likely start as a one-person operation. Once you book larger events like weddings or photoshoots with multiple clients, you will need help. Bringing on an assistant ensures you stay on schedule and deliver a high-quality experience for everyone.
Build your support team
A Makeup Assistant can be a great first hire. Their duties often include sanitizing brushes, setting up your station, and sometimes handling simple applications like bridesmaid makeup. Expect to pay an hourly rate of $15 to $25 or a flat day rate of around $150.
For big wedding parties, you might need a Second Artist. This is usually another professional makeup artist who can work independently. Their rate is higher, often $200 to $400 per event. Always use a contract that defines their pay and responsibilities to prevent confusion.
Streamline your daily workflow
To manage bookings and clients, consider a studio management platform. Systems like HoneyBook or Acuity Scheduling let you automate appointment confirmations, send contracts, and process invoices. This frees you up from administrative work so you can focus on your clients.
A frequent misstep is misclassifying your help. The IRS has strict rules about the difference between an independent contractor and an employee. Incorrectly classifying an assistant can lead to tax penalties, so it is wise to review the guidelines or consult an accountant.
Here are 4 immediate steps to take:
- Draft a standard contract for freelance assistants and second artists.
- Research the average pay rates for makeup assistants in your area.
- Explore a free trial for a management platform like HoneyBook or Acuity.
- Read the IRS guidelines on classifying workers as employees or contractors.
Step 8: Market your business and get clients
Your portfolio is your most powerful marketing asset. Focus on building a strong visual presence on Instagram. Use a mix of local hashtags like #dallasmua and niche tags like #dallasbridalmakeup to attract your ideal clients. Post consistently, showing a variety of looks.
Once you have a portfolio to show, start networking. Connect with local wedding photographers, planners, and hair stylists. You can offer a 10% referral fee for any booked client they send your way. This builds valuable industry relationships that provide a steady stream of work.
Create your digital storefront
Your website acts as your professional hub. Platforms like Squarespace make it simple to create a clean portfolio site. Feature high-resolution photos of your work, your service menu, and a clear contact form. This is where potential clients often make their final decision.
Many new artists rely only on unedited phone photos, which can make their work look less professional. You might want to collaborate with a photographer on a styled shoot to get high-quality images for your portfolio from the start. This investment pays for itself in client trust.
Also, consider paid listings on platforms like The Knot or WeddingWire. While they require an investment, they put you directly in front of clients actively searching for makeup artists. Track your inquiries from these sites to see if the cost per lead makes sense for your business.
Here are 4 immediate steps to take:
- Create an Instagram business profile and post 5 high-quality images of your work.
- Identify 3 local photographers or wedding planners to connect with.
- Draft a simple referral offer, like a 10% fee for booked clients.
- Research the cost of a listing on The Knot or WeddingWire for your area.
Step 9: Price your services for profit
Start by revisiting your competitor research. Look at the price lists of at least five local artists to see their rates for bridal makeup, trials, and bridesmaid services. This gives you a baseline for what clients in your area expect to pay.
Choose your pricing model
Most artists use a mix of à la carte and package pricing. Packages, like a bridal bundle that includes a trial session, are often more appealing to clients and secure more of your time upfront. This approach can increase the total value of a booking.
- À la carte example: Bridal Makeup: $300, Bridesmaid Makeup: $125, Trial Session: $150.
- Package example: Bridal Package: $425 for a trial and day-of makeup, offering a small discount.
Many new artists make the mistake of only matching competitor prices without calculating their own costs. Your prices must cover products, insurance, and marketing. Aim for a profit margin of 40-60% after all expenses are paid to build a sustainable business.
You might also want to create a policy for extra fees. A travel fee of $1 per mile for locations over 20 miles away is common. An early start fee of $50-$100 for appointments before 7 a.m. is also standard practice in the industry.
Here are 4 immediate steps to take:
- Calculate your cost per application, including products and disposables.
- Create a price list with both à la carte services and at least one package deal.
- Define your policy for travel fees and early morning appointments.
- Compare your proposed prices to the local competitors you researched.
Step 10: Maintain quality and scale your business
Set your quality standards
To maintain quality, you can send a simple post-service feedback survey. Ask clients to rate their experience on a scale of 1-10. This helps you calculate a Net Promoter Score (NPS). An NPS above 70 is a strong indicator of client satisfaction.
Also, track your client retention rate. If more than 30% of your non-bridal clients book you again within a year, your service quality is high. This is a solid benchmark for repeat business in the event makeup space.
Know when to grow
Growth decisions should be data-driven. When you start turning down more than four qualified clients per month because you are booked, it is a clear sign to consider hiring an assistant or a second artist to handle the overflow.
Some artists expand too quickly before their income is stable. A good rule of thumb is to wait until your booking calendar is at least 75% full for three consecutive months during your peak season before you commit to hiring help.
As your team grows, studio management software like HoneyBook or 17hats becomes even more valuable. These platforms help you manage multiple calendars, automate communication, and track payments for your entire team, not just yourself.
Here are 4 immediate steps to take:
- Create a one-question feedback survey to send to clients after a service.
- Track how many clients you turn down due to a full schedule for one month.
- Review your booking calendar to identify your peak season months.
- Explore the team management features on platforms like HoneyBook or 17hats.
Starting your makeup artist business is an exciting journey. Remember that your unique style and the client experience you create are just as important as your technical skill. You have the roadmap, so go build your brand one happy client at a time.
And when you secure those bookings, a simple payment process makes a great impression. JIM turns your phone into a card reader for a flat 1.99% fee, no extra hardware needed. It keeps things professional and simple from the start. Download JIM.
.avif)


