
Starting a security camera business is a rewarding venture that combines technical skill with business savvy. The global security market is a multi-billion dollar industry, with steady demand for surveillance systems from homeowners, small businesses, and large commercial properties.
This guide will take you through the practical steps of validating your business concept, obtaining necessary licenses, acquiring equipment, and building supplier relationships to help you launch a successful security camera business in the U.S.
Step 1: Research your market and plan your finances
Begin by analyzing your local market. You can use data from the U.S. Census Bureau to understand neighborhood demographics. Also, check local government websites for crime statistics and new construction permits, as these often signal demand for security services.
Once you have a feel for the market, identify your competition. Use Google Maps and Yelp to find local installers and study their services and reviews. A frequent oversight is to ignore big-box retailers or online DIY brands, so be sure to include them in your analysis.
Estimate your startup costs
Your initial investment will vary, so a detailed budget is a must. This helps you secure funds and manage cash flow from day one. Your primary expenses will fall into a few key categories.
Initial costs can range from $10,000 to $40,000. This includes business licensing and insurance ($500-$2,000), professional tools ($1,000-$3,000), and initial camera inventory ($3,000-$10,000). A reliable work vehicle is another significant part of this budget.
Here are 3 immediate steps to take:
- Research crime rates and new construction permits in three target zip codes.
- List five local competitors and note their primary services and pricing structure.
- Create a spreadsheet to budget for your initial licensing, tools, and inventory costs.
Step 2: Set up your legal structure and get licensed
Choose your business structure
You should consider forming a Limited Liability Company (LLC). This structure protects your personal assets, like your home and car, if the business faces a lawsuit. It also offers pass-through taxation, meaning profits are taxed on your personal return, which simplifies paperwork.
Filing for an LLC with your Secretary of State typically costs between $50 and $500. Once your LLC is approved, get an Employer Identification Number (EIN) from the IRS website. It is free and you will need it to open a business bank account.
Secure the right licenses and permits
With your business structure chosen, you need the right licenses. Most states require a specific low-voltage contractor or alarm company license. A common mistake is thinking a general business license is enough, which can lead to heavy fines.
Check with your state's contractor licensing board for exact requirements. The process can take two to six months and cost over $500, so plan for this timeline. You will also need a general business license from your city or county to operate legally.
Here are 3 immediate steps to take:
- File for an LLC with your state's Secretary of State office.
- Apply for a free Employer Identification Number (EIN) directly from the IRS.
- Find your state's low-voltage license requirements on its contractor board website.
Step 3: Secure your insurance and manage risk
Get the right insurance coverage
Protecting your business from day one is critical. You will need several types of insurance. General liability covers property damage or injuries caused by your work. A policy with $1 million in coverage is standard, with annual premiums between $600 and $2,500.
You should also get professional liability insurance. This covers claims if your system fails to perform as expected, like not recording a theft. Many new owners skip this, which is a significant risk. Also, consider commercial auto insurance for your work vehicle.
If you hire employees, workers' compensation is legally required in most states. For specialized coverage, you might want to look at providers like The Hartford, Hiscox, or Next Insurance. They understand the risks specific to contractors and installers.
Here are 3 immediate steps to take:
- Get quotes for a $1 million general liability policy.
- Ask potential insurers about adding professional liability (errors and omissions) coverage.
- Compare rates from at least three providers, including specialists like Hiscox or The Hartford.
Step 4: Choose your location and buy equipment
You can run this business from home, which saves significant overhead. A 100-200 square foot area in a garage or spare room is plenty to store inventory and tools. Check your local zoning ordinances, but it is usually fine if you do not have clients visit your home.
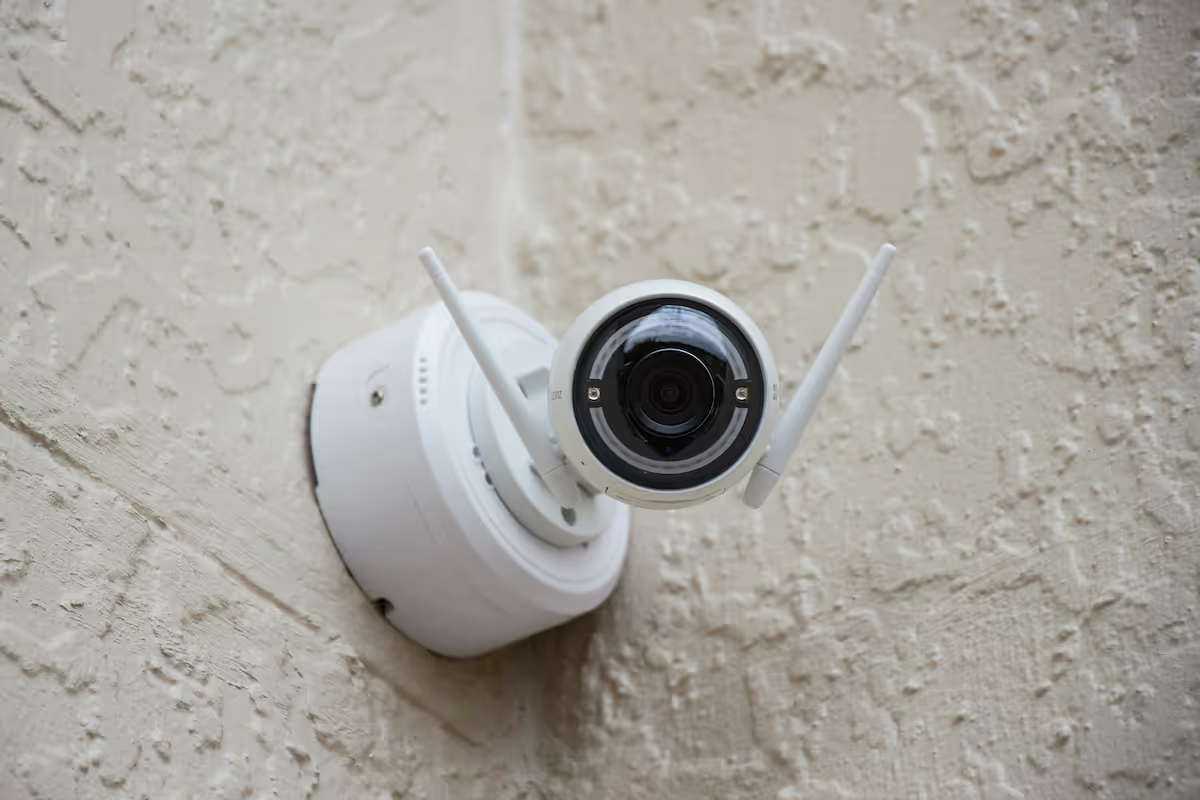
Stock your initial inventory
Your first equipment purchase should cover two to three standard jobs. A mistake many new owners make is to buy cheap, unbranded cameras from consumer websites. This often results in system failures and callbacks. Instead, source professional-grade gear from dedicated security distributors.
A good starter package includes a 4-channel NVR ($150-$300), four 4MP cameras ($50-$120 each), and a 1000 ft box of Cat6 cable ($100-$180). Your installation tools like a quality ladder, drill, and fish tape will represent another $500 to $1,500 investment.
Find reliable suppliers
With your equipment list ready, it is time to open accounts with wholesale distributors. Look into industry mainstays like ADI Global Distribution or Anixter. Most do not require a minimum order, but your pricing improves as your purchase volume grows over time.
Here are 3 immediate steps to take:
- Designate a 150-square-foot space in your home for inventory storage.
- Price out a starter kit with one NVR and four cameras from a security distributor.
- Apply for a dealer account with two different suppliers to compare their product lines and costs.
Step 5: Set up your payment and billing systems
A standard practice is to require a 50% deposit to cover equipment costs. You then collect the final 50% upon project completion. This structure protects your cash flow and ensures you are not out-of-pocket for hardware.
A mistake some new owners make is to rely only on cash or checks. This can slow down your projects. A way to accept card payments on-site lets you close deals and start work faster, without waiting for a check to clear.
For businesses that need to accept payments on-site or on-the-go, JIM offers a streamlined solution. With JIM, you can accept debit, credit and digital wallets directly through your smartphone - just tap and done.
At just 1.99% per transaction with no hidden costs or extra hardware needed, it's particularly useful to collect a deposit right after a client agrees to the job. Other payment solutions often charge between 2.5% and 3.5%, plus monthly fees.
- Get Started: Download the JIM app for iOS.
- Make a Sale: Type the sales amount, hit sell, and ask your customer to tap their card or device on your phone.
- Access Funds: Your money is available right on your JIM card as soon as the sale is done - no waiting for bank transfers.
Here are 3 immediate steps to take:
- Draft your standard payment terms, such as a 50% deposit and 50% on completion.
- Download the JIM app to explore its features on your phone.
- Compare JIM's 1.99% rate to two other payment processors to see the savings.
Step 6: Secure funding and manage your finances
Explore your funding options
With your startup costs budgeted, you can seek funding. The SBA Microloan program is a great fit, offering loans up to $50,000. The average loan is about $13,000 with interest rates between 8% and 13%. These are good for equipment and inventory purchases.
Another path is equipment financing. Lenders provide funds specifically for your cameras, tools, and vehicle. This option often has a faster approval process than traditional bank loans because the equipment itself serves as collateral for the loan.
Calculate your working capital
Many new owners focus on initial gear costs but forget day-to-day expenses. You should have six months of working capital set aside. This covers fuel, marketing, and insurance payments before your revenue stream is steady. A budget of $5,000 to $15,000 is a safe range.
Here are 3 immediate steps to take:
- Review the SBA Microloan program requirements on the official SBA website.
- Request a quote from two different equipment financing companies.
- Create a spreadsheet to project your operating expenses for the first six months.
Step 7: Hire your team and set up operations
Build your installation team
Your first hire should be a Lead Security Technician. This person will manage installations and client hand-offs. Expect to pay between $25 and $40 per hour for a candidate with experience. Look for certifications like BICSI Installer 2 or training from manufacturers like Axis or Hanwha.
Once you have consistent work, you can add an Apprentice Technician for $18 to $25 per hour. They can handle tasks like pulling cable and mounting equipment. A mistake many owners make is trying to do every installation alone for too long, which limits growth.
Streamline your daily operations
With a team in place, you need to manage your schedule. You might want to consider software like Jobber or Housecall Pro. These platforms help with dispatch, client communication, and invoicing. They keep your operations organized as you grow.
As for revenue, a healthy target is for each lead technician to generate between $100,000 and $150,000 annually. This figure helps you decide when to expand your team. If you have 20-30 hours of billable work each week, it is a good sign you are ready for your first hire.
Here are 3 immediate steps to take:
- Draft a job description for a Lead Security Technician with a target pay of $30/hour.
- Sign up for a free trial of Jobber or Housecall Pro to test their features.
- Calculate the weekly revenue needed to support your first hire based on your target pay rate.
Step 8: Market your business and get customers
Focus on local lead generation
Start with channels where customers are actively searching. You might want to begin with Google Local Services Ads. You pay per qualified lead, not per click, with costs often between $25 and $60. This puts you in front of high-intent buyers.
A mistake some new owners make is spreading a small budget across too many platforms. It is better to focus your first $500 to $1,000 on one or two channels. This lets you measure performance accurately before you expand your marketing spend.
Build your online credibility
A simple website that showcases your completed projects is a great asset. In addition, claim your free Google Business Profile. This is where your customer reviews will live, and positive feedback is one of your strongest sales drivers. Ask every client for a review.
Platforms like Thumbtack and Angi can also provide an initial flow of jobs. While they take a percentage, they put you directly in front of homeowners who need work done. Expect a customer acquisition cost (CAC) of $50 to $150 per secured job from these sources.
Here are 3 immediate steps to take:
- Set up your Google Business Profile and upload photos of a sample installation.
- Allocate a $500 test budget for Google Local Services Ads in your primary service area.
- Create a profile on Thumbtack and review the cost for leads in your zip code.
Step 9: Price your services and create proposals
Set your pricing strategy
For residential jobs, you might want to use a fixed-price model. A standard four-camera installation could be packaged for $1,800 to $2,500. This approach is simple for customers to understand and approve. It gives them a clear, upfront cost without surprises.
For larger commercial projects, a time and materials (T&M) model often works better. You would bill for your hourly labor, typically between $75 and $125 per hour, plus the cost of all equipment used. This protects you if the project scope expands.
A healthy profit margin on hardware is between 40% and 60%. If a camera costs you $100 from a distributor, your price to the client should be $140 to $160. Many new owners underprice their services, which can make it difficult to sustain the business.
Draft winning proposals
Your proposal is a key sales document. It should clearly define the scope of work, list all equipment by model number, and state the total price. You might want to use software like QuoteWerks or PandaDoc to create professional templates that ensure consistency and save time.
A frequent misstep is creating vague proposals. Instead of "four cameras installed," specify "Four Hanwha QNO-7082R cameras installed at specified locations." This level of detail prevents disputes and shows your professionalism, building client trust from the start.
Here are 3 immediate steps to take:
- Decide on a fixed price for a standard 4-camera residential package.
- Calculate your target hourly labor rate, aiming for the $75-$125 range.
- Download a free proposal template from a site like PandaDoc to use as a starting point.
Step 10: Maintain quality and scale your operations
Establish your quality standards
To keep clients happy and referrals coming, you need a quality control process. Create a post-installation checklist that covers camera angles, recording settings, and a final walkthrough with the client. This ensures every job meets a consistent standard, regardless of which technician does the work.
A mistake some owners make is to assume every job is perfect. You should track your callback rate, which is the percentage of jobs that require a return visit for fixes. A rate below 5% is a healthy sign. Also, aim for a 4.5-star or higher average on your Google Business Profile.
Know when to grow
Growth should be deliberate. Once your lead technician consistently generates between $100,000 and $150,000 in annual revenue, it is a strong signal that you can support a second technician. This prevents you from over-hiring before your workflow can sustain it.
Do not wait too long to hire administrative help. When you spend more than 5-10 hours a week on paperwork and scheduling, consider a part-time virtual assistant. This frees you up for sales and project management. Platforms like Jobber or Housecall Pro also help manage larger teams effectively.
Here are 3 immediate steps to take:
- Create a 10-point post-installation checklist for your technicians to use.
- Calculate your callback rate over the next 30 days.
- Set a monthly revenue target that would trigger hiring your next technician.
You have the roadmap to launch your security camera business. Remember that your reputation is built on trust as much as on technical skill. A clean installation is great, but clear communication builds lasting clients. You have the plan, now go build your business with confidence.
And to keep things running smoothly, make getting paid simple. JIM turns your phone into a card reader, so you can accept payments on the spot for a flat 1.99% fee. No extra hardware is needed, which helps your cash flow from day one. Download JIM to get started.
.avif)


