
Starting a taco business is an exciting venture that blends culinary creativity with sharp business savvy. The market is a multi-billion dollar industry, fueled by a steady demand for tacos from late-night crowds, families, and office lunch-goers alike.
This guide will take you through the practical steps of validating your business concept, securing funding, obtaining the right permits, and selecting a location to help you launch a successful taco business in the U.S.
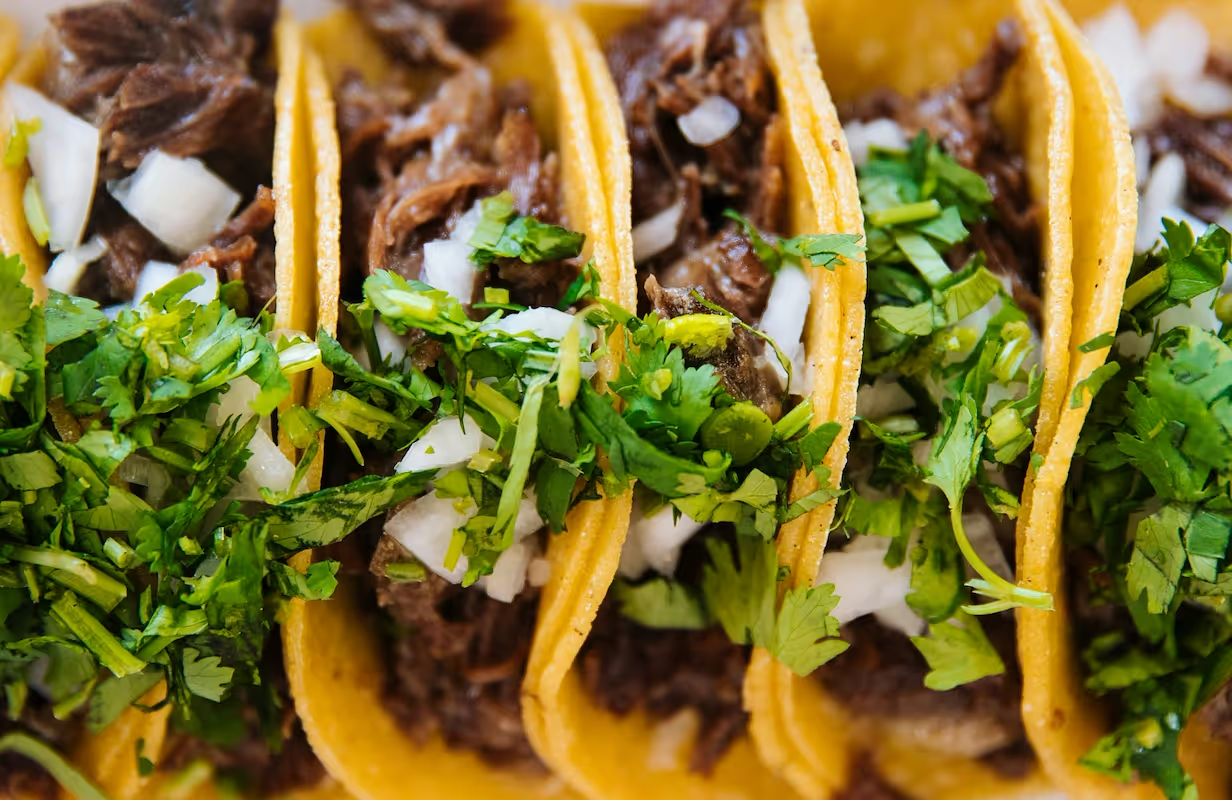
Step 1: Plan your business and validate your concept
Start by researching your local market. Spend a few afternoons at potential locations to count foot traffic during lunch and dinner rushes. This simple step is often overlooked but gives you real data on potential customer volume.
Also, look at local demographics. Your city's planning department website or data from the U.S. Census Bureau can show you income levels and population density. This helps you match your price point and menu to the neighborhood.
Next, analyze your competition. Use Google Maps to find every taco spot in a five-mile radius. Then, check review sites like Yelp to understand their menus, pricing, and what customers say about them. This will help you find a gap in the market.
Estimate your startup costs
Startup costs can vary widely. A new, fully-equipped food truck might run from $75,000 to $150,000. A small storefront with kitchen equipment can easily reach $200,000 or more. Budgeting accurately now prevents surprises later.
Here is a sample cost breakdown for a food truck operation:
- Truck and wrap: $50,000 - $100,000
- Kitchen equipment: $10,000 - $30,000
- Permits and licenses: $1,000 - $5,000
- Initial food inventory: $2,000 - $5,000
Here are 3 immediate steps to take:
- Scout two potential neighborhoods and perform foot traffic counts during peak hours.
- Create a spreadsheet listing three direct competitors with their menu prices and top-rated items.
- Draft a preliminary budget based on the cost ranges for a food truck or small storefront.
Step 2: Set up your legal structure and get licensed
First, decide on a business structure. An LLC is a popular choice for taco businesses because it protects your personal assets from business debts. You can form one through your state's Secretary of State website for a fee between $50 and $500.
Once that's sorted, get a free Employer Identification Number (EIN) from the IRS website. You will need this number to open a business bank account, file taxes, and hire your first employees. The online application is quick and you get the number immediately.
Navigate permits and licenses
You will need a city or county business license, a state seller's permit for sales tax, and food handler's permits for all staff. These usually cost under $100 each. The main hurdle is the Food Facility Health Permit from your local health department.
Many new owners get delayed by failing the initial health inspection. To avoid this, download the health department's checklist before you buy any equipment. This ensures your setup, from sinks to refrigeration, is compliant from the start. This permit can cost $500 to $1,000 and take several weeks.
Here are 3 immediate steps to take:
- File for an LLC with your Secretary of State.
- Apply for a free EIN on the IRS website.
- Download your local health department's food facility checklist to review their requirements.
Step 3: Secure your insurance and manage risk
Understand your insurance needs
To protect your business, you need the right insurance. You will need a few key policies. General Liability covers customer injuries, and Product Liability handles claims of foodborne illness. A $1 million liability limit is common for both, often bundled for $500 to $1,200 annually.
If you operate a food truck, a commercial auto policy is non-negotiable. Expect annual premiums from $1,500 to $4,000 for $1 million in coverage. Many new owners make the mistake of relying on personal auto insurance, which offers no protection for business activities.
Also get property insurance for your equipment, especially against risks like kitchen fires. Once you hire staff, you must have workers' compensation. When you look for policies, check with providers like the Food Liability Insurance Program (FLIP), Insureon, or Progressive Commercial. They specialize in food businesses.
Here are 3 immediate steps to take:
- Request quotes for a policy that includes General and Product Liability coverage.
- Contact an agent to discuss commercial auto and property insurance.
- Research your state's workers' compensation laws for employers.
Step 4: Choose your location and buy equipment
For a small storefront, look for spaces between 800 and 1,500 square feet. Check your city’s planning department website for zoning maps. You need a property zoned for commercial use, often designated with a "C" code. High foot traffic is good, but so is accessible parking.
When you find a spot, negotiate the lease. You might ask for a Tenant Improvement (TI) allowance to help pay for the kitchen build-out. Many new owners accept a standard lease, but you should push for terms that favor a restaurant, like clauses on ventilation and grease traps.
Select your kitchen equipment
Your kitchen is the heart of the operation. Budget for a commercial griddle ($500 - $2,000), a three-compartment sink ($400 - $1,000), and a commercial vent hood with fire suppression ($3,000 - $7,000). The vent hood is a large expense, so factor it in early.
You can find new and used items from suppliers like Restaurant Depot or WebstaurantStore. A word of caution on used gear. Make sure any refrigeration holds temperature correctly and all equipment is NSF-certified to pass your health inspection. A failed inspection over a bad refrigerator is a costly delay.
Here are 3 immediate steps to take:
- Identify two potential storefronts and confirm their commercial zoning status.
- Price out a commercial griddle and vent hood on WebstaurantStore.
- Ask a commercial real estate agent about typical Tenant Improvement allowances for restaurants in your target area.
Step 5: Set up your payment processing
Speed is vital in a fast-paced taco business. You need a system that accepts credit, debit, and digital wallets without slowing down your line. Many new owners get caught by complex fee structures or hardware rental costs.
Look for a flat, transparent rate. Many providers charge between 2.5% and 3.5% per transaction and require a separate card reader. For a taco business that needs to accept payments on-site or on-the-go, JIM offers a streamlined solution.
With JIM, you can accept debit, credit and digital wallets directly through your smartphone - just tap and done. At just 1.99% per transaction with no hidden costs or extra hardware needed, it's particularly useful for food trucks or farmers' market stalls.
Here is how it works:
- Get Started: Download JIM app for iOS.
- Make a Sale: Type the sales amount, hit sell, and ask your customer to tap their card or device on your phone.
- Access Funds: Your money is available right on your JIM card as soon as the sale is done - no waiting for bank transfers.
Here are 3 immediate steps to take:
- Calculate your estimated monthly processing fees using a 1.99% rate versus a 2.9% rate.
- Download the JIM app to see the user interface for yourself.
- List the payment types you must accept, including specific digital wallets like Apple Pay.
Step 6: Secure funding and manage your finances
Find the right funding source
The Small Business Administration (SBA) is a great starting point. Their 7(a) loans are popular for restaurants, offering up to $350,000. You will generally need a credit score above 680 and a detailed business plan to qualify. Interest rates are typically Prime plus 2-4%.
For smaller needs, consider an SBA Microloan, which goes up to $50,000. These often have more flexible requirements. Some owners also find success with online lenders like Accion Opportunity Fund, which specializes in small business and food service financing.
Calculate your working capital
A frequent oversight is underestimating cash needs for the first few months. Before you make consistent profit, you need money for daily operations. This is your working capital.
Plan to have at least $15,000 to $30,000 set aside. This should cover about six months of rent, payroll, and inventory. Having this buffer prevents you from running out of cash just as your business starts to gain traction.
Here are 3 immediate steps to take:
- Check your credit score to see if you meet the typical 680+ requirement for an SBA loan.
- Research two local banks or credit unions that are designated SBA lenders.
- Create a spreadsheet to calculate six months of operating expenses for your working capital goal.
Step 7: Hire your team and set up operations
Build your core crew
For a small taco operation, you will likely need two key roles: a Taquero (cook) and a Cajero (cashier). A good cook is your most important hire. Expect to pay between $16 and $22 per hour for someone with kitchen experience.
Your cashier handles orders and payments, and this role often earns minimum wage plus tips. Many new owners hire friends or family, which can work, but be sure to define roles and pay clearly from day one to avoid issues later.
All employees who handle food must have a Food Handler's Permit. You can find state-approved courses online through providers like ServSafe. The certification process usually takes a few hours and costs around $15 per person.
Manage your daily workflow
To manage schedules without the headache, you might consider software like 7shifts or Homebase. These platforms help you build schedules, track hours, and communicate with your team through an app. Many offer free plans for small crews.
As you grow, keep an eye on your labor costs. A healthy target for a quick-service spot is to keep total labor expenses, including taxes and benefits, between 25% and 35% of your total revenue. This metric helps you make smart staffing decisions.
Here are 3 immediate steps to take:
- Draft job descriptions for a Taquero and a Cajero with specific duties and pay rates.
- Research your state's requirements for the Food Handler's Permit on the ServSafe website.
- Create a sample weekly schedule and calculate your projected labor cost as a percentage of your sales forecast.
Step 8: Market your business and get customers
Focus on local marketing
Start with your immediate area. Use Instagram and Facebook to post high-quality photos of your food. A simple, effective strategy is to run a weekly special, like a 'Taco Tuesday' deal, and promote it with your location tagged.
Also, consider local partnerships. You could offer a lunch discount to employees of a nearby office building. This creates a steady stream of weekday customers right away.
Build your online presence
Claim your free Google Business Profile immediately. This is how customers find you on Google Maps. Make sure your hours, menu, and address are accurate. Many owners forget to update this information, which leads to lost sales.
Encourage customer reviews on Yelp and Google. You might offer a free drink on a customer's next visit if they show you their review. Always respond to feedback, both positive and negative. It shows you value your customers.
Here are 3 immediate steps to take:
- Claim and complete your Google Business Profile with your menu and hours.
- Draft a social media post for a 'Taco Tuesday' special.
- Identify one nearby office building to approach for a lunch partnership.
Step 9: Price your menu and manage inventory
Set your pricing strategy
Start with cost-plus pricing. Calculate the exact cost of ingredients for one taco. For example, if ingredients cost $0.85 and you target a 30% food cost, your menu price should be around $2.85. Aim for a food cost percentage between 28% and 35%.
Many new owners just copy competitor prices. This is a mistake if their costs are lower than yours. Instead, use competitor pricing as a reality check after you calculate your own numbers. Your prices should cover costs and align with what the local market will bear.
Track your inventory
Effective inventory management prevents waste from eating your profits. Use the "First-In, First-Out" (FIFO) method for all ingredients. This means you always use the oldest stock first to reduce spoilage. A simple spreadsheet in Google Sheets can track this.
Count your key inventory items, like meat and tortillas, weekly. This helps you spot waste or theft issues early. As you grow, you might consider software like MarketMan or Orca to automate inventory and ordering, but a spreadsheet works well at the start.
Here are 3 immediate steps to take:
- Calculate the plate cost for your three main menu items.
- Research the menu prices of three direct competitors to benchmark your own.
- Create a basic inventory sheet in Excel or Google Sheets to track your top five ingredients.
Step 10: Maintain quality and scale your business
Establish your quality standards
Consistency is what brings customers back. Document every recipe with exact measurements. Your carne asada taco should taste the same on a Tuesday as it does on a Saturday. This is your recipe bible.
Also, track your service speed. A good target for a quick-service spot is to keep ticket times under five minutes during peak hours. For food safety, the owner or manager should obtain a ServSafe Food Protection Manager certification, a higher standard than the basic food handler permit.
Know when to grow
Expansion should be a data-driven decision. Many owners jump the gun after one successful month. Instead, look for sustained trends. If you operate at 80% capacity for a full quarter or see revenue grow 20% over the previous quarter, it is a strong signal to expand.
When you do scale, your systems must scale with you. That inventory spreadsheet will not cut it. You might consider software like MarketMan to manage purchasing and control food costs, especially if you plan to open a second location.
Here are 3 immediate steps to take:
- Document the exact recipe and portion sizes for your top three menu items.
- Set a target ticket time for your lunch rush and track performance for one week.
- Define a specific quarterly revenue growth percentage that will trigger your expansion research.
You now have the steps to build your taco business. The secret ingredient is consistency. A great taco must be great every time. You have planned enough. Now, go make it happen.
As you serve those first customers, keep payments simple. JIM turns your smartphone into a card reader, so you can accept payments easily with a flat 1.99% fee and no extra hardware. Download JIM to be ready for your first sale.
.avif)


