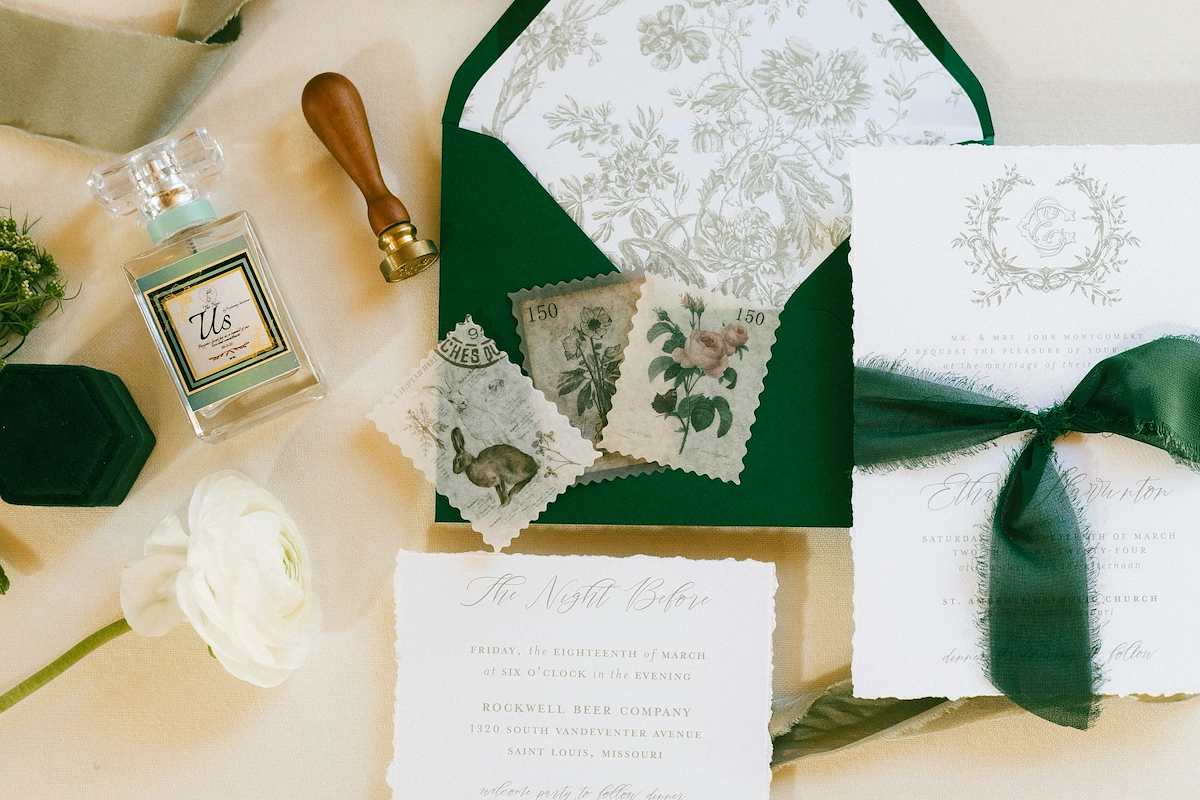
Starting a wedding venue is a rewarding venture that blends a passion for memorable events with sharp business savvy. The wedding industry is a multi-billion dollar market, with steady demand for unique spaces for everything from large celebrations to intimate gatherings.
This guide will take you through the practical steps of validating your business concept, selecting the right location, securing funding, and obtaining the necessary permits to help you launch a successful wedding venue business in the U.S.
Step 1: Validate your business plan
Conduct market and competitor research
Begin your research on platforms like The Knot and WeddingWire. Analyze at least ten local competitors. Note their pricing structures, package inclusions, and what makes them unique. This will help you identify a gap in your local market.
A frequent oversight is to focus only on a venue's appearance. You should also analyze their business operations. Review their online availability calendars to estimate booking rates and identify their peak seasons, which gives you a sense of real-world demand.
Calculate your startup costs
With this research, you can build a realistic financial plan. Your property will represent a significant portion of your startup capital, whether you buy or lease. This can range from $100,000 to over $1 million depending on location and size.
Beyond the property, budget for renovations ($50,000 - $250,000+), furniture and decor ($20,000 - $70,000), and initial marketing ($5,000 - $15,000). Also, set aside funds for insurance and licensing, which can add another $5,000 to $10,000.
Here are 3 immediate steps to take:
- Create a spreadsheet comparing the packages and pricing of 10 local competitors.
- Draft a preliminary budget with low-end and high-end estimates for each cost category.
- List three potential unique selling propositions that will differentiate your venue.
Step 2: Set up your legal structure and get licensed
You will want to decide on a business structure. A Limited Liability Company (LLC) is a common choice because it protects your personal assets from business debts. Profits and losses pass through to your personal tax return, which simplifies accounting when you start.
As your venue grows, you can elect S Corp tax status for your LLC. This can reduce your self-employment tax burden but comes with more formal requirements like running payroll. It is a good option to discuss with an accountant once you are consistently profitable.
Secure your permits and licenses
First, get a federal Employer Identification Number (EIN) from the IRS website; it is free. Next, register your business with your state's Secretary of State, which typically costs between $100 and $500. This officially establishes your LLC or corporation.
Local permits are numerous. You will need a Certificate of Occupancy, a fire department permit, and a health permit if you serve food. A frequent misstep is choosing a property without checking its zoning. Confirm with your local planning department that it is approved for assembly before you sign anything.
The liquor license is a major hurdle. It can take 6-12 months to secure from your state's Alcoholic Beverage Control (ABC) board and may cost from $5,000 to over $50,000. Plan for this timeline and cost from the very beginning.
Here are 4 immediate steps to take:
- File for an LLC with your state's business registration office.
- Apply for a free Employer Identification Number (EIN) on the IRS website.
- Contact your local planning department to verify zoning for your top property choices.
- Research your state's Alcoholic Beverage Control board for liquor license costs and timelines.
Step 3: Secure your insurance and manage risk
General liability insurance is your foundation, covering guest injuries. A standard policy provides $1 million per occurrence and $2 million aggregate. Expect annual premiums of $1,200 to $5,000. Property insurance is separate and covers your building and its contents from damage.
Additional coverage to consider
You will also want to look into liquor liability insurance. A frequent misstep is assuming a third-party bartending service’s policy fully protects you; your venue can still be held liable. This endorsement or separate policy can cost $1,000 to $4,000 annually.
Also consider professional liability for planning errors, workers' compensation if you have employees, and commercial auto insurance for any venue-owned vehicles. With this in mind, you should connect with an insurance broker who specializes in the events industry, such as The Event Helper, Markel, or Philadelphia Insurance Companies.
Here are 4 immediate steps to take:
- Request quotes for a $1M/$2M general liability policy.
- Ask potential insurers about adding a liquor liability endorsement.
- Contact an insurance broker who specializes in event venues.
- Review your state's requirements for workers' compensation insurance.
Step 4: Find your location and get equipped
Choose your property
Aim for 15-20 square feet per guest. A venue for 150 guests needs at least 2,250 square feet for the main space. This calculation allows enough room for tables, a dance floor, and comfortable movement.
Before you commit, confirm the property has "assembly" or a similar commercial zoning classification. A property without the correct zoning can cause major delays and unexpected costs. Your local planning department can verify this for you.
Negotiate your lease
For a commercial lease, you might want to negotiate a 5- to 10-year term for stability. You can also ask for a Tenant Improvement (TI) allowance. This is money from the landlord to help pay for your renovations.
A frequent oversight is forgetting to address noise restrictions in the lease. You should clarify quiet hours and sound level limits upfront. This simple step prevents future conflicts with neighbors or your landlord.
Equip your space
Your core equipment includes tables, chairs, and linens. For 150 guests, budget $15,000 to $30,000 for quality furniture. Suppliers like EventStable or WebstaurantStore are good places to start your research and compare prices.
You will also need a sound system ($2,000-$5,000) and basic lighting ($1,000-$3,000). These items create the atmosphere for events. You can rent them initially to manage your upfront investment.
Here are 4 immediate steps to take:
- Calculate the minimum square footage needed for your target guest count.
- Verify the zoning classification for your top two property choices.
- Draft a lease proposal that includes a request for a Tenant Improvement allowance.
- Price a 150-guest furniture package from two different online suppliers.
Step 5: Set up your payment processing
Establish clear payment terms from the start. A standard practice is to require a 50% non-refundable deposit to secure the wedding date. The final balance is then typically due 30 to 60 days before the event. Outline this schedule clearly in your client contracts.
A frequent mistake is to have a vague payment policy. This can cause confusion and late payments. While clients may pay large amounts via bank transfer, you should also offer credit card options for convenience. Many payment solutions have average commission rates of 2.5% to 3.5%.
For wedding venues that need to accept payments on-site or on-the-go, JIM offers a streamlined solution. With JIM, you can accept debit, credit and digital wallets directly through your smartphone - just tap and done.
At just 1.99% per transaction with no hidden costs or extra hardware needed, it's particularly useful for taking a deposit during a venue tour or for last-minute rental upgrades.
- Get Started: Download the JIM app for iOS.
- Make a Sale: Type the sales amount, hit sell, and ask your customer to tap their card or device on your phone.
- Access Funds: Your money is available right on your JIM card as soon as the sale is done - no waiting for bank transfers.
Here are 3 immediate steps to take:
- Draft your standard payment schedule (e.g., 50% deposit, final balance due 30 days prior).
- Compare transaction fees from two different payment processing providers.
- Download the JIM app to explore its features for on-site payments.
Step 6: Fund your business and manage finances
Secure your funding
The Small Business Administration (SBA) offers two strong options. The SBA 7(a) loan provides up to $5 million and can cover real estate, equipment, and working capital. You will likely need a credit score above 680 and a 10-20% down payment to qualify.
For major real estate purchases, you might consider an SBA 504 loan. This program splits the financing between a bank and a Certified Development Company (CDC). It often results in a lower down payment, sometimes as low as 10%, which preserves your cash for other expenses.
Plan your working capital
Many new owners focus on the property loan and overlook day-to-day costs. You should secure at least six months of working capital. This covers payroll, utilities, insurance, and marketing before bookings create consistent cash flow. This can range from $30,000 to over $100,000.
Also, consider equipment financing for items like furniture, kitchen appliances, or sound systems. This separates these costs from your main property loan. It frees up your primary capital for renovations or unexpected expenses that may arise during your first year of operation.
Here are 4 immediate steps to take:
- Research SBA 7(a) and 504 loan requirements on the SBA website.
- Contact a local SBA-preferred lender to discuss your eligibility.
- Draft a detailed 6-month working capital budget for your venue.
- Request quotes from two equipment financing companies for your furniture needs.
Step 7: Hire your team and set up operations
Key roles and responsibilities
Start with a lean team. Your first hire should be a Venue Manager who handles sales, client tours, and daily logistics. Expect a salary range of $50,000 to $75,000. You might also want an Event Coordinator to manage event details, with a salary between $40,000 and $60,000.
For events, you will need part-time staff for setup, service, and breakdown. These roles typically pay $15 to $25 per hour. A frequent oversight is not having clear contracts for hourly workers, which can create confusion around responsibilities and pay.
Streamline your workflow
To manage bookings and client communication, consider software like HoneyBook or Tripleseat. These platforms centralize contracts, invoices, and event timelines. This keeps your operations organized as you grow.
When you build your team, remember that any staff serving alcohol should have state-approved training, such as ServSafe or TIPS certification. As a general benchmark, successful venues often keep their total payroll costs between 25% and 40% of their total revenue.
Here are 4 immediate steps to take:
- Draft job descriptions for a Venue Manager and part-time Event Staff.
- Research your state’s requirements for alcohol server certifications.
- Explore the features and pricing of a venue management software like HoneyBook.
- Create a sample staffing plan for a 150-guest wedding to estimate labor costs.
Step 8: Market your venue and get clients
Build your online presence
Your first marketing investment should be professional photography. A high-quality gallery is your most powerful sales asset. Budget $1,000 to $3,000 for a photographer to capture your space from every angle, including detail shots and empty room layouts.
With these photos, you can build a strong presence on Instagram and Pinterest. These visual platforms are where couples find inspiration. Post consistently, aiming for 3-5 times per week, and use relevant hashtags like #[YourCity]Weddings or #[YourVenueName].
Use industry platforms and collaborations
You might want to list your venue on directories like The Knot and WeddingWire. While a premium listing can cost $300 to $1,000 per month, it places you directly in front of couples actively searching for a venue. This is a primary source for qualified leads.
A frequent oversight is underestimating the power of styled shoots. You can collaborate with local photographers, florists, and planners. You provide the venue, and they provide their services. Everyone gets portfolio images and valuable cross-promotion to their respective audiences.
Track your Customer Acquisition Cost (CAC) to measure what works. If a $500 monthly directory fee brings you two bookings worth $10,000 each, your CAC is $250 per client. This simple metric helps you decide where to focus your marketing budget.
Here are 4 immediate steps to take:
- Request quotes from three local wedding photographers for a full venue shoot.
- Create a content calendar for your Instagram account with 10 post ideas.
- Research premium listing costs for The Knot and WeddingWire in your market.
- List five local vendors you could approach for a styled shoot collaboration.
Step 9: Price your packages and services
Your pricing strategy directly shapes your brand and profitability. Most venues use a flat rental fee, which can range from $8,000 to $20,000 for a peak Saturday. This fee typically includes use of the space, tables, and chairs for a set number of hours.
Alternatively, you could offer per-person packages, common for all-inclusive venues. These might run from $150 to $300 per guest. Another option is a food and beverage minimum, where clients must spend a set amount, like $15,000, on your in-house catering and bar services.
Many new owners make the mistake of underpricing to get their first bookings. This can devalue your venue long-term. Instead, set a fair market price and offer a temporary introductory discount. Aim for a net profit margin of 15% to 40% after all expenses are paid.
For example, you could price a Saturday at $12,000 and a Friday or Sunday at $9,500. This encourages booking on off-peak days. You can also offer add-ons, like a premium bar package for an additional $50 per person, to increase the total revenue per event.
Here are 4 immediate steps to take:
- Decide on your primary pricing model, such as a flat rental fee or per-person rate.
- Create three sample packages with different inclusions and price points.
- Calculate your target profit margin for a hypothetical 150-guest wedding.
- Set distinct prices for peak days (Saturdays) versus off-peak days (Fridays, Sundays).
Step 10: Maintain quality and scale your operations
Establish your quality standards
To maintain a strong reputation, you should implement a post-event feedback system. Use a simple survey to ask clients to rate their experience on a 1-5 scale for cleanliness, staff service, and communication. Aim for an average score of 4.5 or higher.
You can also track internal metrics. A key performance indicator is your inquiry response time. Strive to answer all new leads in under two hours during business hours. This speed demonstrates professionalism and helps secure bookings before competitors can respond.
Know when to grow
Many owners get so focused on growth that they let the client experience suffer. Before you expand, make sure your operational systems are flawless. Growth should feel like a natural next step, not a frantic reaction to demand.
Consider hiring a full-time event coordinator once you book more than 40 events per year. When you consistently hit 85% capacity for peak season dates 18 months in advance, it may be time to explore expansion, like adding a new space or a second location.
As your volume increases, you might need more robust software. While platforms like HoneyBook are great for starting out, software like Caterease or Allseated offers advanced features for managing multiple event spaces, detailed floor plans, and complex client accounts.
Here are 4 immediate steps to take:
- Draft a 5-question post-event client feedback survey.
- Set a team goal to respond to all new inquiries within two hours.
- Determine the annual booking number that will trigger hiring an event coordinator.
- Watch a demo of an advanced venue management software like Caterease.
Conclusion
Your venue is more than a property; it’s the stage for life’s biggest moments. Success comes from the personal touches and seamless experiences you create for every couple. You have the roadmap, now go build a place where memories are made.
And for those first client interactions, a simple payment process is key. JIM lets you accept cards right on your smartphone for a flat 1.99% fee, no extra hardware needed. You can secure a booking on the spot. Download JIM and be ready.


