
Starting an e-bike rental business is a rewarding venture that combines a passion for cycling with smart business savvy. The market is already worth billions and shows steady demand from tourists, daily commuters, and recreational riders.
This guide will take you through the practical steps of securing funding, obtaining licenses, selecting the right location, and acquiring your fleet of e-bikes to help you launch a successful e bike rental business in the U.S.
Step 1: Plan your business and validate your idea
First, conduct on-the-ground market research. Spend a few days in potential high-traffic areas like tourist districts or popular parks. Count cyclists and pedestrians to gauge demand. Note the peak hours to understand when your service would be most popular.
Next, talk to local businesses. Ask hotel concierges and cafe owners if customers inquire about bike rentals. This direct feedback is gold and can reveal partnership opportunities before you even launch. City tourism reports also offer great data on visitor numbers and habits.
Analyze competitors and estimate costs
Identify your competition using Google Maps. A mistake many make is to compete only on price. Instead, analyze their entire customer experience, from their website's booking process to the quality of their bikes and reviews. This is where you can stand out.
Speaking of costs, your main initial investment is the fleet. A starter fleet of 10 e-bikes can range from $15,000 to $30,000, with each bike costing between $1,500 and $3,000. This is a significant part of your budget, so choose your models with care.
Other startup expenses include annual liability insurance ($1,000-$2,500), booking software ($50-$200 monthly), and business licenses ($300-$800). You should also budget for helmets and locks, which can add another $500 to $1,000 to your initial outlay.
Here are 3 immediate steps to take:
- Spend a weekend observing foot and bike traffic in three potential locations.
- Create a spreadsheet listing two local competitors, their prices, and key points from their customer reviews.
- Draft a preliminary budget with estimated costs for a 10-bike fleet, insurance, and software.
Step 2: Set up your legal structure and get licensed
First, protect your personal assets by forming a Limited Liability Company (LLC). This structure separates your business and personal finances. An LLC also offers pass-through taxation, meaning profits are taxed on your personal return, which simplifies your accounting compared to a corporation.
Once your LLC is registered with your state, get an Employer Identification Number (EIN) from the IRS. You can apply for this nine-digit number online for free. You will need it to open a business bank account and hire any future employees.
Now, focus on local requirements. Contact your city or county clerk’s office for a general business license, which typically costs between $50 and $400. Many new owners miss that some cities also require a specific "vehicle rental" permit, so ask about that directly to avoid fines.
Be prepared for processing times. While an EIN is instant, local permits can take two to six weeks to be approved. Start this process early so it does not delay your launch.
Here are 3 immediate steps to take:
- File for an LLC with your state's Secretary of State office.
- Apply for a free Employer Identification Number (EIN) directly from the IRS website.
- Call your city clerk to get a list of all required business licenses and rental permits.
Step 3: Secure insurance and manage risk
Your next move is to protect your business. General Liability insurance is your first line of defense, covering injuries to riders or damage to their property. Aim for a policy with at least $1 million per occurrence and a $2 million aggregate limit. This typically costs between $600 and $2,500 annually.
Next, you need to insure your fleet. This is often covered under an Inland Marine policy, not standard property insurance. Many new owners make the mistake of getting a policy that doesn't cover theft or damage when the bikes are off-premises. Confirm this coverage specifically.
Find a specialized provider
General insurance agents may not understand your risks. Instead, get quotes from providers who specialize in rental businesses, like Veracity Insurance Solutions, BCI, or Spoke Insurance. They understand the industry and can help you avoid expensive gaps in your coverage.
If you plan to hire employees, you will also need Workers' Compensation insurance. This is a state requirement and covers employee injuries on the job. The cost varies based on your payroll and state regulations.
Here are 3 immediate steps to take:
- Request a quote for a $1 million general liability policy from a specialized provider.
- Ask potential insurers if their Inland Marine policy covers e-bike theft and damage.
- Check your state’s requirements for Workers' Compensation insurance if you plan to hire staff.
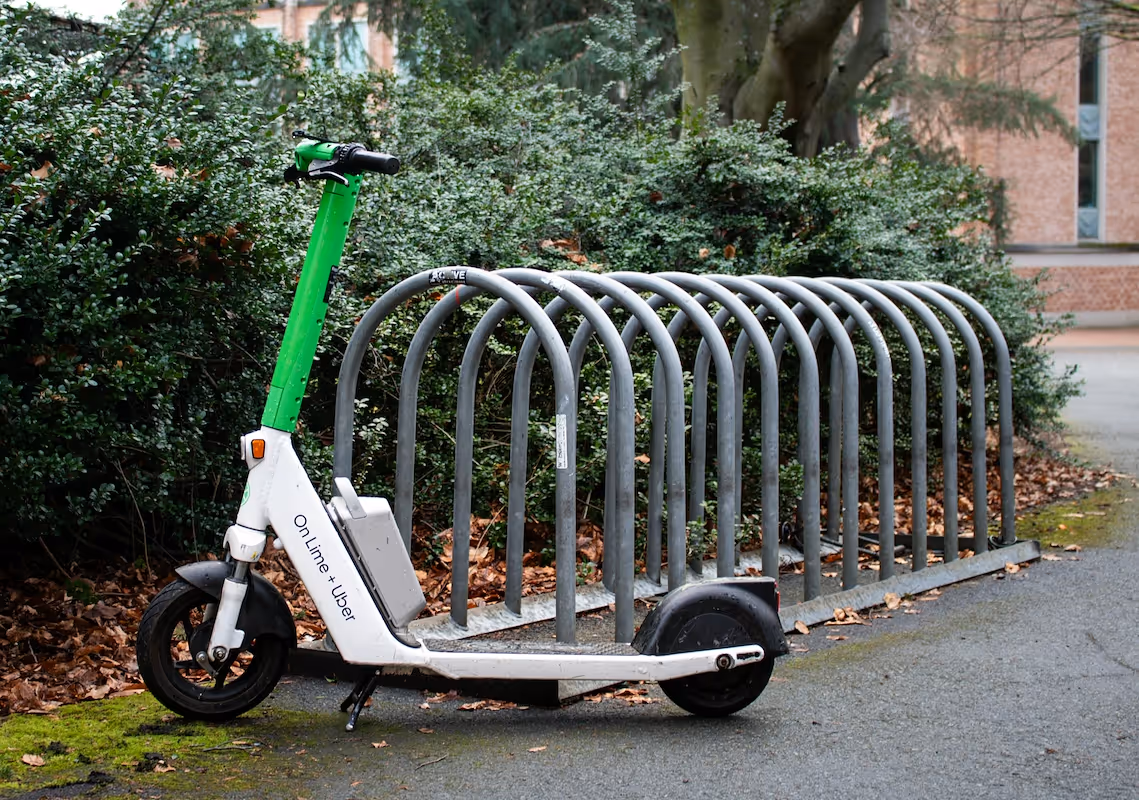
Step 4: Choose your location and equipment
You will need a small commercial space, around 300-500 square feet, for a fleet of 10-15 bikes. Look for properties zoned for retail or general commercial use, often listed as C-1 or C-2, near tourist paths or public transit hubs.
When you find a spot, negotiate a shorter lease of one to two years. A mistake many new owners make is to lock into a five-year term before they validate the location's foot traffic. You can also ask for a seasonal rent reduction clause for off-peak months.
Gear up your operation
Beyond the bikes, you need safety and maintenance gear. Budget for helmets ($30-$60 each) and heavy-duty U-locks ($50-$100 each). A quality floor pump and a basic bike repair stand with tools will add another $300-$500 to your setup costs.
For bulk purchases, you might look at distributors like Quality Bicycle Products (QBP). Be aware they often require a physical storefront and have minimum order values, so this is a better option once you establish your business. Initially, local bike shops can be a good source.
Here are 3 immediate steps to take:
- Research commercial zoning codes for two potential neighborhoods on your city’s planning department website.
- Draft a lease inquiry email that requests a one-year term and a seasonal rent clause.
- Create a shopping list and price out helmets, locks, and a repair kit for a 10-bike fleet.
Step 5: Set up your payment processing
You need a reliable way to handle payments and security deposits. Most e-bike rentals use a payment processor that allows for pre-authorizations. This lets you place a temporary hold on a customer's card for a deposit, usually $100-$250, without actually charging them.
When you choose a payment solution, look at transaction fees, hardware costs, and how it works with your booking software. A mistake many make is getting locked into high monthly fees or complex hardware. You might want to keep it simple, especially when you start.
Accept payments anywhere
For walk-up rentals or pop-up events, you need to accept payments on the go. For this, JIM offers a streamlined solution. With JIM, you can accept debit, credit, and digital wallets directly through your smartphone. Just tap and you are done.
At just 1.99% per transaction, it is a great rate, as other providers often charge between 2.5% and 3.5%. There are no hidden costs or extra hardware needed. It is particularly useful for processing payments quickly for customers who decide to rent on the spot.
- Get Started: Download the JIM app for iOS.
- Make a Sale: Type the sales amount, hit sell, and ask your customer to tap their card or device on your phone.
- Access Funds: Your money is available right on your JIM card as soon as the sale is done. No waiting for bank transfers.
Here are 3 immediate steps to take:
- Research two payment processors that integrate with popular booking software.
- Decide on your security deposit amount and draft your pre-authorization policy.
- Download the JIM app to explore its interface for on-the-go payments.
Step 6: Secure funding and manage your finances
Find the right funding source
Your business plan is your key to funding. For a loan, you will need a strong one. The Small Business Administration (SBA) 7(a) loan is a popular choice. Lenders typically look for a good credit score (680+) and may require a 10-20% down payment from you.
SBA Microloans are another option, offering up to $50,000. These are great for smaller fleets. Also, search for local green-initiatives or tourism grants through your city’s economic development office. These can provide capital you do not have to repay.
Calculate your working capital
You will need cash on hand for the first six months. A mistake many make is to only budget for the bikes. Calculate six months of rent, insurance, booking software fees, and a small marketing budget. This is your working capital, which is often between $8,000 and $15,000.
Here are 4 immediate steps to take:
- Draft a detailed business plan that highlights your market research and financial projections.
- Research SBA 7(a) loan and Microloan requirements on the official SBA website.
- Calculate your estimated working capital for the first six months of operation.
- Search your state and city economic development websites for "green transportation" grants.
Step 7: Hire your team and set up operations
For your first hire, you will likely need a Rental Associate. This role covers customer check-ins, safety briefings, and basic bike adjustments. Depending on your market, plan for an hourly wage between $15 and $20.
A formal bike mechanic certification is a great plus, but not a requirement for this entry-level position. You should, however, consider making First Aid and CPR certification mandatory. This adds a layer of safety and professionalism.
Streamline your daily workflow
A mistake many new owners make is not having a clear daily process. Create simple opening and closing checklists. Include tasks like checking tire pressure, confirming battery levels, and cleaning returned bikes to maintain quality.
To manage shifts, look at scheduling software like Homebase or When I Work. These platforms help with payroll and team communication. As for your budget, a good benchmark is to keep payroll costs under 30% of gross revenue.
Here are 4 immediate steps to take:
- Draft a job description for a Rental Associate, including responsibilities and pay.
- Research local First Aid and CPR certification courses for your new hire.
- Create a preliminary daily checklist for opening and closing procedures.
- Compare the features of Homebase and When I Work for employee scheduling.
Step 8: Market your business and acquire customers
Start with local partnerships. Hotels, visitor centers, and cafes are your best allies. You can offer their staff a 10% commission for each referral. This creates a direct sales channel with zero upfront cost and provides an added amenity for their guests.
Next, master your digital storefront. Claim and fully optimize your Google Business Profile. Add high-quality photos, your hours, and a direct link to your booking page. This is often the first place potential customers will find you online.
Focus on what works
A mistake many make is spreading their marketing budget too thin. Instead of running ads everywhere, focus on what works. Your Google profile and local partnerships can easily drive your first 50 bookings without any ad spend. Track where customers come from.
Keep an eye on your Customer Acquisition Cost (CAC). If you spend $100 on flyers and get five bookings, your CAC is $20. Aim for a CAC under $50 for this industry. Also, track your website's booking conversion rate; a good target is 2-4%.
Use social media to show, not just tell. Post videos on Instagram or TikTok of riders enjoying scenic local routes. You can also partner with local travel influencers for a day. Offer them a free rental in exchange for a post about their experience.
Here are 4 immediate steps to take:
- Draft a partnership proposal email to send to three local hotels.
- Claim and complete your Google Business Profile with photos and a booking link.
- Create a simple spreadsheet to track customer sources and calculate your CAC.
- Post one video of your e-bikes at a local landmark on Instagram.
Step 9: Set your pricing and profit margins
Most e-bike rental businesses use a tiered pricing model. A common structure is charging by the hour, half-day (4 hours), and full-day (8 hours). For example, you might set rates at $25 per hour, $60 for a half-day, and $90 for a full day.
Develop your pricing strategy
Before you set your prices, research your competitors. Do not just look at their websites; call them and ask about their process. Many new owners make the mistake of simply undercutting the competition. Instead, find ways to add value, like including a phone mount, to justify a premium price.
Aim for a gross profit margin between 60% and 75% on each rental. This margin covers your fixed costs like insurance and software. You can also boost revenue with add-ons. Offer items like baskets or child seats for an extra $5 to $15 per rental.
Consider dynamic pricing for weekends and holidays, increasing your rates by 10-20% to match higher demand. You could also create multi-day rental packages or guided tour bundles. These higher-ticket sales can significantly improve your average transaction value.
Here are 4 immediate steps to take:
- Create a pricing sheet with hourly, half-day, and full-day rates.
- Call two local competitors to analyze their pricing and what is included.
- List three add-ons you can offer and decide on their rental price.
- Calculate your weekend pricing based on a 15% increase over your standard rate.
Step 10: Maintain quality and scale your business
Establish a daily pre-ride inspection for every bike. This should include checking tire pressure, brake function, and battery charge. A simple checklist ensures consistency. Many owners find that skipping these small checks leads to bigger repair bills and unhappy customers down the road.
You should also track key metrics. Aim for a bike availability rate of 95% or higher during your busy season. Monitor your Google and Yelp reviews weekly. If your average rating drops below 4.5 stars, read the feedback to identify and fix the root cause quickly.
Know when to grow
Growth should be data-driven. When you personally spend more than 15 hours a week on customer check-ins and basic maintenance, it is time to hire your first employee. This frees you up to focus on marketing and strategy, which is a better use of your time.
Watch your fleet utilization rate. If your bikes are booked more than 70% of the time on weekends for a month straight, it is a strong signal to expand your fleet. You might consider adding another 5 to 10 bikes to meet the demand.
As you add more bikes or locations, your initial software may not keep up. Platforms like Booqable or FareHarbor are built to handle larger inventories, staff scheduling, and advanced reporting. They can help you manage the complexity that comes with a larger operation.
Here are 4 immediate steps to take:
- Create a daily pre-ride inspection checklist for your bikes.
- Set a calendar reminder to review customer ratings on Google and Yelp each week.
- Calculate your current weekend bike utilization rate to see if it exceeds 70%.
- Explore the features of Booqable and FareHarbor to see how they support larger fleets.
Conclusion
You have the blueprint for your e-bike rental venture. The most successful owners know they are in the hospitality business, not just equipment rental. Focus on creating a seamless, fun experience for every rider. You have done the research, now it is time to build.
To keep things smooth, especially for on-the-spot rentals, a simple payment process helps. With JIM, your smartphone becomes your card reader, letting you accept payments anywhere for a flat 1.99% fee without extra hardware. This lets you focus on your customers. Download JIM and be ready for day one.
.avif)


