
Starting a catering business is an exciting venture that combines a passion for food and hospitality with smart business sense. The industry is a multi-billion dollar market, with consistent demand for quality catering at weddings, corporate functions, and private parties.
This guide will take you through the practical steps of validating your business concept, obtaining necessary licenses, acquiring equipment, and building supplier relationships to help you launch a successful catering business in the U.S.
Step 1: Plan your business and validate your concept
Before you spend a dime, gauge local demand. Talk to event planners at local venues and HR managers who organize corporate events. Ask them what catering services they currently use and what gaps exist in the market. This direct feedback is more valuable than generic online research.
Next, identify your direct competitors using Google Maps and social media. Analyze their menus, pricing structures, and the types of events they feature. A common misstep is only copying a competitor's model instead of finding a unique niche, like vegan-friendly events or family-style meal packages.
Estimate your startup costs
Your initial investment can vary, but mapping out expenses prevents surprises. Equipment is a significant part of the budget, but you can manage this by renting specialty items for your first few jobs instead of buying them outright. This protects your cash flow as you start.
- Licenses and Permits: $300 - $1,000
- General Liability Insurance: $500 - $1,200 (annual premium)
- Initial Food and Supplies: $1,000 - $3,000
- Basic Equipment and Transport Gear: $2,000 - $5,000
- Website and Marketing Materials: $500 - $1,500
This brings your estimated startup range to between $4,300 and $11,700. Underestimating initial food inventory is a frequent error, so always budget on the higher side for your first few events.
Here are 3 immediate steps to take:
- Identify your specific catering niche, like small private parties or office lunches.
- Analyze the online menus and pricing of three direct competitors in your area.
- Create a detailed budget spreadsheet with your estimated startup expenses.
Step 2: Set up your legal structure and secure licenses
You might want to form a Limited Liability Company (LLC). It protects your personal assets if the business is sued. An LLC also offers pass-through taxation, meaning profits are taxed on your personal return, which simplifies paperwork compared to a corporation.
Many new caterers operate as a sole proprietorship to save money, but this leaves your personal car and home vulnerable. Filing for an LLC with your state's Secretary of State is a foundational step for protection. Costs typically range from $50 to $500.
Get your required permits
Next, get a free Employer Identification Number (EIN) from the IRS website; you need this for taxes and hiring. With your EIN, contact your local health department for a catering permit and food handler's permits for your team. These are non-negotiable.
Expect the main catering permit to cost between $100 and $1,000, with a processing time of 30-60 days. Food handler's cards are about $15 per person and can often be obtained online in a few hours. Always apply well before your first event.
Here are 3 immediate steps to take:
- Register your business as an LLC with your Secretary of State.
- Apply for a free Employer Identification Number (EIN) on the IRS website.
- Contact your local health department for a checklist of all required food and catering permits.
Step 3: Protect your business with the right insurance
Your LLC protects your personal assets, but business insurance protects the business itself. General liability is your first priority. It covers claims like food poisoning or a guest tripping over your equipment. A $1 million policy is standard and typically costs between $500 and $1,200 annually.
You will also need commercial auto insurance. A frequent mistake is to assume your personal car insurance covers business deliveries. It does not, leaving you exposed in an accident. If you have employees, workers’ compensation is legally required in most states to cover on-the-job injuries.
Find a specialist insurance provider
Inland marine insurance is another policy to consider. It protects your equipment while in transit or at a venue. When you look for policies, approach providers who specialize in food service, such as The Hartford, Hiscox, or the Food Liability Insurance Program (FLIP). They understand your specific risks.
Here are 3 immediate steps to take:
- Request a quote for a $1 million general liability policy from a specialist like FLIP.
- Confirm with your auto insurance agent that your personal policy excludes business use.
- Check your state’s workers' compensation laws if you plan to hire help.
Step 4: Secure your location and equipment
Find a commercial kitchen space
You cannot legally operate a catering business from your home kitchen. Look for a shared-use commissary kitchen. These spaces are licensed for commercial food production and can be rented by the hour or month, which keeps your initial overhead low.
A small, dedicated space might be 500-1,500 square feet. When you review a lease for your own space, negotiate for a shorter term, like one or two years. This gives you flexibility as your business grows without locking you into a long commitment.
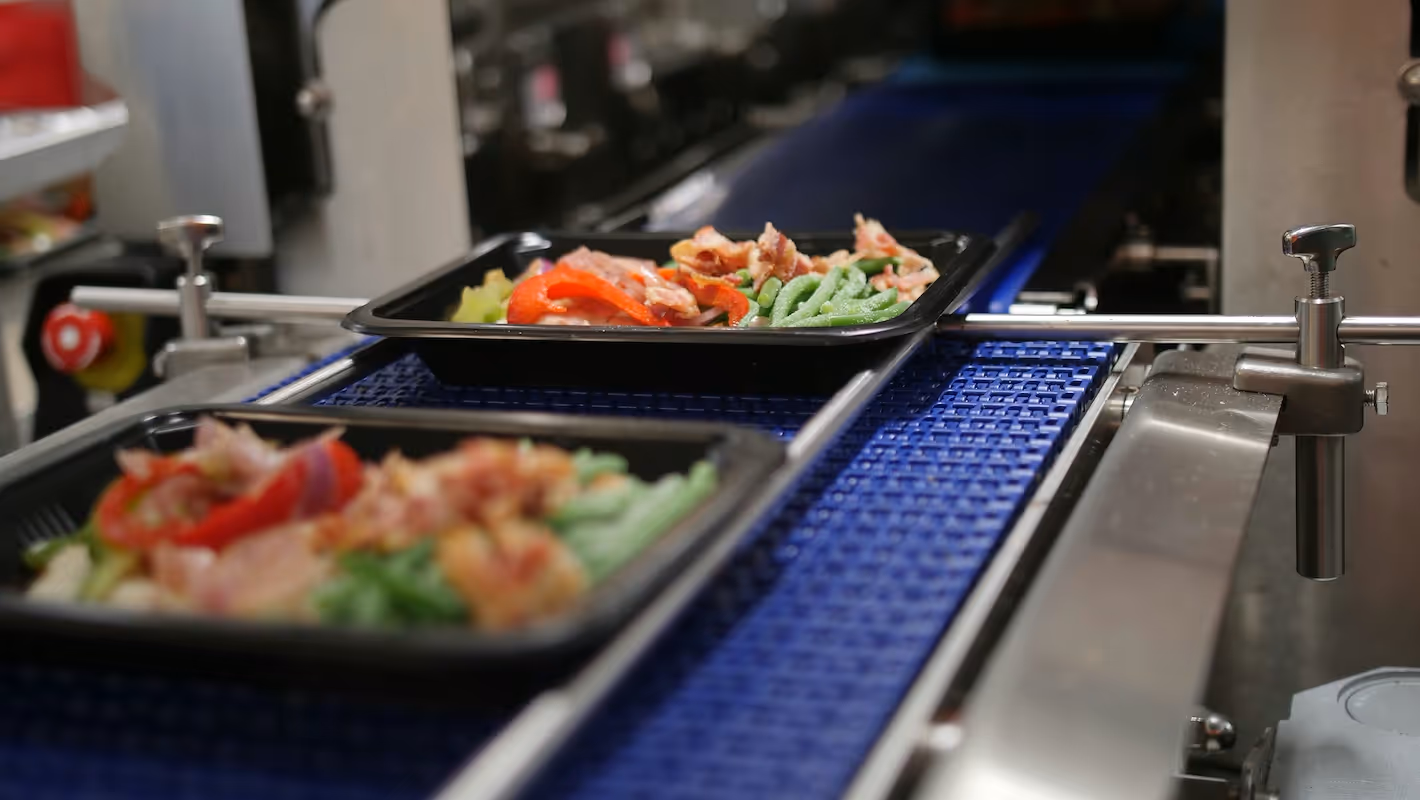
Purchase your starting equipment
Many new caterers are tempted to buy every gadget. A better approach is to start with the basics and rent specialty items. Focus your budget on multi-purpose gear that you will use for every event. This protects your cash flow early on.
Here is a sample list of foundational items and their typical costs:
- Commercial Convection Oven: $2,000 - $5,000
- Stainless Steel Prep Tables (2): $300 - $600
- Insulated Food Carriers (Cambros): $200 - $400 each
- Three-Compartment Sink: $400 - $1,000
You can find these items at suppliers like WebstaurantStore or local restaurant supply shops. Most online suppliers have no minimum order quantity, so you can buy items as you need them.
Here are 3 immediate steps to take:
- Research three commissary kitchens in your area and compare their hourly rates.
- Create a shopping list for your starting equipment and price it on WebstaurantStore.
- When you find a potential location, ask the landlord about a 1-2 year lease term.
Step 5: Set up your payment processing
Establish clear payment terms from the start. A standard practice is to require a 50% non-refundable deposit to book a date. The remaining balance should be due 7 to 14 days before the event. Outline these terms clearly in your catering contract to avoid any confusion.
When you choose a payment solution, look for low transaction fees and portability. Many new caterers are surprised by rates from other providers that climb above 2.9% plus monthly charges. These fees can quickly reduce your profit margins on large events.
For businesses that need to accept payments on-site or on-the-go, JIM offers a streamlined solution. With JIM, you can accept debit, credit, and digital wallets directly through your smartphone. At just 1.99% per transaction with no hidden costs or extra hardware, it is particularly useful for collecting last-minute payments or add-on sales at an event.
- Get Started: Download the JIM app for iOS.
- Make a Sale: Type the sales amount, hit sell, and ask your customer to tap their card or device on your phone.
- Access Funds: Your money is available on your JIM card as soon as the sale is done.
Here are 3 immediate steps to take:
- Draft your standard payment terms, including the deposit amount and final payment deadline.
- Compare JIM's 1.99% transaction rate to other mobile payment options.
- Download the JIM app to explore its interface on your phone.
Step 6: Secure funding and manage your finances
An SBA Microloan is a great starting point for funding. These loans go up to $50,000 and are designed for new businesses. Lenders will look for a strong business plan and a personal credit score above 680. Interest rates typically fall between 8% and 13%.
You might also consider equipment financing. This type of loan is used specifically for items like commercial ovens or a delivery van, with the equipment itself acting as collateral. It can be easier to qualify for than a general business loan when you are just starting out.
Estimate your working capital
A mistake many new caterers make is to budget only for startup gear and forget about operating cash. You need working capital to cover payroll, marketing, and food costs for the first 3-6 months before you have a steady stream of events.
Aim to have between $5,000 and $15,000 set aside. This buffer ensures you can operate smoothly without financial stress while you build your client base. Also, look into local economic development grants for small food businesses, as they can provide funds you do not have to repay.
Here are 3 immediate steps to take:
- Check your personal credit score to see where you stand for loan applications.
- Research two SBA Microloan lenders in your state.
- Create a 6-month operating budget to calculate your working capital needs.
Step 7: Hire your team and set up operations
Build your event team
For your first events, you will likely need an Event Chef and a few Servers. An Event Chef can earn $20-$30 per hour, while servers typically make $15-$25 per hour plus tips. Post job descriptions on platforms like Indeed or specialized hospitality job boards.
Every team member who handles food must have a valid Food Handler's Permit. This is a legal requirement. You might also look for candidates with ServSafe certifications, as this shows a deeper understanding of food safety protocols, which clients and venues appreciate.
Streamline your operations
A good rule of thumb for staffing is one server per 25-30 guests for a buffet and one server per 15-20 guests for a plated dinner. Some new owners understaff to cut costs, but this often leads to slow service and unhappy clients, which hurts your reputation.
To manage schedules without confusion, consider using an app like 7shifts or When I Work. These platforms help you communicate shifts and responsibilities clearly. Many offer free or low-cost plans for small teams, which simplifies payroll and coordination as you grow.
Here are 3 immediate steps to take:
- Draft job descriptions for an Event Chef and a Server, including pay rates.
- Determine the staffing ratios you will use for both buffet and plated events.
- Sign up for a free trial of a scheduling app like 7shifts to see how it works.
Step 8: Market your business and get clients
Your marketing should start with high-quality photos. Create a business profile on Instagram and showcase your best dishes. A frequent mistake is to use photos with poor lighting. Always use natural light to make your food look appealing. Your phone's camera is fine if the lighting is good.
Build local partnerships
Connect with event planners, venue managers, and corporate HR departments. Offer them a complimentary tasting menu. This is not a free meal, it is a direct investment in a referral relationship. Your goal is to become their trusted, go-to caterer for future events.
You can also list your business on platforms like The Knot and WeddingWire. These sites put you in front of clients who are ready to book. A basic listing might cost between $100 and $400 per month, but it can generate qualified leads quickly.
After a successful event, immediately follow up with your client. Ask for a testimonial for your website and permission to use photos from their event. Positive reviews and real-world images are your most powerful marketing assets. Many new owners forget this simple step.
Here are 4 immediate steps to take:
- Create a business profile on Instagram and post five high-quality photos of your dishes.
- Identify three local event planners and draft an email offering a complimentary tasting.
- Research the monthly listing costs for The Knot or WeddingWire in your market.
- Draft a follow-up email template to request testimonials from clients after an event.
Step 9: Develop your pricing strategy
Set your per-person rate
Most caterers use a per-person pricing model. This rate can range from $25 for a simple lunch to over $150 for a formal wedding dinner. Your price must cover food, labor, overhead, and profit. Many new caterers only mark up food costs and forget everything else.
A good rule of thumb is to keep your raw food cost between 25-35% of your menu price. This means you should mark up your ingredient costs by three to four times. If a plate costs $10 in ingredients, you should charge between $30 and $40.
Offer tiered packages
Another effective strategy is to offer tiered packages, like Bronze, Silver, and Gold. This gives clients clear options at different price points. Your Bronze package might offer a basic buffet, while the Gold package could include premium ingredients and more staff.
This approach simplifies the sales process and helps you upsell clients to more profitable options. Just make sure the value jump between each tier is clear to the customer.
Here are 3 immediate steps to take:
- Calculate the total ingredient cost for one sample menu and apply a 4x markup to find your base price.
- Create three sample tiered packages (e.g., Basic, Standard, Premium) with distinct offerings.
- List all your monthly overhead costs to determine the amount you need to factor into each event's price.
Step 10: Maintain quality and scale your operations
Once your business is running, consistency becomes your top priority. Standardize your recipes and create service checklists for your team. This ensures every client receives the same high-quality experience, which is the foundation of a strong reputation and repeat business.
Measure your performance
You cannot improve what you do not measure. Track client satisfaction with a simple post-event survey, and aim for an average score of 4.5 out of 5. Also, maintain food temperature logs at every event to ensure you always meet food safety standards.
Many new owners chase growth so fast that quality suffers. If your client satisfaction score dips below 4.0 for two events in a row, pause new bookings. It is a sign you need to refine your processes or retrain your team before you expand further.
Know when to grow
Let data guide your expansion. If you start to turn down more than two or three events per month, it is time to hire another event chef. When your commissary kitchen hours consistently exceed 40 per week, you can justify the search for a dedicated space.
As you get busier, spreadsheets will not be enough. Catering management software like Caterease or Total Party Planner helps you manage proposals, inventory, and event schedules. This prevents double bookings and keeps your operations smooth as you scale.
Here are 3 immediate steps to take:
- Create a standard recipe book for your top five menu items.
- Draft a simple post-event client survey to measure satisfaction.
- Research the pricing for a catering management software like Caterease.
You now have the roadmap to launch your catering business. Remember that your reputation is built one event at a time, so always prioritize quality over rapid growth. You have a solid plan, now go make it happen.
As you get paid, keep your process simple. JIM lets you accept payments on your smartphone for a flat 1.99% fee, with no extra hardware needed. This makes cash flow much smoother from day one. Download JIM and get ready for your first sale.
.avif)


