
Starting an embroidery business is an exciting venture that combines creativity and an eye for detail with business savvy. The market is quite accessible thanks to high demand for custom work and the potential for good profit margins, but that accessibility doesn't mean success comes easy.
This guide will take you through the practical steps of validating your business concept, acquiring the right equipment, securing funding, and obtaining necessary permits to help you launch a successful embroidery business in the U.S.
Step 1: Plan and validate your business idea
First, define your niche. You can research trending items on Etsy or use Google Maps to find local shops. Note what they offer, from corporate logos on polos to custom patches for clubs, and check their prices.
This research helps you find a market gap. Perhaps local businesses need faster service, or there is an unmet demand for a unique embroidery style. A frequent misstep is to offer everything instead of specializing early on.
Estimate your startup costs
Speaking of what you will offer, let's talk about costs. Your embroidery machine is the main investment, with commercial multi-needle models between $5,000 and $15,000. A home machine may seem cheaper but will not handle volume.
You also need digitizing software like Hatch or Wilcom, which can cost $1,000 to $2,000. Initial supplies like thread, stabilizers, and blank apparel will likely add another $500 to $1,000 to your budget.
With business registration and a basic website, your total startup investment could range from $7,000 to over $20,000. This is a notable figure, so careful budget planning is a good first move.
Here are 3 immediate steps to take:
- Identify three potential niche markets you could serve.
- Research five local and five online competitors to analyze their offerings and pricing.
- Create a detailed spreadsheet to budget for your machine, software, and initial supplies.
Step 2: Formalize your business and get licensed
Choose your business structure
You should consider forming a Limited Liability Company (LLC). This structure protects your personal assets, like your home, if the business faces debt or lawsuits. Many new owners skip this and operate as a sole proprietorship, which leaves their personal finances exposed.
With an LLC, profits pass through to your personal tax return, so you avoid corporate double taxation. Filing for an LLC involves a one-time fee, typically $50 to $500, paid to your state's Secretary of State office. Processing can take a few weeks.
Secure federal, state, and local permits
Next, get a free Employer Identification Number (EIN) from the IRS website. Think of it as a Social Security Number for your business. You will need an EIN to open a business bank account and to hire any employees down the road.
You will also need a seller’s permit from your state’s Department of Revenue. This permit allows you to buy blank apparel and supplies wholesale without paying sales tax. It also means you must collect sales tax from your customers on finished goods.
Finally, check with your city or county clerk for a general business license. If you plan to operate from home, ask about a home-based business permit to ensure you comply with local zoning laws. These permits usually cost between $50 and $150 annually.
Here are 4 immediate steps to take:
- File for an LLC with your state’s Secretary of State.
- Apply for a free EIN on the IRS website.
- Obtain a seller’s permit from your state’s Department of Revenue.
- Contact your city or county clerk about local business license requirements.
Step 3: Protect your business with the right insurance
Secure essential coverage
General liability insurance is your baseline protection. It covers claims like customer injury or property damage. A $1 million policy is standard, with annual premiums typically between $400 and $900 for a small operation.
Next, consider business property insurance to protect your embroidery machine and inventory from theft or fire. Many owners overlook professional liability insurance, which covers you if your work damages a client’s expensive items, a real risk in this business.
If you use a vehicle for business, you need commercial auto insurance. Once you hire help, workers' compensation is mandatory in most states. Providers like Hiscox, The Hartford, and Next Insurance offer packages for small businesses, so you can bundle policies.
Here are 4 immediate steps to take:
- Request quotes for a $1 million general liability policy.
- Ask insurers about adding professional liability coverage for work errors.
- Get a business property insurance quote that covers the full value of your equipment.
- Compare bundled policies from at least two providers that specialize in small businesses.
Step 4: Set up your location and buy equipment
For a home setup, you need a dedicated space of at least 150-200 square feet. A spare room or garage works well. A frequent oversight is not planning for storage, so account for shelves for blank apparel, thread, and shipping boxes.
If you lease a commercial spot, look for "light industrial" zoning. When you negotiate the lease, confirm the space has a dedicated 20-amp circuit for your machine. Poor ventilation is another issue, so check for good airflow or windows.
Gather your supplies
Beyond the embroidery machine, you will want a heat press ($300-$700) to apply backing and patches. You also need a full set of hoops, a starting thread collection from brands like Madeira or Isacord, and various stabilizers.
You can open wholesale accounts with apparel distributors like SanMar or S&S Activewear. They typically have no minimum order quantities, which helps manage cash flow. This lets you order items as customer jobs come in instead of holding costly inventory.
Here are 4 immediate steps to take:
- Measure your workspace to confirm it fits a machine plus storage.
- Check the electrical specifications for your top three machine choices.
- Open wholesale accounts with two apparel suppliers.
- Request quotes for a heat press in the $300-$700 range.
Step 5: Set up your payment processing
For custom work, it is standard to ask for a 50% deposit. This protects you from material costs if a client cancels. The remainder is due upon pickup or before you ship the order. You need a simple system to accept these payments.
Many payment processors have average commission rates of 2.5% to 3.5% plus monthly fees. For an embroidery business that needs to accept payments on-site or on-the-go, JIM offers a streamlined solution. You can accept debit, credit, and digital wallets directly through your smartphone.
At just 1.99% per transaction with no hidden costs or extra hardware needed, it is particularly useful for taking deposits at client meetings or selling at markets. Here is how it works:
- Get Started: Download the JIM app for iOS.
- Make a Sale: Type the sales amount, hit sell, and ask your customer to tap their card or device on your phone.
- Access Funds: Your money is available right on your JIM card as soon as the sale is done - no waiting for bank transfers.
Here are 3 immediate steps to take:
- Decide on your deposit policy for custom orders.
- Compare JIM's 1.99% transaction rate against other options.
- Download the JIM app to see how it works on your phone.
Step 6: Secure funding and manage your finances
Explore funding options
SBA Microloans are a good fit for this type of startup. You can seek loans from $5,000 to $25,000 with interest rates typically between 8% and 13%. Lenders will want to see a simple business plan and a personal credit score above 680.
You might also consider equipment financing. With this option, the embroidery machine itself acts as collateral. This can lead to faster approvals, and many machine suppliers offer it directly. It separates your largest purchase from your daily operational cash.
Also look for grants. While competitive, they provide funds you do not repay. The Amber Grant is a well-known option for women entrepreneurs. You should also search for small business or arts grants offered by your city or state economic development agency.
Plan your working capital
Set aside at least $3,000 to $5,000 for your first six months of working capital. This reserve covers thread, blank apparel, and marketing before sales become consistent. A frequent misstep is to budget for the machine but forget about these day-to-day operational costs.
Here are 4 immediate steps to take:
- Draft a one-page business plan to support loan applications.
- Research two SBA-approved lenders in your area for microloans.
- Get a quote for equipment financing from your machine supplier.
- Create a 6-month budget to estimate your working capital needs.
Step 7: Hire your team and manage operations
You should consider your first hire when you spend more time on production than on sales and marketing. A good benchmark is to plan for one full-time employee for every $75,000 to $100,000 in annual revenue. Many owners wait too long and face burnout.
Define your first hire
Your first employee will likely be an Embroidery Machine Operator. This person handles machine setup, hooping garments, and quality control. Pay typically ranges from $15 to $22 per hour. Formal certifications are not required, but experience with multi-needle machines is a major advantage.
Streamline your workflow
To manage orders, you can start with a simple Trello board. As you grow, you might look at industry-specific software like Printavo or YoPrint to handle quotes and production schedules. A frequent misstep is to rely on spreadsheets, which can lead to missed deadlines.
Before you hire, document your process for a standard job. Create a simple guide that covers hooping techniques, thread changes, and final quality checks. This ensures anyone you bring on can produce work that meets your standards from day one.
Here are 4 immediate steps to take:
- Calculate the revenue point where you will need to hire help.
- Write a job description for an Embroidery Machine Operator.
- Set up a free Trello board to track your first few orders.
- Document your standard procedure for a basic embroidery job.
Step 8: Market your business and get customers
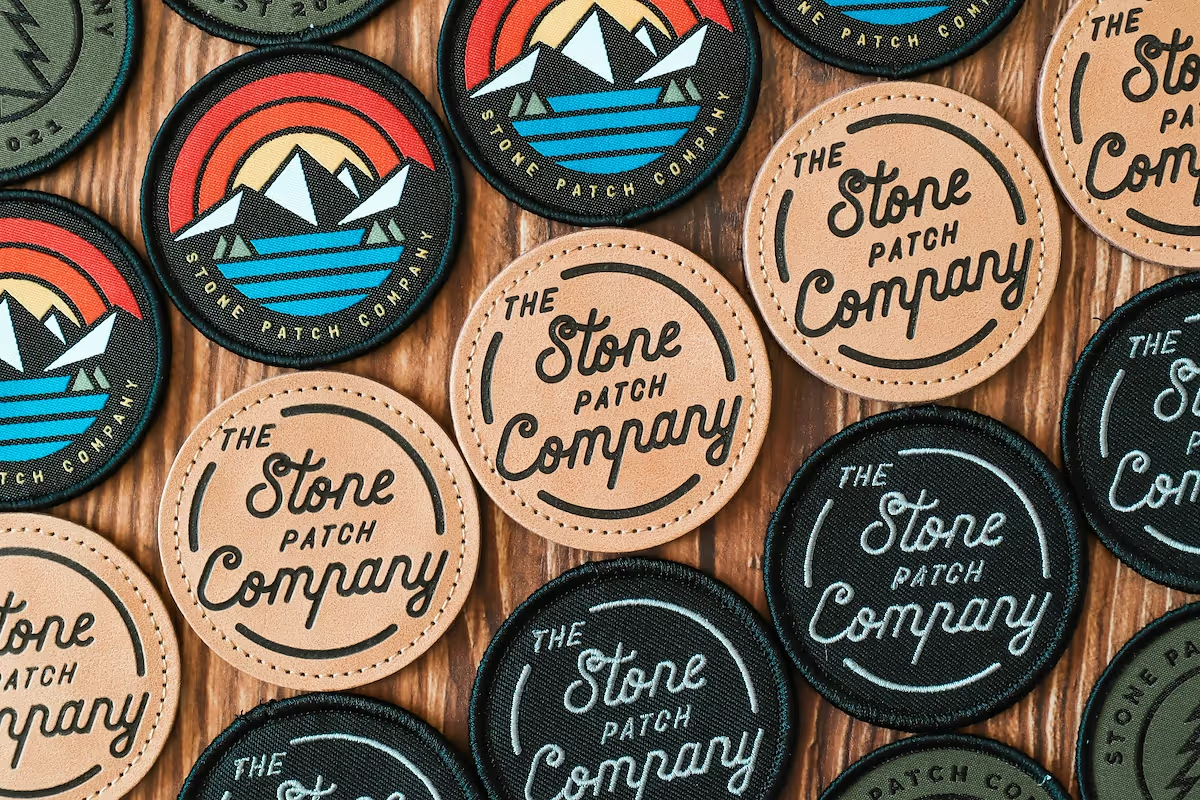
Your marketing should start with high-quality photos. Instagram and Pinterest are ideal for a visual product like embroidery. Post clear images and short videos of your machine at work. Use specific hashtags like #logowear or #custompatches to attract interested buyers.
Your social media feed can serve as your initial portfolio. Many new owners make the mistake of posting dark or blurry photos. This undermines the quality of your work, so always use good lighting. A simple website with a gallery also adds a professional touch.
Connect with local customers
You can also do direct outreach. Visit local businesses, sports teams, or schools with physical samples of your work. A tangible product is a powerful sales asset. You might offer a 10% discount on a first order to encourage them to try your service.
For online sales, consider an Etsy shop. It provides access to a ready-made audience searching for custom goods. Just account for the platform’s fees, which include a 6.5% transaction fee, when you set your prices. This can be a great way to build early sales velocity.
Here are 4 immediate steps to take:
- Create an Instagram business profile and post five high-quality photos of your work.
- Identify three local businesses or clubs to approach with physical samples.
- Set up a simple one-page portfolio website to showcase your best projects.
- Review Etsy’s fee structure to determine if it aligns with your pricing strategy.
Step 9: Set your pricing strategy
Choose your pricing model
A common method is to price per 1,000 stitches. Most shops charge between $0.75 and $1.25 for every 1,000 stitches. You should also set a minimum charge, perhaps $10 to $15, to make small jobs worthwhile. This model is transparent and scales well with design complexity.
Alternatively, you could offer flat-rate prices for standard placements like a left-chest logo or a hat front. For example, you might charge a flat $12 for any logo under 10,000 stitches. This simplifies quotes for you and the customer, especially for repeat orders.
Factor in all your costs
With your embroidery price set, you need to mark up the garment. A 100% markup on the wholesale cost is a solid starting point. If a polo costs you $12, you charge the customer $24 for it before adding the embroidery fee. This helps you achieve a healthy profit margin.
Many new owners forget to charge for setup. You should add a one-time digitizing fee of $20 to $50 for each new logo. This covers the time to convert art into a stitch file. Forgetting this fee directly cuts into your profit on every single job.
Here are 4 immediate steps to take:
- Research five competitors to see their price for a left-chest logo on a polo.
- Decide between a per-stitch or flat-rate pricing model.
- Determine your standard one-time digitizing fee for new logos.
- Create a price sheet for your three most common job types.
Step 10: Maintain quality and scale your operations
Establish your quality standards
Your reputation depends on consistent quality. Create a simple checklist for every order. Check for correct thread tension, with no loops on top or bobbin thread showing. Ensure the design registration is perfect, with no gaps between colors.
A good standard is to reject any piece with more than one loose thread or visible stabilizer after trimming. This strictness builds trust. Many new owners ship "good enough" work, which hurts their brand over time.
Plan your growth
You should plan to hire your first operator when you reach $75,000 to $100,000 in annual revenue. Waiting until you are overwhelmed leads to burnout and missed opportunities. This hire frees you to focus on sales and client relationships.
Once you manage more than 10-15 orders a week, your Trello board will become a bottleneck. This is the time to upgrade to production software like Printavo or YoPrint. They help manage quotes, inventory, and schedules as you scale.
Here are 4 immediate steps to take:
- Create a 3-point quality control checklist for every order.
- Set a revenue goal for your first hire based on the $75,000 benchmark.
- Define your weekly order capacity before you feel overwhelmed.
- Watch a demo video for Printavo or YoPrint to see how they work.
Starting an embroidery business is about more than just stitches; it's about precision and client trust. Remember that your reputation is built on flawless work, as each perfect piece is your best marketing. You have the roadmap, now go build your brand.
As you get started, a simple payment process helps. JIM turns your smartphone into a card reader, letting you accept payments for a flat 1.99% fee with no extra hardware. This makes taking deposits and sales easy from day one. Download JIM to get set up.
.avif)


