
Starting an interior design business is a rewarding venture that combines creativity and an eye for detail with business savvy. The industry is worth billions of dollars, with steady demand for professional design in residential, commercial, and hospitality spaces.
This guide will take you through the practical steps of validating your business concept, securing funding, obtaining necessary licenses, and building supplier relationships to help you launch a successful interior design business in the U.S.
Step 1: Create and validate your business plan
You can begin by researching your local market. Look at real estate trends for new builds and high-value home sales. The American Society of Interior Designers (ASID) also publishes industry reports that offer a broader view of market demand.
Next, analyze your competition. Use platforms like Houzz and Instagram to find local designers. Study their portfolios, service packages, and client reviews. This helps you find a unique niche for your business and understand local pricing.
Estimate your startup costs
With this in mind, map out your initial investment. Startup costs can vary, but a clear budget is a great asset. Many new designers overlook small expenses that add up, so a detailed list prevents future headaches.
- Business Formation & Licensing: $300 - $1,000
- Design & Project Software: $50 - $300 per month
- Website & Digital Portfolio: $1,000 - $5,000
- Professional Insurance: $500 - $1,500 annually
Your total initial investment will likely fall between $2,000 and $8,000. A plan for this range helps you secure adequate funds without surprises. Consider it the foundation for your future success.
Here are 3 immediate steps to take:
- Research local real estate data to identify high-growth areas.
- Analyze the portfolios and services of 3-5 local competitors on Houzz.
- Create a detailed startup budget using the cost categories above.
Step 2: Set up your legal structure and licensing
Choose your business structure
You might want to consider forming a Limited Liability Company (LLC). This structure separates your business and personal assets, which protects your home and savings from business debts or lawsuits. It offers a good balance of protection and simplicity for a new design business.
Operating as a sole proprietor is simpler but leaves your personal assets exposed. An LLC costs between $50 and $500 to file with your Secretary of State, and approval usually takes a few days to a couple of weeks. It also allows for pass-through taxation.
Get the right permits and certifications
Licensing for interior designers varies by state. Some states require you to pass the National Council for Interior Design Qualification (NCIDQ) exam to call yourself a "certified" or "registered" interior designer. Check with your state's professional licensing board for its specific rules.
Regardless of state law, you will need a few key documents to operate legally:
- General Business License: Issued by your city or county, this permit allows you to operate locally.
- Seller’s Permit: This lets you buy furniture and decor wholesale without paying sales tax. You get it from your state's tax agency.
- Employer Identification Number (EIN): A free tax ID from the IRS for opening a business bank account and managing taxes.
Here are 3 immediate steps to take:
- Decide between an LLC and a sole proprietorship for your business structure.
- Check your state board’s requirements regarding the NCIDQ exam.
- Apply for a free Employer Identification Number (EIN) on the IRS website.
Step 3: Secure your business insurance
Key insurance policies
Protecting your business assets requires the right insurance. Many new designers underestimate their liability, so it is smart to get this sorted out before you take on your first client. This protects you from unexpected claims that could derail your business before it starts.
You will need a few specific types of coverage. These policies address the unique risks that come with interior design work, from client injuries to costly design errors.
- General Liability: This covers third-party property damage or injury. Aim for at least $1 million in coverage. Annual premiums often range from $400 to $900.
- Professional Liability (E&O): This protects against claims of negligence or mistakes in your work. A client could sue over a material specification error. Coverage of $1 million is standard, with premiums from $600 to $1,200 per year.
- Commercial Property Insurance: If you have a studio or office, this covers your equipment and furniture.
A frequent misstep is to rely only on general liability. Professional liability is what protects your actual design advice and recommendations. Without it, a single client dispute over a project outcome could put your personal finances at risk, even with an LLC.
When you look for providers, consider specialists in small business insurance. Companies like Hiscox, The Hartford, and CoverWallet understand the risks for creative professionals. They can offer policies tailored to your needs better than a general agent might.
Here are 3 immediate steps to take:
- Request quotes for both General Liability and Professional Liability insurance.
- Compare policies from two specialist providers to find the best fit.
- Review your client contract to ensure your liability clauses align with your insurance coverage.
Step 4: Set up your location and equipment
Find your workspace
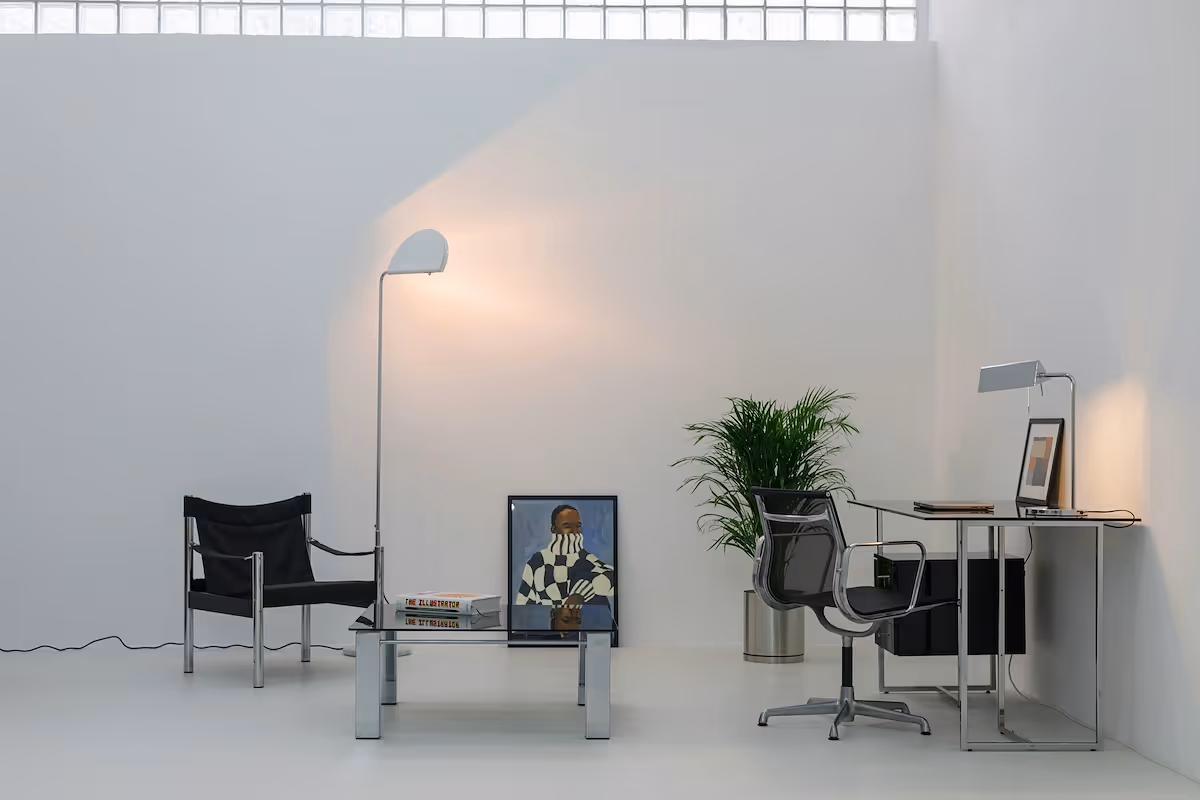
Many designers begin from a home office to minimize overhead. If you want a dedicated studio, look for a 300-500 square foot space in a commercial or mixed-use zone. This provides enough room for a client meeting area and a small sample library.
When you negotiate a lease, ask about a tenant improvement allowance. This can help cover costs for better lighting or flooring, which are important for showcasing materials accurately. A frequent mistake is signing a long-term lease before your income is stable.
Gather your equipment
Your physical setup requires a few key items to operate professionally. While software handles much of the design work, these tangible assets are for client presentations and site visits. This investment builds your professional toolkit and client confidence.
- Professional Camera: $500 - $1,500 for high-quality portfolio photos.
- Laser Measure: $50 - $150 for accurate site measurements.
- Material Sample Library: $500 - $2,000 to start your collection of fabrics, tiles, and finishes.
Build supplier relationships
Now that you have your permits, you can open trade accounts. Start with your local design center or trade-only showrooms. These suppliers give you access to exclusive products and designer pricing. Some vendors have minimum order quantities, but many will work with new designers.
Here are 3 immediate steps to take:
- Research commercial lease listings for small studios in your target area.
- Create a budget for your initial equipment, starting with a camera and laser measure.
- Contact a local trade showroom to understand their process for opening a designer account.
Step 5: Set up your payment processing
Define your payment structure
Most designers use a mix of fees. You might charge a flat design fee plus an hourly rate for project management. It is standard practice to require an upfront retainer, typically 25-50% of the total estimated cost, before you begin work. This secures your time and covers initial expenses.
For payment methods, you can accept bank transfers and checks. However, offering credit and debit card payments provides convenience for your clients. This is especially true for on-the-go transactions like initial consultations or when a client decides to purchase a decor item from you on the spot.
Choose a payment solution
For designers who need to accept payments anywhere, JIM offers a streamlined solution. With JIM, you can accept debit, credit, and digital wallets directly through your smartphone—just tap and done. It's particularly useful for collecting deposits on the spot. While many providers charge 2.5% to 3.5%, JIM is just 1.99% per transaction with no hidden costs.
A frequent delay for new business owners is waiting for funds to clear. JIM solves this. Your money is available on your JIM card as soon as the sale is done. Getting started is straightforward:
- Get Started: Download the JIM app for iOS.
- Make a Sale: Type the sales amount, hit sell, and ask your customer to tap their card or device on your phone.
- Access Funds: Your money is available right on your JIM card as soon as the sale is done, with no waiting for bank transfers.
Here are 3 immediate steps to take:
- Decide on your fee structure, including your retainer percentage.
- Compare the 1.99% rate from JIM with other payment processors.
- Download the JIM app to explore its features on your phone.
Step 6: Secure funding and manage your finances
Explore your funding options
You can fund your launch with a few different sources. The SBA Microloan program offers up to $50,000 and is a good fit for new businesses. You will need a strong business plan and good personal credit. Interest rates typically range from 8% to 13%.
A business line of credit is another option. It gives you flexible access to cash for project expenses. You only pay interest on what you use. Also, look into grants like the Amber Grant for Women, which awards funds that you do not have to repay.
Manage your cash flow
Plan to have at least six months of working capital. This covers your operating costs before client payments become regular. A budget of $5,000 to $10,000 is a realistic target. Many new designers underestimate this need and face cash flow problems early on.
Once you have funds, open a dedicated business bank account. It is tempting to use your personal account at first, but mixing funds complicates taxes and puts your personal assets at risk, even with an LLC. Use accounting software like QuickBooks or FreshBooks from day one to track every dollar.
Here are 3 immediate steps to take:
- Review the SBA Microloan program requirements on the SBA website.
- Calculate your working capital needs for the first six months.
- Open a separate business bank account for your LLC.
Step 7: Hire your team and set up operations
Build your core team
Most designers start solo, but it is smart to plan for growth. Your first hire will likely be a Design Assistant to help with sourcing materials, creating mood boards, and client communication. Expect a salary range of $45,000 to $60,000 for this role.
Look for candidates with proficiency in software like AutoCAD or SketchUp. A frequent misstep is to hire too soon. A good rule of thumb is to bring on your first employee once your annual revenue consistently exceeds $100,000. This ensures you can support the salary.
Streamline your workflow
With a growing workload, you need a system to manage it all. Project management software acts as your command center. Platforms like Ivy, MyDoma Studio, or DesignFiles handle proposals, purchase orders, and client updates in one place, which keeps your projects on track.
Many new designers try to manage projects with spreadsheets and email, but this quickly becomes disorganized. Adopting a dedicated platform from the start presents a more professional image and prevents costly communication errors down the line.
Here are 3 immediate steps to take:
- Draft a job description for a Design Assistant, including required software skills.
- Schedule demos for two project management platforms like Ivy or MyDoma Studio.
- Set a revenue target, such as $100,000 annually, for making your first hire.
Step 8: Market your business and get clients
Build your digital portfolio
Your online portfolio is your most powerful sales asset. Use platforms like Houzz and Instagram to showcase your work. Focus on high-quality images over quantity. A portfolio with 5-10 stunning photos of one great project is more effective than 50 average pictures from multiple jobs.
On your website, optimize your service pages for local search. Target keywords like "residential interior designer in [Your City]" to attract clients who are actively looking for help. This helps you appear in local search results when potential customers need your services.
Create a referral network
Do not just wait for clients to find you. Actively build relationships with real estate agents, architects, and custom home builders. These professionals often have clients who need design services. Offer a referral fee, typically 5-10% of your design fee, for each new client they send you.
A frequent mistake is to rely only on a digital presence. Attend local home shows or real estate association meetings. A direct introduction from a trusted partner is one of the fastest ways to land high-value projects. Your goal is to build a pipeline that works for you.
For your website, a 2% lead conversion rate is a good target. Your initial Customer Acquisition Cost (CAC) might be around $500 per client, but this number will decrease as your referral network grows and brings in business with no ad spend.
Here are 3 immediate steps to take:
- Create a professional profile on Houzz and upload your best 5-10 project images.
- Identify three local real estate agents or architects to contact for a coffee meeting.
- Optimize a page on your website for a local keyword like "[Your City] interior design".
Step 9: Set your pricing strategy
Choose your pricing model
Your pricing structure directly impacts your profitability. Most designers use a combination of models. For full-service projects, a flat design fee is common. You might charge $5,000 to $15,000 for a complete room design, which gives clients price certainty.
An hourly rate, typically between $150 and $300, works well for consultations or project management tasks. This model offers flexibility but can make clients nervous about costs. It is best to provide a clear estimate of hours upfront.
For furniture and decor procurement, the cost-plus model is standard. You purchase items at a trade discount and add a markup of 20-30% to the client's price. This markup is a key part of your profit margin on larger projects.
A frequent misstep is to rely solely on an hourly rate. This often undervalues the time spent on sourcing and procurement. A hybrid approach, like a flat fee plus a markup on goods, ensures you are compensated for both your creative work and your purchasing services.
Here are 3 immediate steps to take:
- Decide on a primary pricing model, such as a flat fee for full-service design.
- Set your standard markup percentage for procured goods, aiming for 20-30%.
- Research the service packages of three local competitors to benchmark your rates.
Step 10: Implement quality control and scale your business
To maintain high standards, create a quality control checklist for each project. This document should outline key review points for every phase, from initial concept to final installation. It ensures consistency, even as your business grows and you bring on team members.
To measure client satisfaction, send a simple feedback survey after project completion. Track your Net Promoter Score (NPS) and aim for a score above 50. Also, monitor your budget adherence. Consistently finishing projects within 5-10% of the estimated cost shows reliability.
Plan your growth milestones
Once your revenue consistently passes the $100,000 mark, it is time to hire your first Design Assistant. Some designers make the mistake of waiting too long, which leads to burnout and lower quality work. Plan for this hire before you are overwhelmed.
As you take on more projects, project management software becomes your key to scaling successfully. Platforms like Ivy or MyDoma Studio help you manage multiple clients, track orders, and maintain communication without letting details slip through the cracks.
Here are 3 immediate steps to take:
- Draft a quality control checklist for your project walkthroughs.
- Set a specific client satisfaction goal, like achieving an NPS score of 50.
- Establish a revenue target, such as $100,000, as the trigger for your first hire.
Launching your design business is now within reach. Your personal aesthetic is your strongest selling point, so let it guide your early work. Each project builds your reputation. You have the blueprint for success, so it is time to start building.
And when you land that first project, getting paid should be easy. JIM lets you accept cards on your smartphone for a simple 1.99% transaction fee, no hardware needed. Funds are available right away. Download JIM and be ready for business.
.avif)


