
Starting a peanut butter business is a rewarding venture that combines culinary creativity with business savvy. The market is worth billions, with steady demand for peanut butter from families and health-conscious shoppers to bakeries and restaurants.
This guide will take you through the practical steps of validating your business concept, obtaining necessary licenses, acquiring equipment, and building supplier relationships to help you launch a successful peanut butter business in the U.S.
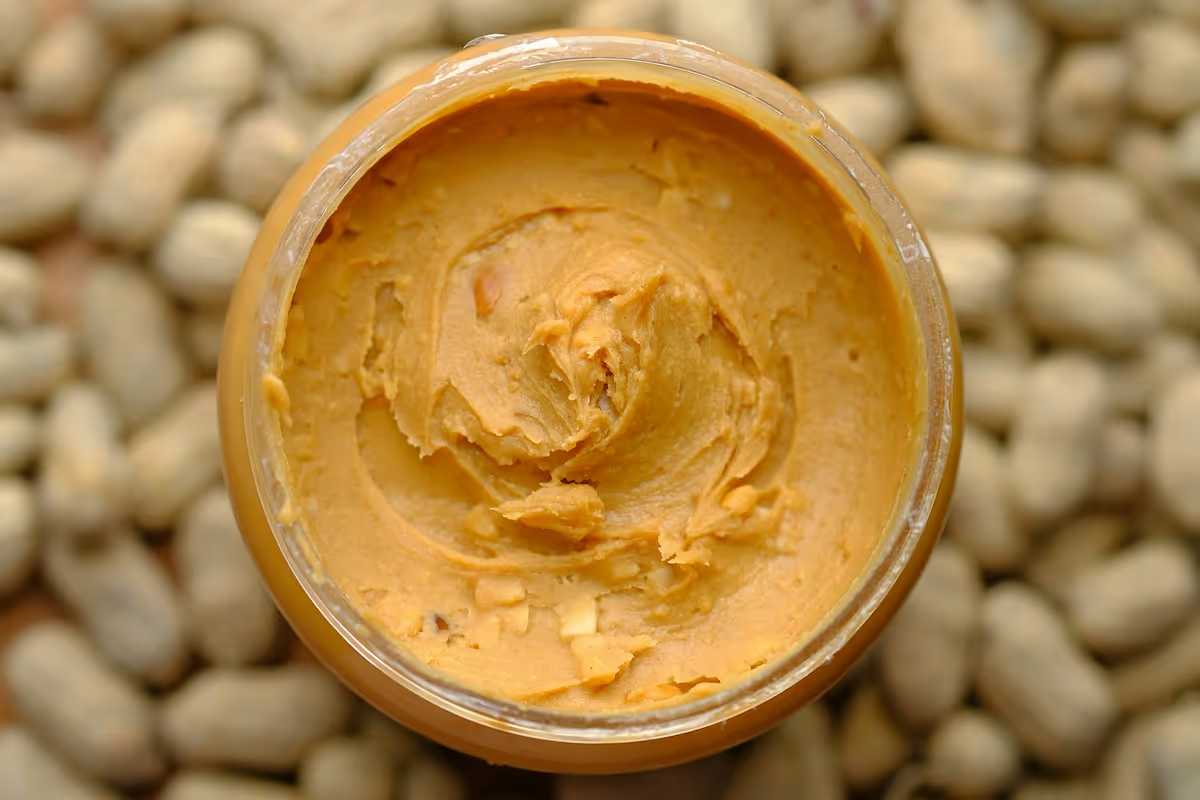
Step 1: Plan your business and validate your concept
Start by researching the market at a local level. Visit farmers' markets and specialty food stores to see what flavors are popular, what price points the market supports, and what packaging catches your eye. Use Google Trends to gauge public interest in unique flavor combinations.
Once you have a feel for the market, analyze your direct competitors. Many new owners only look at national brands, but your real competition is often local artisans. Note their ingredients, jar sizes, and pricing. This information will help you find a gap you can fill.
Estimate your startup costs
Your initial investment will likely range from $5,000 to $12,000. A significant portion of this budget requires careful planning. High-quality packaging, for instance, is an area where new owners often miscalculate, yet it directly affects your brand perception and margins.
Here is a typical cost breakdown:
- Commercial Kitchen Rental: $30-$75 per hour
- Licenses & Permits: $300-$1,000 (one-time)
- Basic Equipment: $3,000-$7,000 for a grinder, filler, and labeler
- Initial Inventory: $1,000-$2,500 for peanuts, jars, and labels
Here are 3 immediate steps to take:
- Visit two local specialty food stores to analyze competitor shelf placement and pricing.
- Draft a startup budget that includes equipment, licensing, and initial ingredient costs.
- Use Google Trends to compare search interest for three unique flavor ideas.
Step 2: Set up your legal structure and get licensed
Choose your business structure
First, choose a business structure. An LLC is a popular choice because it protects your personal assets if the business faces legal issues. It also offers flexible tax options, which is a significant benefit as you grow your operations.
You can file for an LLC through your state's Secretary of State website, with costs from $50 to $500. This structure is often simpler and less expensive to maintain than a corporation, while offering more protection than a sole proprietorship.
Navigate food safety regulations
The FDA governs commercial food production, so you must register your food facility with them. Your production process also needs to comply with the Food Safety Modernization Act (FSMA) to prevent contamination and ensure product safety.
Many new owners assume they can use their home kitchen. However, most state cottage food laws do not permit peanut butter production at home due to allergen risks. You will almost certainly need to operate from a licensed commercial kitchen.
At the state level, you will need a food processor license, which can cost $100 to $400 and take 4-8 weeks to process. Your local health department will also conduct an inspection before you can sell your first jar.
Here are 3 immediate steps to take:
- Research LLC formation costs and requirements on your Secretary of State's website.
- Review your state's specific cottage food laws to confirm if a commercial kitchen is required.
- Contact your local health department to get a checklist for their kitchen inspection.
Step 3: Secure your insurance and manage risk
With your legal structure in place, the next move is to protect your business with the right insurance. This shields your personal assets from claims. A common misstep is to get a generic policy that misses food-specific risks, like allergen contamination.
Key insurance policies to consider
Your operation will require several layers of protection. General liability is standard, but product liability is what covers you if your peanut butter is linked to an illness or recall. This is a non-negotiable for any food producer.
Here are the core policies you will likely need:
- General & Product Liability: Look for a combined policy with at least $1 million in coverage.
- Commercial Property Insurance: This covers your grinder, inventory, and other assets against theft or damage.
- Workers' Compensation: This is mandatory in most states as soon as you hire your first employee.
Speaking of costs, expect annual premiums to fall between $1,500 and $4,000. You might want to get quotes from providers like The Hartford, Hiscox, or the Food Liability Insurance Program (FLIP). They understand the food industry better than a general agent.
Here are 3 immediate steps to take:
- Request quotes from three insurance providers that specialize in food businesses.
- Ask each provider about specific product liability coverage for food allergens.
- Review your commercial kitchen lease to confirm its minimum insurance requirements.
Step 4: Secure your location and equipment
You will operate from a licensed commercial kitchen, which you can find through resources like The Kitchen Door. A 200-500 square foot space is often sufficient to start. When you review the lease, ask for a 6-month term instead of a full year to maintain flexibility.
Acquire your production equipment
Your grinder is the heart of your operation. A quality commercial grinder costs $2,000-$5,000 and prevents overheating during production. A semi-automatic piston filler runs $1,000-$3,000, and a simple label applicator can be found for around $500.
A mistake many new owners make is to buy equipment that is too large for their initial scale. Start with machinery that matches your first-year sales goals. You can always upgrade later. This approach protects your initial capital for ingredients and marketing.
Find your suppliers
For raw peanuts, you might look at bulk suppliers like Golden Peanut and Tree Nuts. For jars and lids, companies like Uline or Berlin Packaging are reliable sources. Be mindful of minimum order quantities (MOQs); you may need to purchase a full pallet of jars at once.
Here are 3 immediate steps to take:
- Compare rates and availability for two local commercial kitchens.
- Request price lists for a small commercial grinder from equipment dealers.
- Contact a packaging supplier like Uline to confirm minimum order quantities for jars.
Step 5: Set up your payment processing
At markets, you must accept credit and debit cards. For wholesale orders to cafes or stores, you will likely send an invoice with Net 30 payment terms, which gives them 30 days to pay.
When you choose a payment processor, look for low transaction fees and no monthly charges. A mistake some owners make is getting locked into a system with expensive hardware, which is unnecessary when you are just starting out and selling at local events.
For peanut butter businesses that need to accept payments on-site or on-the-go, JIM offers a streamlined solution. With JIM, you can accept debit, credit, and digital wallets directly through your smartphone—just tap and done.
At just 1.99% per transaction with no hidden costs or extra hardware needed, it is a strong option. Other providers often charge between 2.5% and 3.5%, so the savings add up. It's particularly useful for quick sales at a busy farmers' market.
Here is how it works:
- Get Started: Download the JIM app for iOS.
- Make a Sale: Type the sales amount, hit sell, and ask your customer to tap their card or device on your phone.
- Access Funds: Your money is available right on your JIM card as soon as the sale is done—no waiting for bank transfers.
Here are 3 immediate steps to take:
- Decide on your payment terms for future wholesale clients.
- Compare JIM's 1.99% rate to two other mobile payment solutions.
- Download the JIM app to explore its interface before your first market.
Step 6: Fund your business and manage finances
You will need about $5,000 to $10,000 in working capital for your first six months. This covers ongoing costs like ingredients, packaging, and market fees. A frequent misstep is to budget for equipment but forget the cash needed to operate before sales pick up.
Explore your funding options
While many owners self-fund, several loan and grant programs are a good fit for food startups. Here are a few to look into:
- SBA Microloans: These offer up to $50,000 and are great for initial equipment and inventory. Expect interest rates between 8% and 13%. Lenders will want a strong business plan and a personal credit score above 650.
- USDA Value-Added Producer Grant: If you source raw peanuts and process them, this grant can help with marketing and processing expenses. The application process is lengthy, so you should plan months ahead.
- Kiva Loans: This platform facilitates 0% interest crowdfunded loans up to $15,000. It is a solid option for community-focused brands that can rally initial support from their network.
Grant applications are competitive, so a loan is often a more direct path to funding. For any application, have your business plan, startup budget, and personal financial statements ready. This preparation shows lenders you are serious and organized.
Here are 3 immediate steps to take:
- Draft a six-month operating budget to determine your working capital needs.
- Review the requirements for an SBA Microloan on the SBA website.
- Research the next application deadline for the USDA Value-Added Producer Grant.
Step 7: Hire your team and streamline operations
Build your production team
Your first hire will likely be a Production Assistant to help with grinding, jarring, and labeling. In most areas, you can expect to pay an hourly wage of $15 to $20. This frees you up to focus on sales and business growth.
A mistake some owners make is to hire friends without clear roles. If you go this route, create a formal job description and set expectations from day one. This prevents misunderstandings and keeps the relationship professional.
Anyone handling food must have a Food Handler's Permit. It is an online course that usually costs $10-$15 and takes a few hours. This is a non-negotiable legal requirement that protects your business and customers.
Manage your sales and scheduling
For farmers' markets, you might bring on a part-time Sales Associate. A base pay of around $15 per hour plus a small sales commission works well. Their main job is to run the booth and engage with customers.
Once you have staff, you need to manage schedules. Simple apps like When I Work or Homebase are great for this. As a benchmark, aim for $50,000 to $75,000 in annual revenue per full-time employee to ensure your staffing costs are sustainable.
Here are 3 immediate steps to take:
- Draft a job description for a part-time Production Assistant.
- Research the Food Handler's Permit requirements for your state.
- Compare the features of two scheduling apps like When I Work and Homebase.
Step 8: Market your brand and find customers
Your first sales channel will likely be farmers' markets. Offer samples freely. A great story about your sourcing or unique flavor profile can turn a taster into a buyer. Many new owners just list ingredients, but customers connect with a narrative.
Develop your digital footprint
Use Instagram to showcase your product with high-quality photos. Partner with local food bloggers by sending them free samples. Their endorsement can drive significant initial traffic. Also, use location-specific hashtags to attract nearby customers who shop at your markets.
At events, collect customer emails. An email list is a direct line to your audience for new flavor announcements or promotions. It is an asset you control, unlike a social media following. Aim for a 20% open rate on your email campaigns.
Measure what matters
Track your performance to see what works. At a farmers' market, a 10-15% conversion rate from samples to sales is a strong benchmark. For online ads, a customer acquisition cost (CAC) under $15 is a sustainable goal for a new food brand.
Here are 3 immediate steps to take:
- Identify three local food bloggers to send samples to.
- Create a sign-up sheet to collect customer emails at your next market.
- Plan one month of content for your primary social media channel.
Step 9: Price your product and set financial goals
Establish your pricing model
Your pricing strategy directly impacts profitability. Most new producers use cost-plus pricing. First, calculate your cost of goods sold (COGS) per jar. This includes peanuts, the jar, the lid, the label, and your direct labor. Your price must cover these costs.
A common mistake is to forget labor or overhead in your COGS calculation. This makes your product seem more profitable than it is. Be sure to factor in a realistic hourly rate for your production time, even if it is just you at the start.
Aim for a gross margin of 50-70%. For example, if your COGS is $3 per jar, a wholesale price of $6 gives you a 50% margin. The retailer will then mark it up further for a final shelf price of around $9 to $10.
Analyze your competitors
Look at what similar artisan brands charge at farmers' markets and in local specialty shops. Do not just compare yourself to national brands. Your real competition is other small-batch producers. Note their jar sizes and price points to find your place in the market.
Here are 3 immediate steps to take:
- Calculate the total cost of goods sold (COGS) for one jar of your peanut butter.
- Visit a local store to document the prices and sizes of three competing artisan brands.
- Use your COGS to set a wholesale price that achieves a 50-70% gross margin.
Step 10: Maintain quality and scale your operations
Establish your quality standards
To maintain quality, you must document your exact recipe and production process. Many new owners rely on memory, which leads to inconsistent batches. Write down every measurement, grinding time, and temperature to ensure every jar is the same.
For quality control, check every 20th jar for proper weight and a tight lid seal. You should also keep one jar from each batch for a week to monitor oil separation and texture. This creates a simple but effective quality baseline.
Know when to grow
When you consistently sell out at markets or receive more wholesale inquiries than you can handle, it is time to scale. A revenue milestone, like $75,000 per year, is another strong signal that your operations need to expand.
Growth might mean renting more kitchen hours or buying a larger grinder. Once you manage multiple wholesale accounts, you might want to use inventory software like inFlow Inventory to track your ingredients and finished jars. This prevents stockouts and simplifies reordering.
Here are 3 immediate steps to take:
- Create a formal document for your recipe and production steps.
- Set a revenue goal that will trigger your first major equipment upgrade.
- Review the features of an inventory management software like inFlow Inventory.
You have the roadmap to launch your peanut butter brand. Remember, your story is as important as your recipe. Customers connect with the narrative behind each jar. With this plan in hand, you are ready to start building your business one jar at a time.
And when you make that first sale, payment should be simple. JIM lets you accept cards right on your phone for a flat 1.99% fee, with no extra hardware. It keeps market sales quick and easy. Download JIM to be ready.
.avif)


