
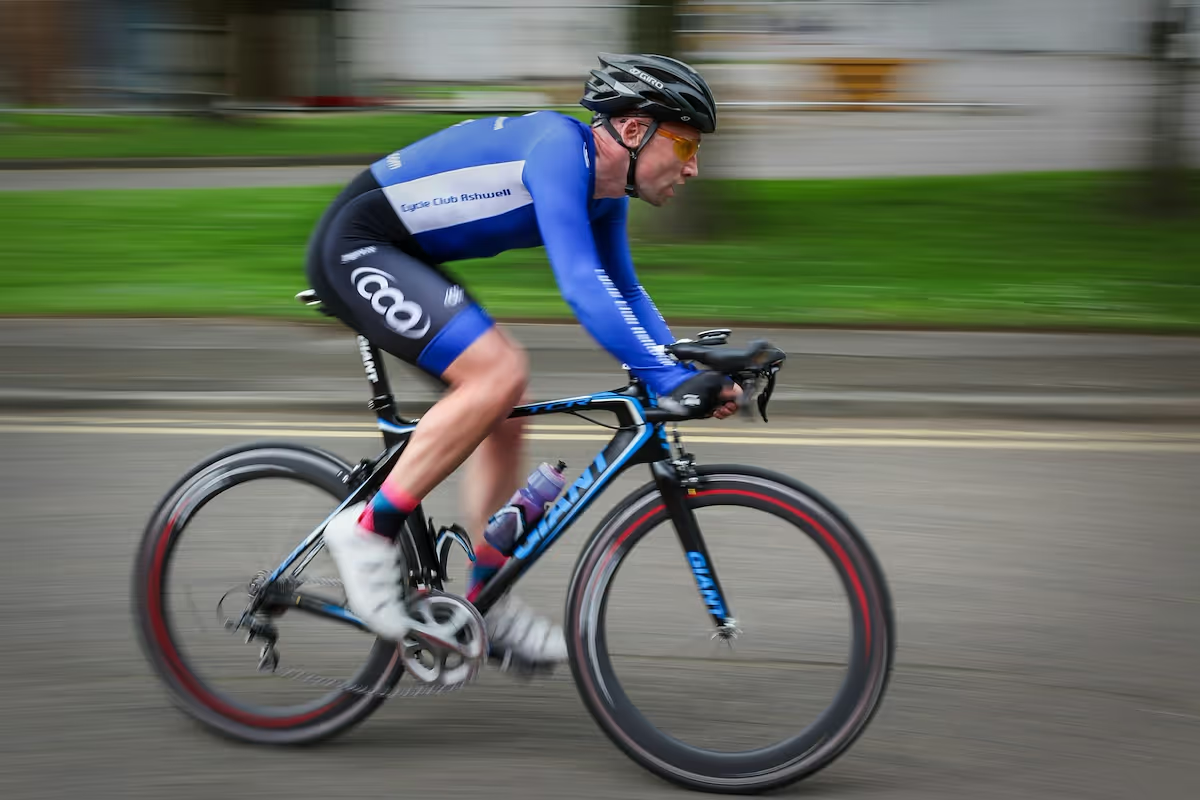
Launching a sports photography business is an exciting venture that merges a love for the game and a good eye for photos with business savvy. There's consistent demand for sharp action shots and team portraits from youth leagues, high schools, and even amateur sports clubs.
This guide will take you through the practical steps of validating your concept, acquiring the right gear, and securing the necessary permits to help you launch a successful sports photography business in the U.S.
Step 1: Plan your business and validate your idea
Start by researching your local market. Identify all the youth sports leagues, high school athletic departments, and amateur clubs within a 30-mile radius. Check their websites and social media to see who currently photographs their games and how they use the images.
You can also use Instagram and Facebook to find local sports photographers. Search hashtags like #[YourCity]YouthSports or #[LocalHighSchool]Football. Analyze their pricing, package deals, and the quality of their online portfolios to understand the competitive landscape.
Estimate your startup costs
A solid initial budget helps manage expectations. Many photographers start with a mid-range setup and upgrade later. A common misstep is overspending on gear before booking a single client, which can strain your finances early on. Plan for these initial expenses:
- Camera Body: $1,500 - $3,000
- Lenses (Telephoto & Wide-Angle): $1,500 - $3,500
- Editing Software (e.g., Adobe Creative Cloud): $10 - $30 per month
- Business Formation (LLC): $100 - $500
- Liability Insurance: $400 - $600 per year
Your total startup investment will likely fall between $3,500 and $7,500. This range gives you a realistic financial target to aim for as you get started.
Here are 3 immediate steps to take:
- List five local sports leagues and identify their current photography provider, if any.
- Create a draft budget based on the cost estimates for gear, software, and legal fees.
- Analyze the websites and pricing of two potential competitors in your area.
Step 2: Establish your legal entity and get licensed
You will want to form a Limited Liability Company (LLC). This structure protects your personal assets, like your home and car, if your business faces legal issues. For tax purposes, an LLC is a "pass-through" entity, so you report business profits on your personal tax return.
Secure your business registrations
First, get a free Employer Identification Number (EIN) from the IRS website. You will need this for taxes and business banking. Next, file your LLC with your state’s Secretary of State. This process typically takes 1-3 weeks and costs between $100 and $500.
You will also need a general business license from your city or county, which usually costs $50 to $150 per year. A detail many photographers overlook is venue access. Schools and sports leagues often require you to be an approved vendor, which may involve a background check.
Here are 3 immediate steps to take:
- Apply for a free EIN on the IRS website.
- Research your state’s LLC filing fees and processing times.
- Contact a local school district to ask about their vendor approval process for photographers.
Step 3: Secure your insurance and manage risk
You need general liability insurance. This protects you if someone gets hurt, like a player or spectator tripping over your gear. A $1 million policy is standard and often required by venues. Expect to pay between $400 and $600 annually for this coverage.
With your gear as your biggest asset, you will also want equipment insurance. This covers theft, drops, or even a stray ball hitting your lens. The cost depends on your gear's value but often runs $500 to $1,000 per year for a professional kit.
Other policies to consider
Professional liability insurance covers claims of negligence, like if you miss a key shot or a memory card fails. If you hire a second shooter, you will need workers' compensation. A commercial auto policy is necessary if you use a vehicle just for business.
Many photographers get policies through providers that specialize in this field. You might want to look into Hill & Usher, Full Frame Insurance, or the insurance offered through a Professional Photographers of America (PPA) membership. General agents may not understand your specific risks.
Here are 3 immediate steps to take:
- Request a quote for a $1 million general liability policy.
- Create an inventory of your camera gear with replacement values for an equipment insurance quote.
- Compare the insurance plans offered by Full Frame Insurance and the PPA.
Step 4: Set up your workspace and buy gear
You do not need a commercial studio. A dedicated corner in your home works perfectly for editing and storage. A simple desk setup is sufficient. This approach saves thousands in rent and lets you invest more in your equipment, which is where your focus should be.
Build your camera kit
Your lens choice matters more than your camera body. The workhorse for sports is a 70-200mm f/2.8 lens, which runs about $1,800-$2,600. A mistake many new photographers make is buying a slower lens to save money, but an f/2.8 aperture is what you need for sharp photos in dim gyms or at night.
You will also want a wide-angle lens like a 24-70mm for team photos. For post-production, a computer with at least 16GB of RAM and a color-accurate monitor will make your editing workflow much smoother. Retailers like B&H Photo Video and Adorama are reliable sources for new and used gear.
Here are 3 immediate steps to take:
- Price a 70-200mm f/2.8 lens from two different retailers.
- Designate a specific area in your home as your office and gear storage.
- Check your computer’s specs to see if it meets the 16GB RAM recommendation.
Step 5: Set up your payment processing
For league contracts, a 50% deposit upfront is standard practice. The balance is typically due upon delivery of the final photo gallery. This approach secures your booking and cash flow. Always use a simple contract that outlines deliverables and payment dates.
You will need a way to accept payments both online for deposits and in person. On-site payments are perfect for selling individual prints or digital downloads to parents right at the game. This creates an immediate revenue stream beyond your main contract.
Payment processing
For photographers who need to accept payments on-the-go, JIM offers a streamlined solution. With JIM, you can accept debit, credit, and digital wallets directly through your smartphone. Just tap and the sale is done.
At just 1.99% per transaction with no hidden costs or extra hardware needed, it is a cost-effective option. Other payment solutions often have higher commission rates. This is particularly useful for selling action shots to parents immediately after a game.
Getting started is straightforward:
- Get Started: Download the JIM app for iOS.
- Make a Sale: Type the sales amount, hit sell, and ask your customer to tap their card or device on your phone.
- Access Funds: Your money is available right on your JIM card as soon as the sale is done. There is no wait for bank transfers.
Here are 3 immediate steps to take:
- Draft a standard payment clause for your contracts that requires a 50% deposit.
- Download the JIM app to explore its features for on-site sales.
- Set your prices for individual prints and digital files to sell at events.
Step 6: Fund your business and manage finances
Most photographers self-fund their startup costs with personal savings. If you need a loan, an SBA Microloan is a strong option. These loans go up to $50,000, with interest rates typically between 8% and 13%. Your personal credit score will be a major factor in qualifying.
Equipment financing is another route. Lenders like B&H Financial Services offer plans specifically for camera gear. This lets you pay off your equipment over time while you use it to generate income. Grants are less common for for-profit photography, but you might check with your local arts council.
Manage your day-to-day finances
Once you have your startup capital, you need to manage it properly. Open a dedicated business checking account immediately. A mistake some photographers make is mixing personal and business funds, which creates a mess at tax time and makes it hard to track profitability.
You will also want to track every expense. Bookkeeping software like Wave (which is free) or QuickBooks Self-Employed can help you categorize expenses for fuel, software, and insurance. Plan to have at least $3,000 to $4,000 in working capital to cover your first six months of operating costs.
Here are 3 immediate steps to take:
- Research SBA Microloan lenders in your state.
- Open a separate business checking account.
- Calculate your estimated operating costs for the first six months.
Step 7: Hire your team and set up operations
You cannot shoot every game yourself. Once you start getting double-booked or find yourself spending more time editing than shooting, it is time to build a team. This lets you scale your business and focus on booking more clients.
Build your support team
A second shooter is your first hire. They cover different angles or simultaneous games. Expect to pay $25-$50 per hour or a flat fee of $150-$300 per event. A frequent misstep is not providing a clear shot list, so always define expectations in a simple contract.
If editing consumes over 10 hours per week, consider a remote photo editor. They handle culling and basic corrections for about $20-$40 per hour. This frees you up for more profitable work like shooting and client outreach.
Streamline your workflow
You will also need software to manage your operations. Client gallery platforms like Pixieset or ShootProof deliver photos and handle print sales automatically. For booking, a system like HoneyBook manages contracts and invoices, which keeps your admin work organized.
Here are 3 immediate steps to take:
- Draft a contract template for a second shooter that includes a shot list.
- Compare the pricing and features of Pixieset and ShootProof.
- Track your editing hours on your next project to see if hiring an editor makes sense.
Step 8: Market your business and get clients
Your first clients will likely come from direct outreach. Draft a short email for local league presidents and high school athletic directors. Introduce yourself, state your specialty, and provide a link to your online portfolio. Keep the message concise and professional.
Many new photographers wait too long for a perfect portfolio. A better approach is to offer to shoot one game for a target league for free. This strategy gives you powerful portfolio images and a direct sales opportunity with that organization.
Use social media strategically
Focus your efforts on Instagram and Facebook where parents and coaches are active. Post your best action shots and tag the schools or leagues involved. Use local hashtags like #[TownName]Football or #[LocalSchool]Hoops to increase visibility within your community.
You can also share short video clips of game highlights or a behind-the-scenes look at your setup. This type of content demonstrates your expertise and helps you connect with your audience on a deeper level than just finished photos.
Convert prospects with packages
When you connect with a league, present two or three simple packages. You might offer a "Team & Individual Photos" package and a separate "Game Day Action Shots" package. This simplifies the decision-making process for busy league organizers.
From your free trial game, aim to convert that league into a season-long contract. This approach keeps your customer acquisition cost low, often just your time for that initial shoot. It is a proven way to secure anchor clients.
Here are 3 immediate steps to take:
- Draft a short outreach email for three local athletic directors.
- Offer to shoot one game for free for a league that does not have a photographer.
- Create two sample photo packages to present to potential clients.
Step 9: Develop your pricing strategy
Most sports photographers use a mix of packages and à la carte sales. Packages bundle popular items like a team photo, an individual portrait, and a few prints. This simplifies choices for parents and increases your average order value.
Set your package and print prices
Create three packages, for example, a basic digital-only option for $35, a mid-tier with prints for $65, and a premium package with more prints for $95. Your profit margin on digital products should be high, around 80-90%.
For physical prints, a 500-1000% markup is standard. An 8x10 print might cost you $2 to produce, but you should sell it for $20-$25. This price covers your shooting time, editing, and business overhead, not just the paper.
Price your league and event services
For game-day action shots, you can charge the league a flat fee. A rate of $150-$250 per game is typical. This could include delivering 20-30 edited images for the league’s social media. This provides a steady income stream.
To set your rates, research what other photographers in your area charge. Check their websites for public price lists. Some photographers are tempted to price too low to win jobs, but this can devalue your work and make it difficult to build a sustainable business.
Here are 3 immediate steps to take:
- Create three photo packages with specific items and prices.
- Research the websites of two local competitors to find their pricing.
- Calculate your cost for an 8x10 print and set a sale price that includes a 500% markup.
Step 10: Control quality and scale your business
To maintain a strong reputation, you need consistent quality. Aim for a 95% "keeper" rate in your final galleries, meaning nearly every photo is sharp and well-exposed. A mistake some photographers make is delivering too many similar shots. A curated gallery of 50-75 great images is better than 300 average ones.
Know when to scale
Growth should be deliberate. When you start turning down more than two jobs per month due to scheduling conflicts, it is time to hire a second shooter. Once you secure two or three season-long contracts, you can reinvest profits into better gear, like a 400mm f/2.8 lens.
As your client list grows, administrative tasks can become overwhelming. Client management software like HoneyBook or ShootProof automates contracts, invoices, and gallery delivery. This can save you 5-10 hours of admin work each week, which lets you focus on shooting and finding new clients.
Here are 3 immediate steps to take:
- Define your quality standard, such as a 95% keeper rate for delivered images.
- Set a clear trigger for hiring help, like turning down two jobs in one month.
- Sign up for a free trial of a client management system like HoneyBook or ShootProof.
You have the complete playbook for your sports photography business. Remember, your success hinges on capturing the moments that matter to parents and coaches. Build trust one game at a time. You have a solid plan, so get out there and start shooting.
As you sell prints and downloads at games, make sure getting paid is simple. JIM turns your smartphone into a card reader for a flat 1.99% transaction fee, with no extra hardware needed. It's a straightforward way to manage on-site sales. Download JIM to get set up.
.avif)


