How to start a pop up shop and test demand before booking

See article summary
- Learn how to start a pop up shop: set sales or learning targets, then choose a format your customers visit.
- Calculate break-even by dividing fixed event costs by contribution per sale, then reject venues whose required sales exceed realistic demand.
- Verify product, host-site, city, county, and state permits and sales-tax duties before signing or paying; requirements vary by location.
- Prepare inventory, staffing, displays, and promotion before opening, then measure results against your original sales or customer-learning goal.
- Test payment setup onsite, checking phone compatibility, connectivity, accepted methods, fees, and payout timing; mobile checkout doesn't replace inventory planning.
To start a pop-up shop, set a measurable goal, match the event to your customers, confirm local requirements before booking, and prepare to operate and take payment.
A pop-up shop is a temporary in-person retail event for testing demand or making sales. For a first-time US product seller, the key decision is whether a market, shared retail space, kiosk, or short-term storefront fits the goal and budget before you commit.
Because requirements vary by product and location, verify the rules for your city and state before signing or paying.
Use this launch sequence before you book
Before you commit, move through these five checks in order; a venue advances only when customer fit, event costs, local requirements, and operating readiness make sense.
- Set a measurable goal and name your customer. Choose a sales or learning goal, describe who you want to reach, and decide what result would make the event worthwhile before comparing spaces.
- Match the format to your customer. Compare a market, shared retail space, kiosk, or short-term storefront by where your target customers shop and what the host allows. Keep only formats with a clear path to the people you want to reach.
- Test the full event cost against your goal. Check whether sales could cover your costs, or set a measurable learning or customer-acquisition result if immediate profit is not the aim. Use the venue fit and break-even calculation before committing.
- Verify product, host, and location requirements. Identify what you sell and how you will sell it, confirm the host permits your intended use, then check applicable city, county, and state rules. Complete the pre-booking permit and host-site verification steps before signing or paying.
- Prepare to operate and measure the event. Plan inventory, staffing, promotion, and checkout, then choose a post-event measure tied to your original goal. Use the linked plan pop-up inventory, staffing, promotion, and payments to put the event-day steps in place, then test your payment setup before opening.
Test the venue against your customer and budget
A venue belongs on your shortlist when its visitors match your target customer and its terms fit your goal. Compare a market, shared shop, kiosk, or temporary storefront on:
- Customer match: Do the people who shop there resemble the buyers you want to reach?
- Traffic quality: Ask which hours draw shoppers and whether they come to browse or buy; passersby alone do not prove demand.
- Practical fit: Compare rent, site access, needed amenities, host restrictions, and what the fee includes.
Count every event cost
Add venue, displays, staffing, permits, insurance, promotion, and fixed payment charges. Include each sold item's inventory cost, packaging, and per-sale payment fee in its variable cost. Keep cash needed for unsold inventory visible in your budget, but do not count every purchased unit as sold in the break-even math.
Calculate sales needed to cover the event
Break-even means sales contribute enough to cover fixed event costs; it is a cost-coverage target, not a profit guarantee. Contribution per sale is the selling price minus costs that rise with each sale.
| Goal | Calculation or measure | Decision use |
|---|---|---|
| Cover event costs | Fixed event costs ÷ contribution per sale = approximate units needed | Compare the required units with realistic expected sales |
| Test customer demand | Choose one measurable signal, such as qualified buyer conversations or product feedback | Judge the learning goal separately from sales |
Imagine a solo online founder considering a weekend market. If the required sales look unrealistic, pass or renegotiate the event terms. If immediate sales are not the goal, proceed only with a specific customer-learning signal to track.
Confirm local and host-site rules before booking
Before booking, identify your product and preparation method, confirm what the host allows, then verify permits and sales-tax duties with the agencies for that address.
- Describe the product and setup. List what you'll sell and how it is made or prepared, especially whether food is packaged, made elsewhere, or prepared onsite; ask which product-specific rules apply.
- Get the host's requirements in writing. Confirm the space permits your activity and document site conditions, required equipment, insurance, and license paperwork. Host approval does not replace government approval.
- Check with local and state agencies. Contact the city or county licensing office about required business or product permits. Ask your state tax agency about seller registration, temporary seller permits, taxable sales, the applicable rate, and filing duties.
Local examples, not nationwide rules:Chicago's pop-up FAQ distinguishes general retail and shelf-stable packaged food from food prepared in a shared kitchen or onsite, with different license and host-site conditions. As checked in September 2026, California's CDTFA guidance on temporary sellers says sellers at a location for less than 90 days generally need a temporary seller's permit, with exceptions; sellers who already hold a permanent permit may need a sub-permit for each temporary location. Verify current requirements for your location before signing or paying.
Prepare the event, promotion, and checkout
Before opening, turn the cleared venue plan into a short operating checklist:
- Merchandising: Count sale-ready units by product and set aside restock inventory. Confirm portable displays, signage, lighting, power, and outdoor weather protection fit the host's setup rules.
- Staffing: Assign who greets shoppers, runs checkout, restocks, and records customer questions. Post event hours and prices where visitors can see them.
- Promotion: Share the location, dates, and hours with your customers before opening, then send a reminder close to the event.
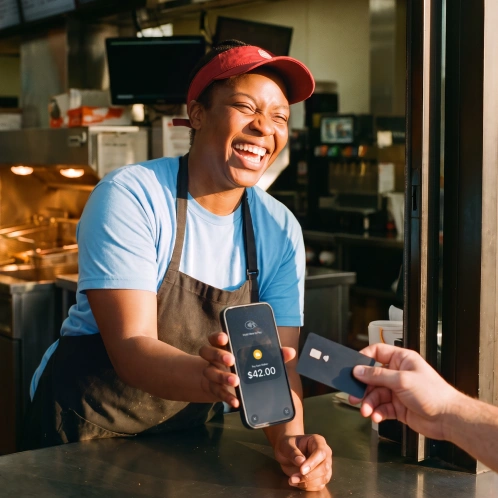
- Payments: Test your actual phone or reader at the site. Check device eligibility, stable cellular or Wi-Fi, accepted card networks and wallets, processing fees, and payout timing. Use this guide to check phone compatibility and connectivity for contactless payments before relying on a phone.
If you are considering JIM Tap to Pay, confirm whether your specific phone is eligible through JIM's Help Center before relying on it. JIM lists a 1.99% fee per sale and says instant settlements are subject to terms. Mobile contactless acceptance does not replace separate inventory tracking or broader point-of-sale planning.
- Post-event measures: Compare results with your original goal. Reconcile sales and units for a revenue goal, count new customer sign-ups for awareness, or log recurring product questions and requests for a learning goal.
Test your payment setup before event day
If mobile contactless checkout fits your event, you can optionally review JIM Tap to Pay for current eligibility, fees, and payout terms. Confirm your device qualifies, then test the full checkout flow before opening; your pop-up does not require this specific payment option.
Frequently Asked Questions
Are pop-up shops profitable?
How much does it cost to set up a pop-up shop?
Do I need a license to do a pop-up?
Can a pop-up be worth it if the first event does not break even?

Sell and get paid in seconds with Jim